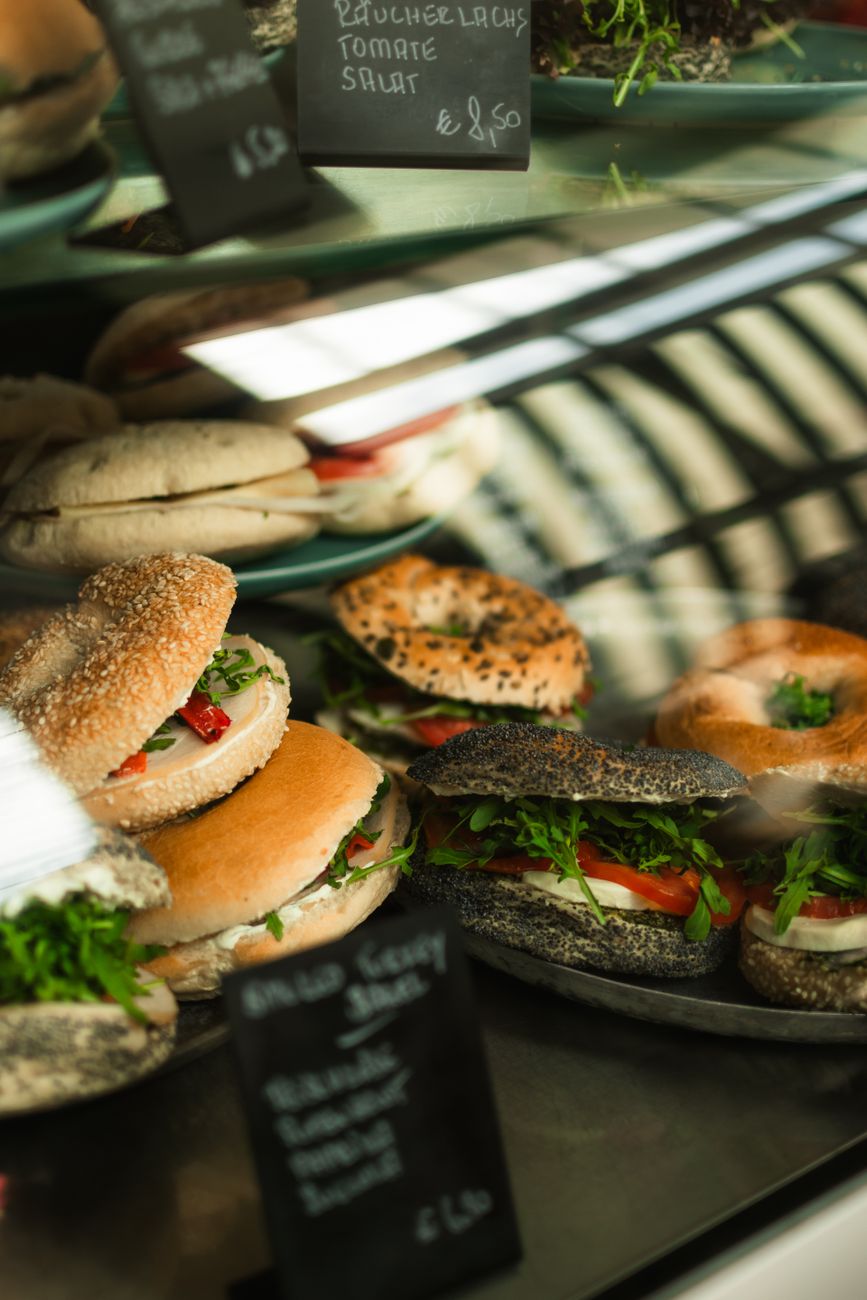
Build-your-own sandwiches sound simple, but there’s a real technique to layering one so it holds together and eats well, rather than falling apart or turning soggy halfway through. Mabel’s Deli inside Poncha Market offers exactly this kind of custom sandwich — The Market (choice of meat, cheese, and up to five veggies) or The Veggie (choice of cheese and up to five veggies).
Here’s how to actually layer one well, whether you’re building it yourself at a counter or at home.
Most people build sandwiches the same intuitive way — bread, then whatever’s next in the pile — without thinking about why professional sandwich builders layer things in a specific order. That order isn’t arbitrary; it solves real, predictable problems.
Getting the layering right matters even more on a build-your-own sandwich than a pre-designed one, since you’re personally responsible for every choice, and there’s no house recipe quietly correcting for a bad ingredient order.
Start With a Moisture Barrier
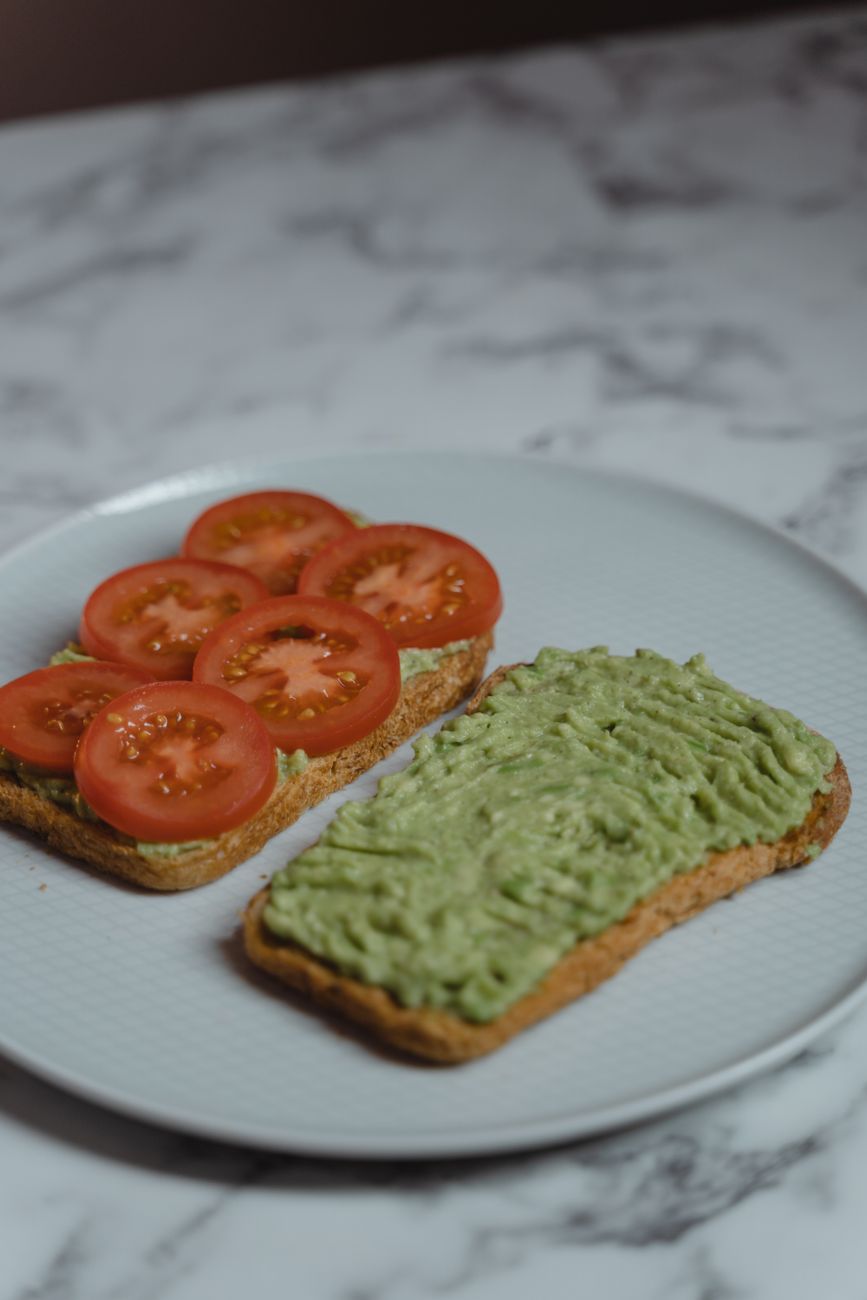
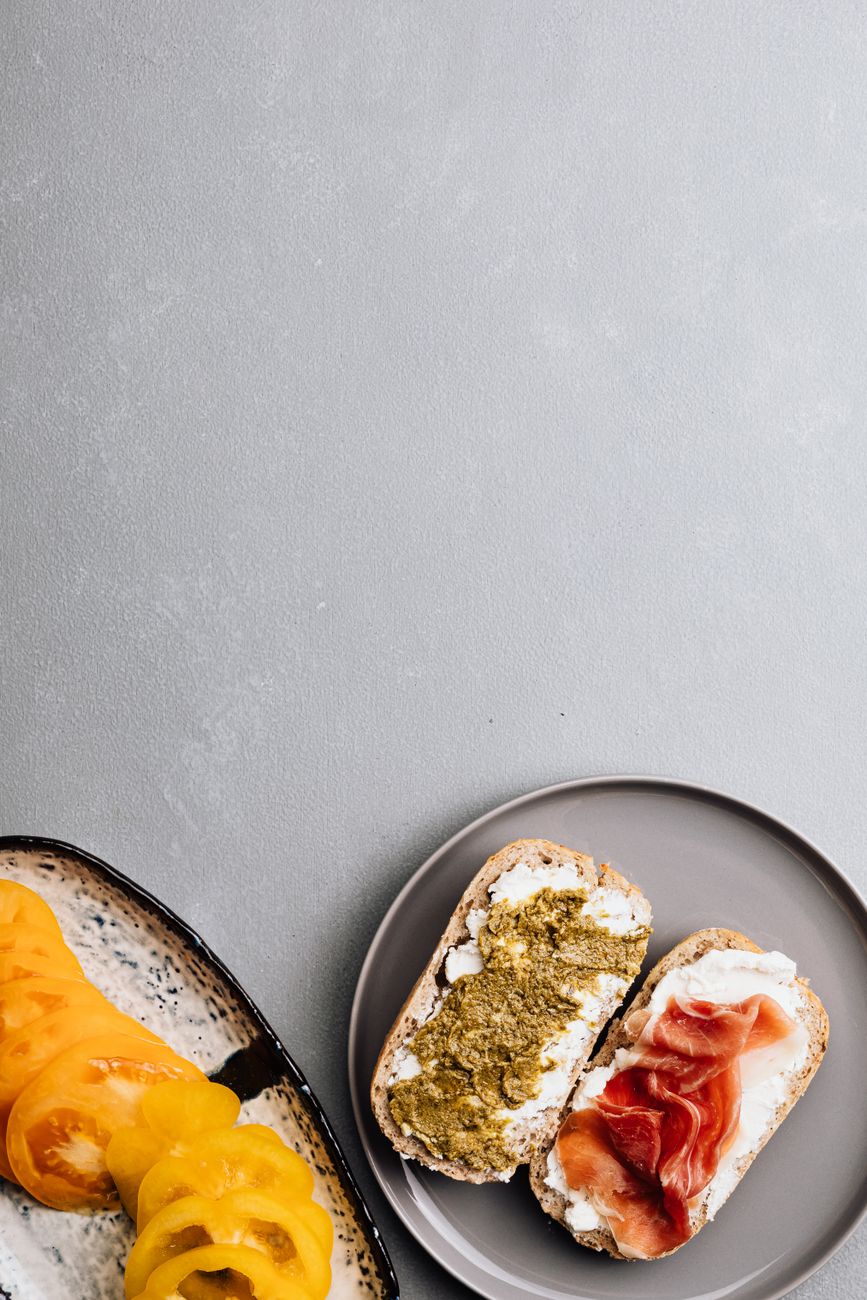
A fat-based spread on the interior of both bread slices — butter, mayonnaise, or a similar condiment — creates a barrier that keeps wetter ingredients from soaking directly into the bread. This single step is one of the most effective ways to prevent a sandwich from turning soggy before you finish it.
This matters even more for a sandwich that won’t be eaten immediately — if you’re building something to take on the road rather than eat right away, that moisture barrier is the difference between a sandwich that’s still good an hour later and one that’s gone soft and unappetizing.

Layer Cheese Near the Bread
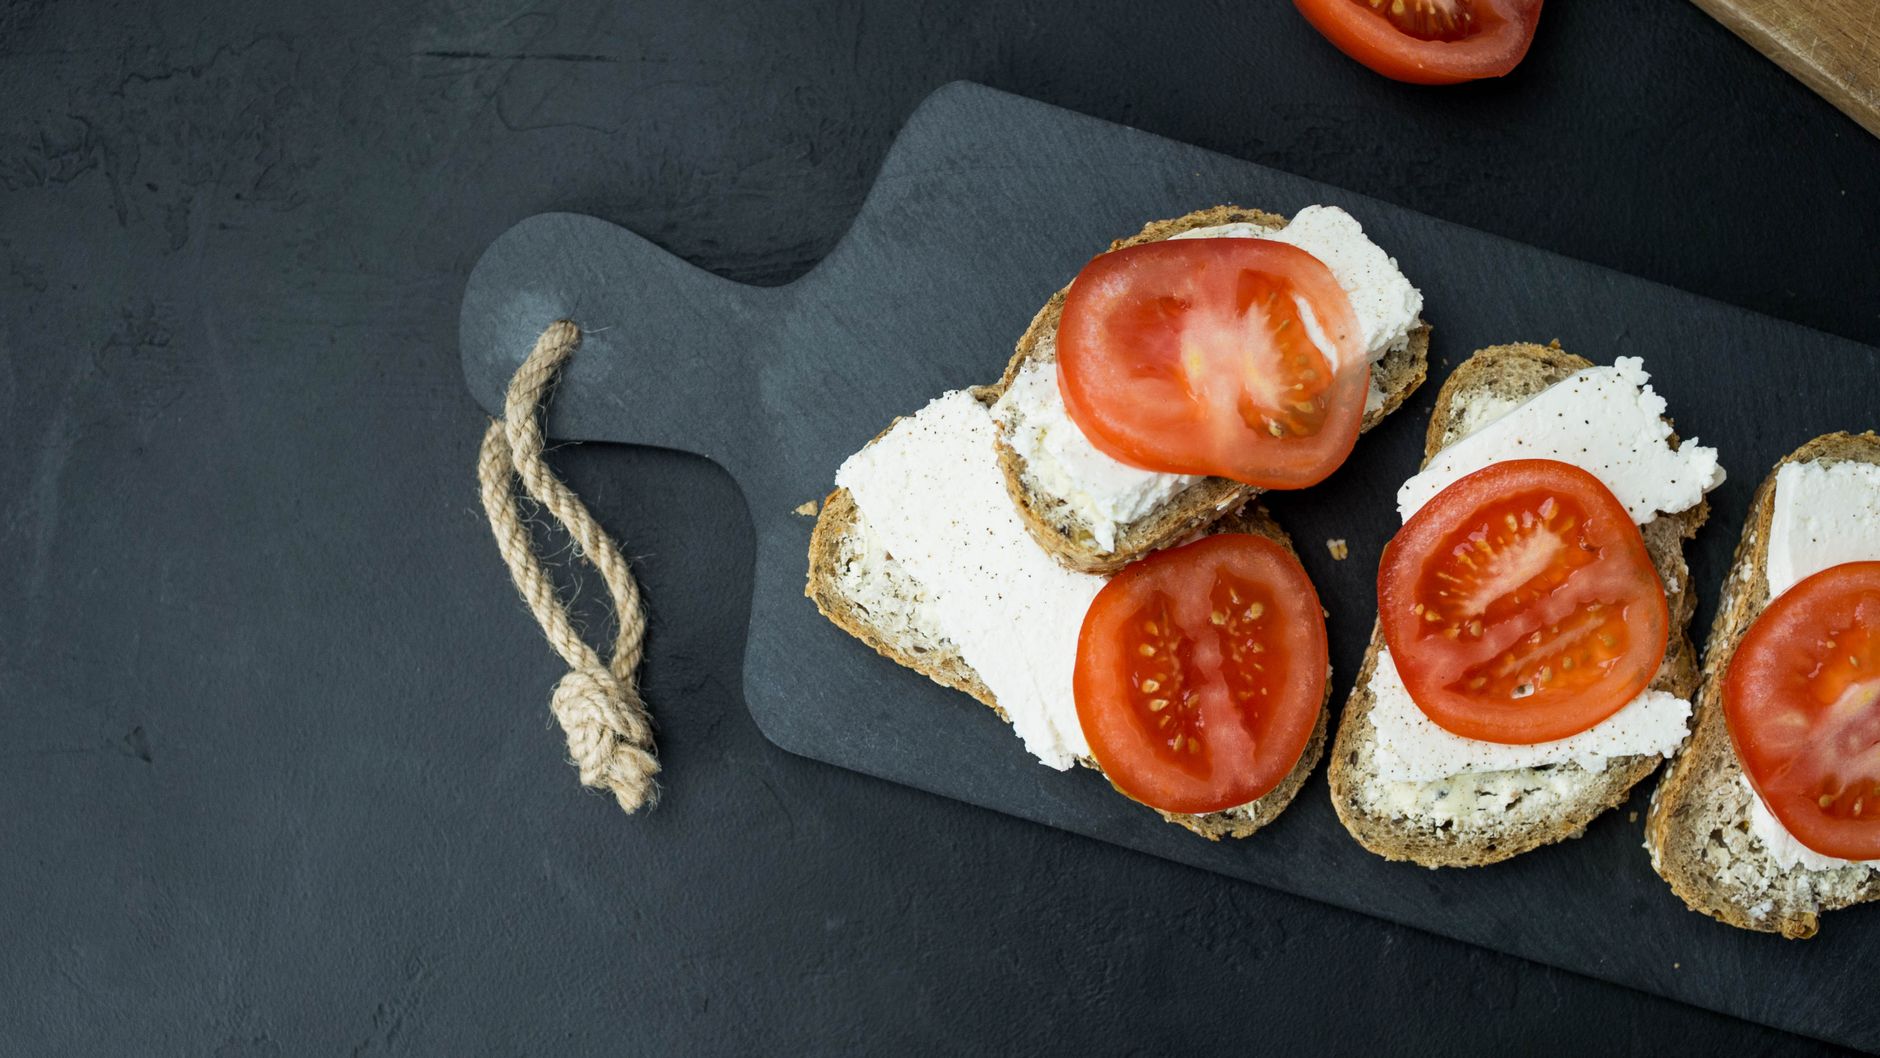
Placing cheese directly against the bread, just inside the moisture barrier, helps protect the bread from wetter vegetables layered further in, while also reinforcing the sandwich’s overall structure. It’s a small ordering choice that meaningfully changes how the finished sandwich holds together.
Building the Middle Layers
- Place crispier or sturdier ingredients toward the center, where they stay put and add texture without sliding around.
- Avoid stacking multiple slippery, similarly shaped ingredients directly on top of each other — separate them with lettuce or another textured layer so the whole stack doesn’t shift when you bite in.
- With up to five vegetable choices available on a build-your-own like Mabel’s Market or Veggie sandwich, distributing them across the sandwich rather than piling them all in one spot keeps every bite consistent.
Choosing Toppings That Work Together
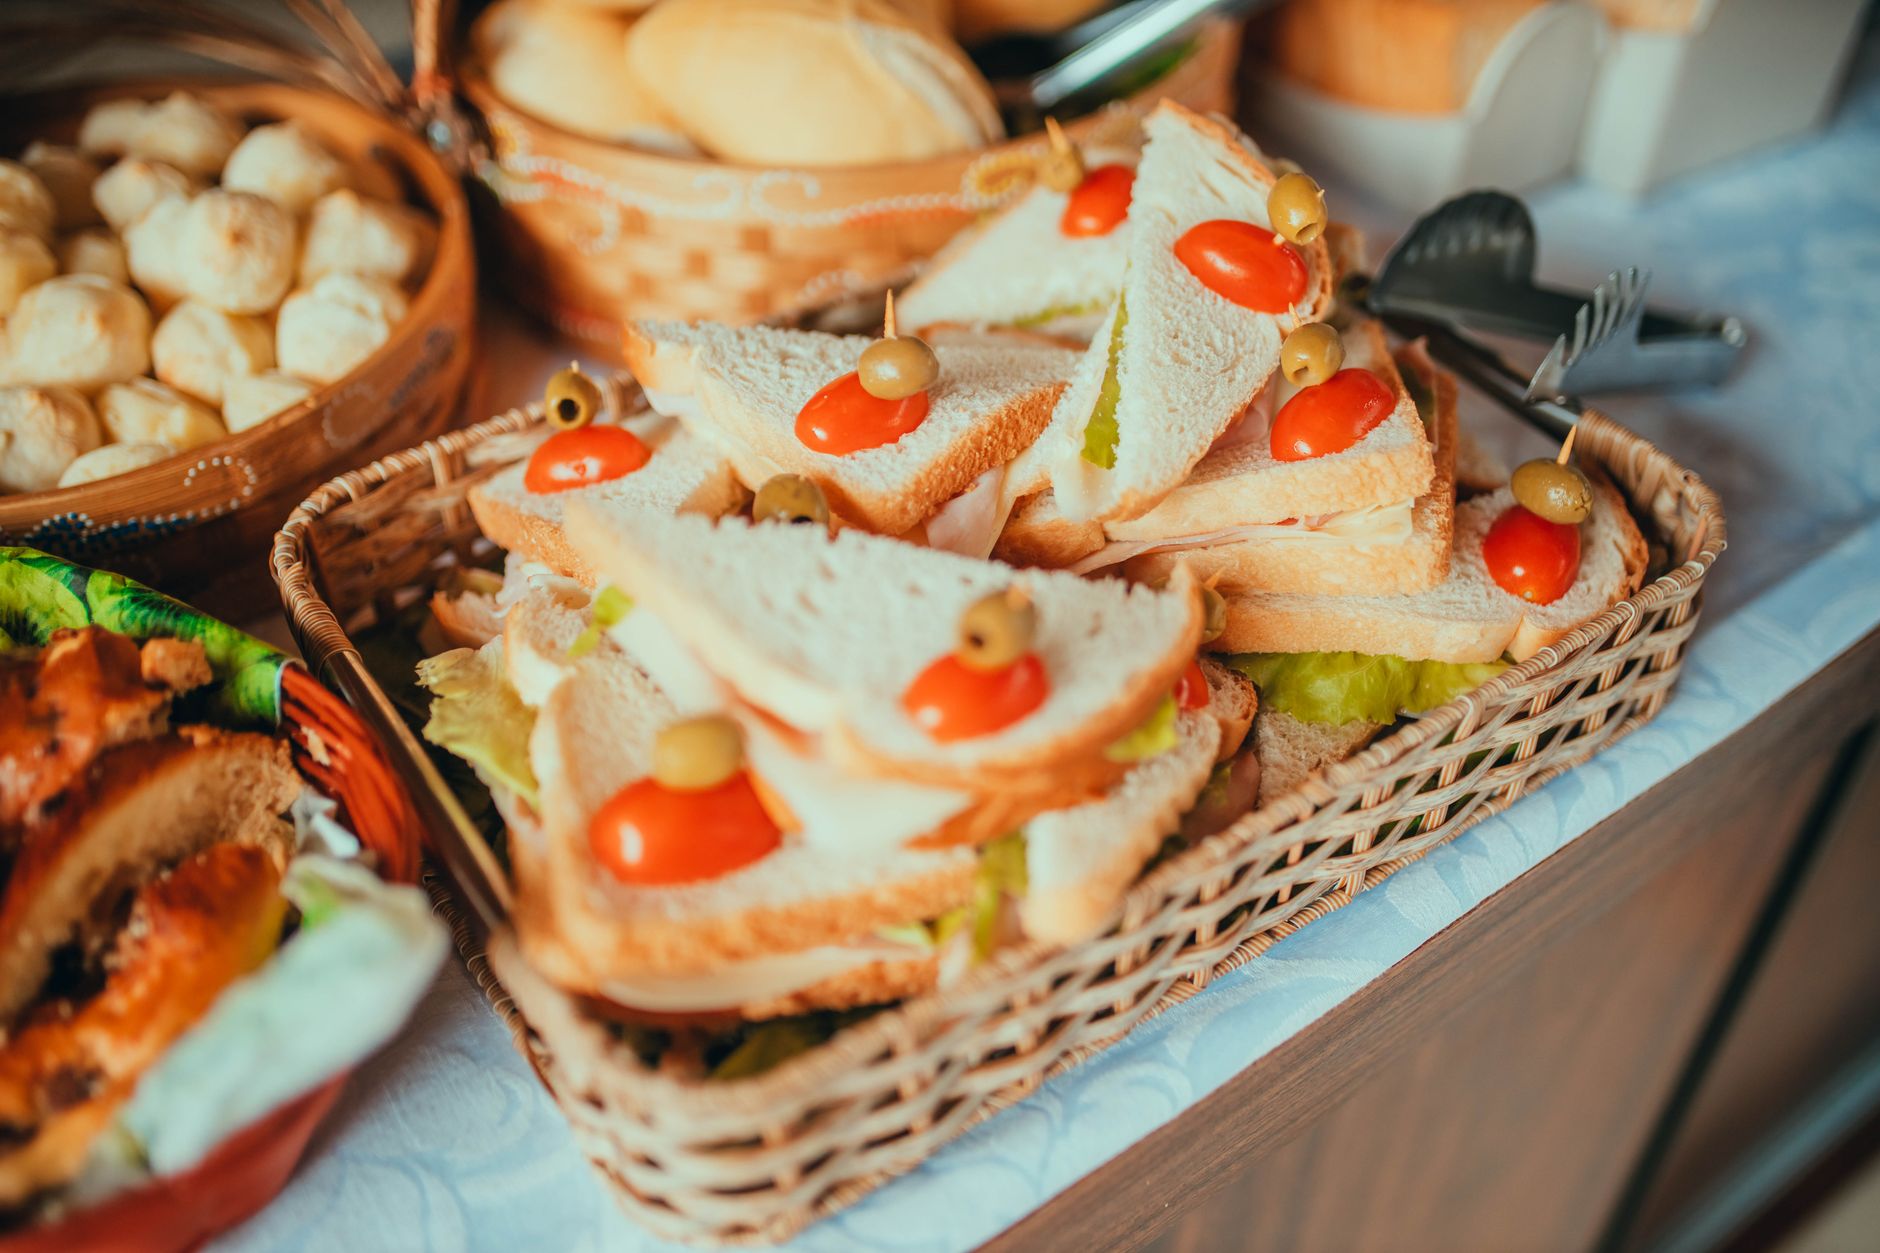
Balance is the real goal, not just piling on every available option. A build-your-own sandwich with five vegetables, a full portion of meat, cheese, and a heavy condiment can genuinely become difficult to eat, let alone taste balanced — picking toppings that complement rather than compete with each other usually makes for a better sandwich than maximizing every option.
A useful mental exercise is picking one dominant flavor for the sandwich — sharp, creamy, spicy, or fresh — and choosing toppings that support that theme rather than working against it. A sandwich trying to be sharp, creamy, spicy, and fresh all at once often ends up tasting like none of them clearly.
Finishing Touches
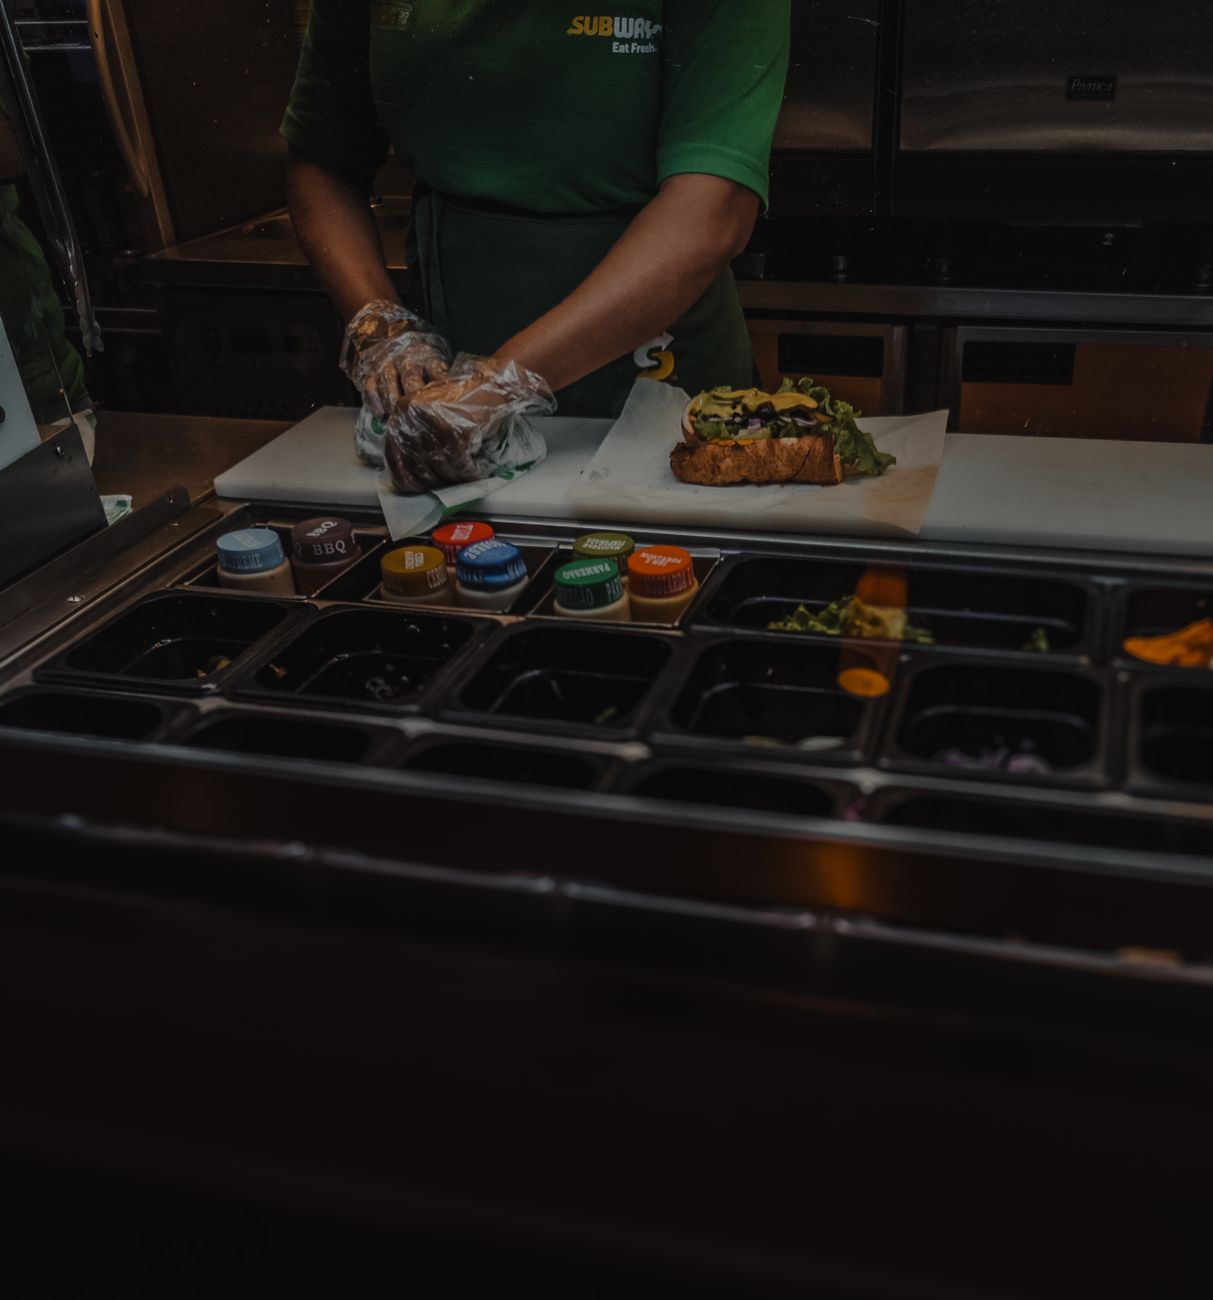
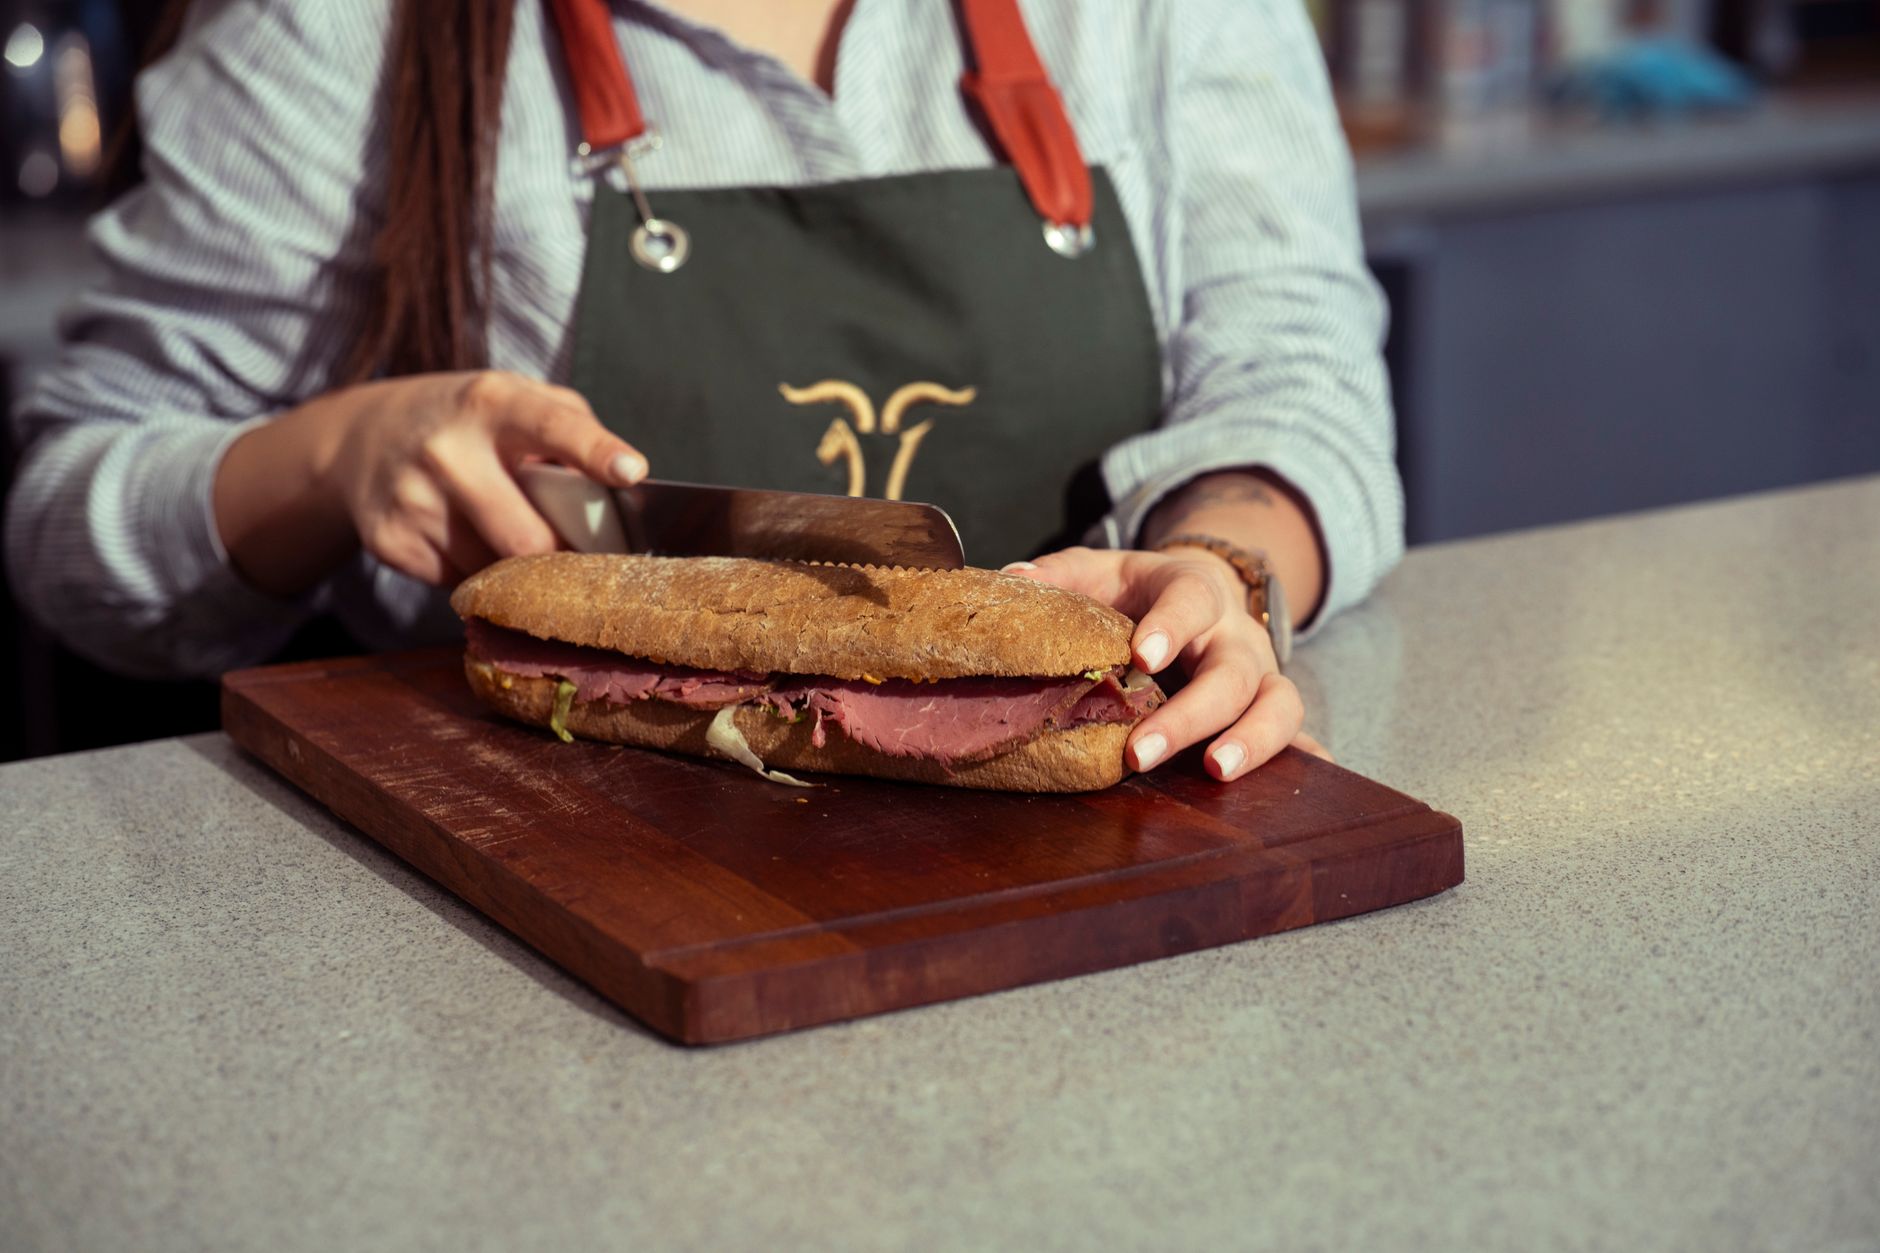
Running a toothpick through the center of an assembled sandwich helps hold the layers together, and cutting straight across rather than diagonally creates thicker, sturdier corners that are less likely to spill their filling — both small details that make a genuine difference for a sandwich piled with fresh, loose ingredients.
These finishing touches matter more the further the sandwich has to travel before being eaten. A sandwich built at a counter and eaten immediately can get away with looser assembly than one that’s being wrapped, packed in a cooler, and eaten an hour or two later on the road.
None of this needs to feel like a rigid checklist, either. Once the basic principles — moisture barrier, cheese placement, balanced toppings, careful finishing — become habit, building a genuinely good sandwich stops requiring conscious thought and just becomes how you naturally build one every time.
Frequently Asked Questions
How do I keep a sandwich from getting soggy?
Use a fat-based spread as a moisture barrier on the bread, and keep wetter vegetables away from direct bread contact.
What order should I layer sandwich ingredients?
Bread, spread, cheese, sturdier fillings toward the center, then lettuce or greens to separate slippery ingredients.
How many toppings should I choose on a build-your-own?
Enough to balance flavors without overloading the sandwich; Mabel’s Market and Veggie options allow up to five vegetables, but using all five isn’t required for the best result.
Should I cut a sandwich diagonally or straight across?
Straight across creates thicker, sturdier corners that hold fillings in better than a diagonal cut.
Can I build my own sandwich at Mabel’s Deli?
Yes — The Market and The Veggie are both build-your-own options with a choice of cheese and up to five vegetables.
Does the moisture barrier trick work on toasted bread too?
Yes, and it’s less critical on toasted bread since toasting already adds some resistance to sogginess, but the spread still helps, especially for a sandwich that will sit for a while.
What if I’m making a sandwich to eat later, not right away?
Layer wetter ingredients like tomatoes further from the bread and pack any very juicy toppings separately if possible, adding them just before eating.
How do I avoid a sandwich with too many competing flavors?
Pick one dominant flavor theme — sharp, creamy, spicy, or fresh — and choose toppings that support it rather than trying to include every option available.
Do finishing touches like toothpicks really matter?
More for a sandwich that has to travel before being eaten than one eaten immediately at the counter; the further it has to go, the more those small details matter.
Ready to build your own? See our Mabel’s Deli menu guide for The Market and The Veggie build-your-own options.
For more professional sandwich-building technique, see the Culinary Institute of America.