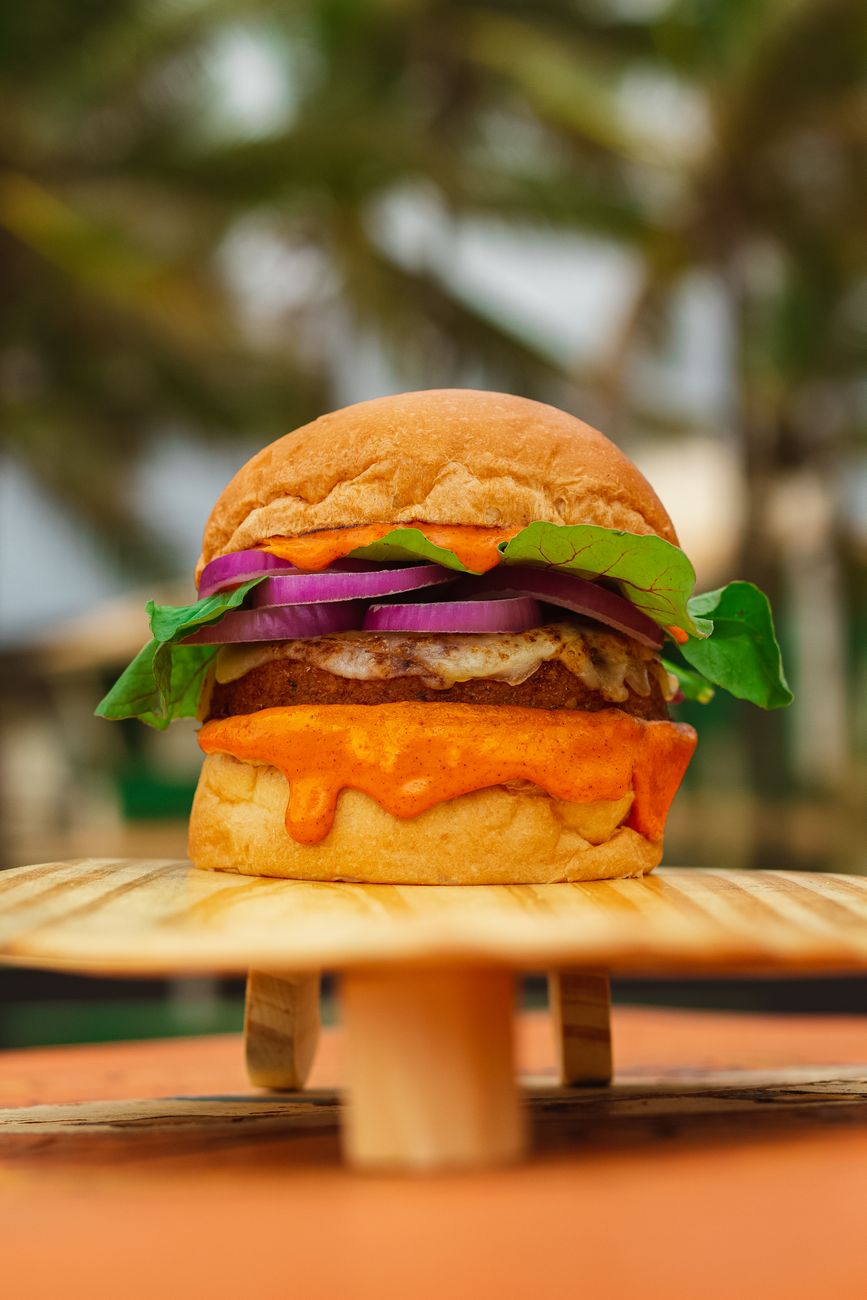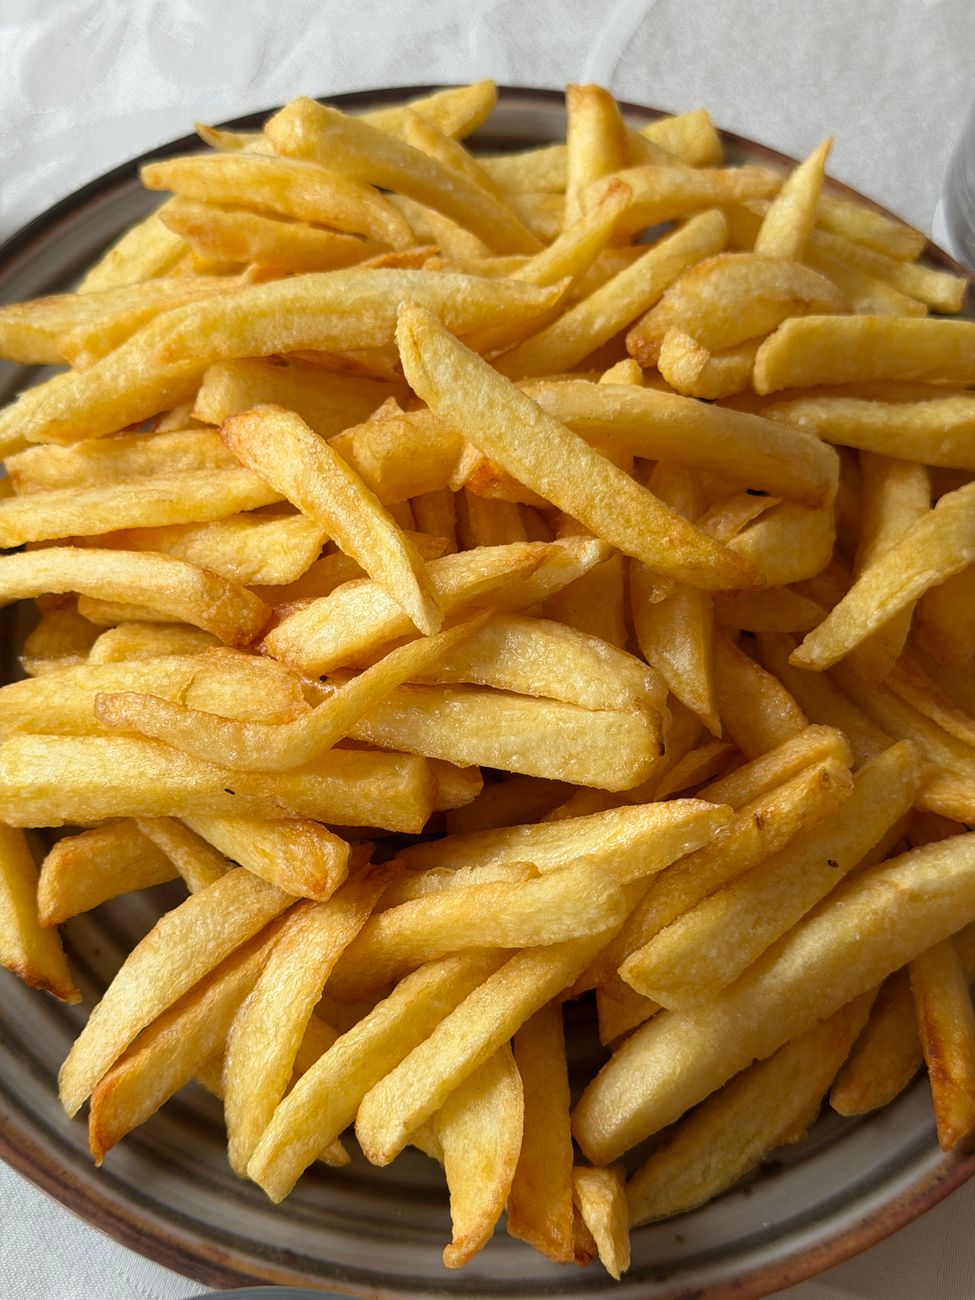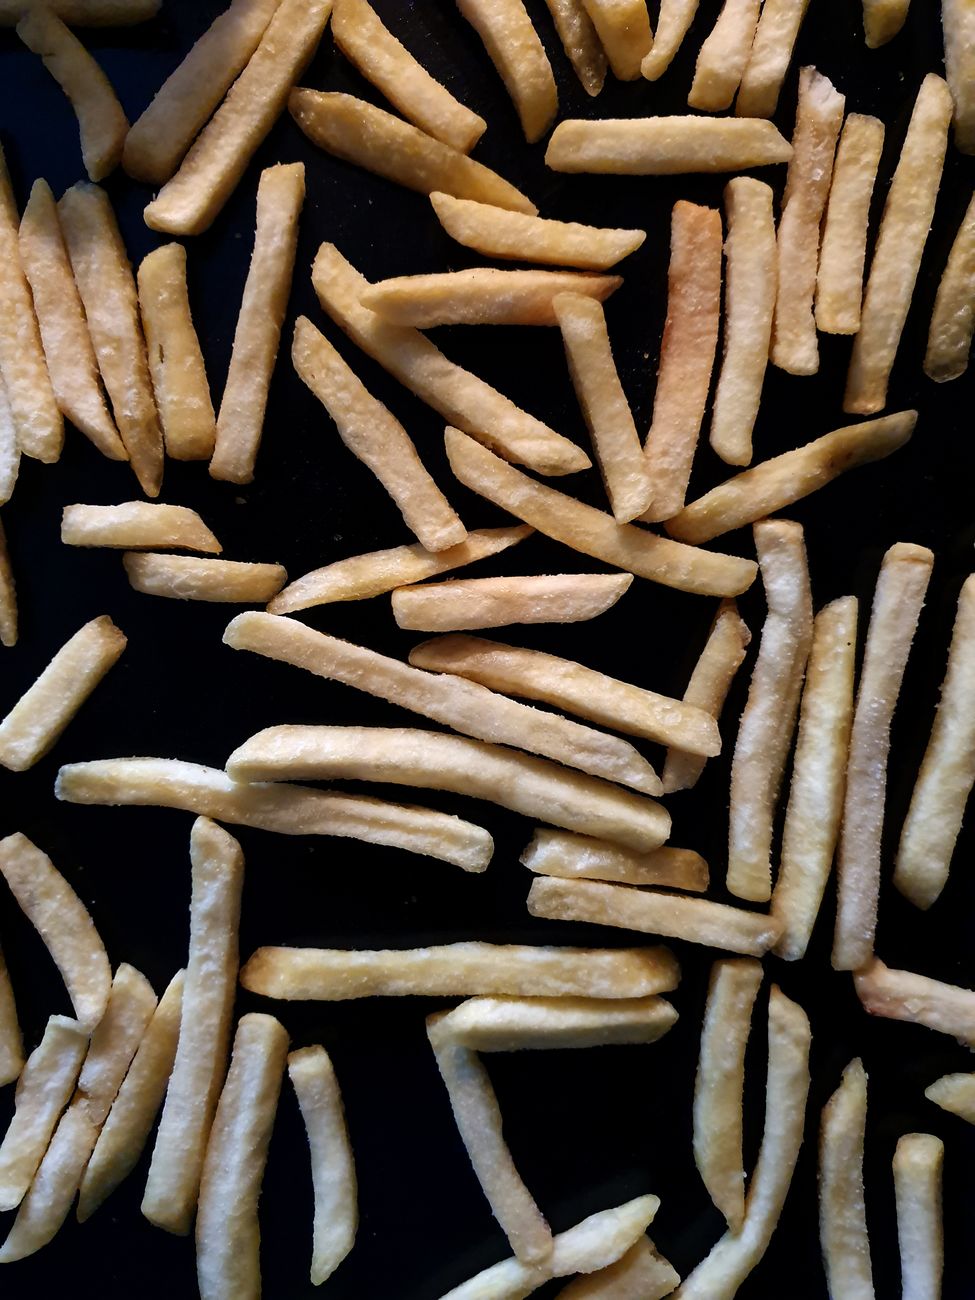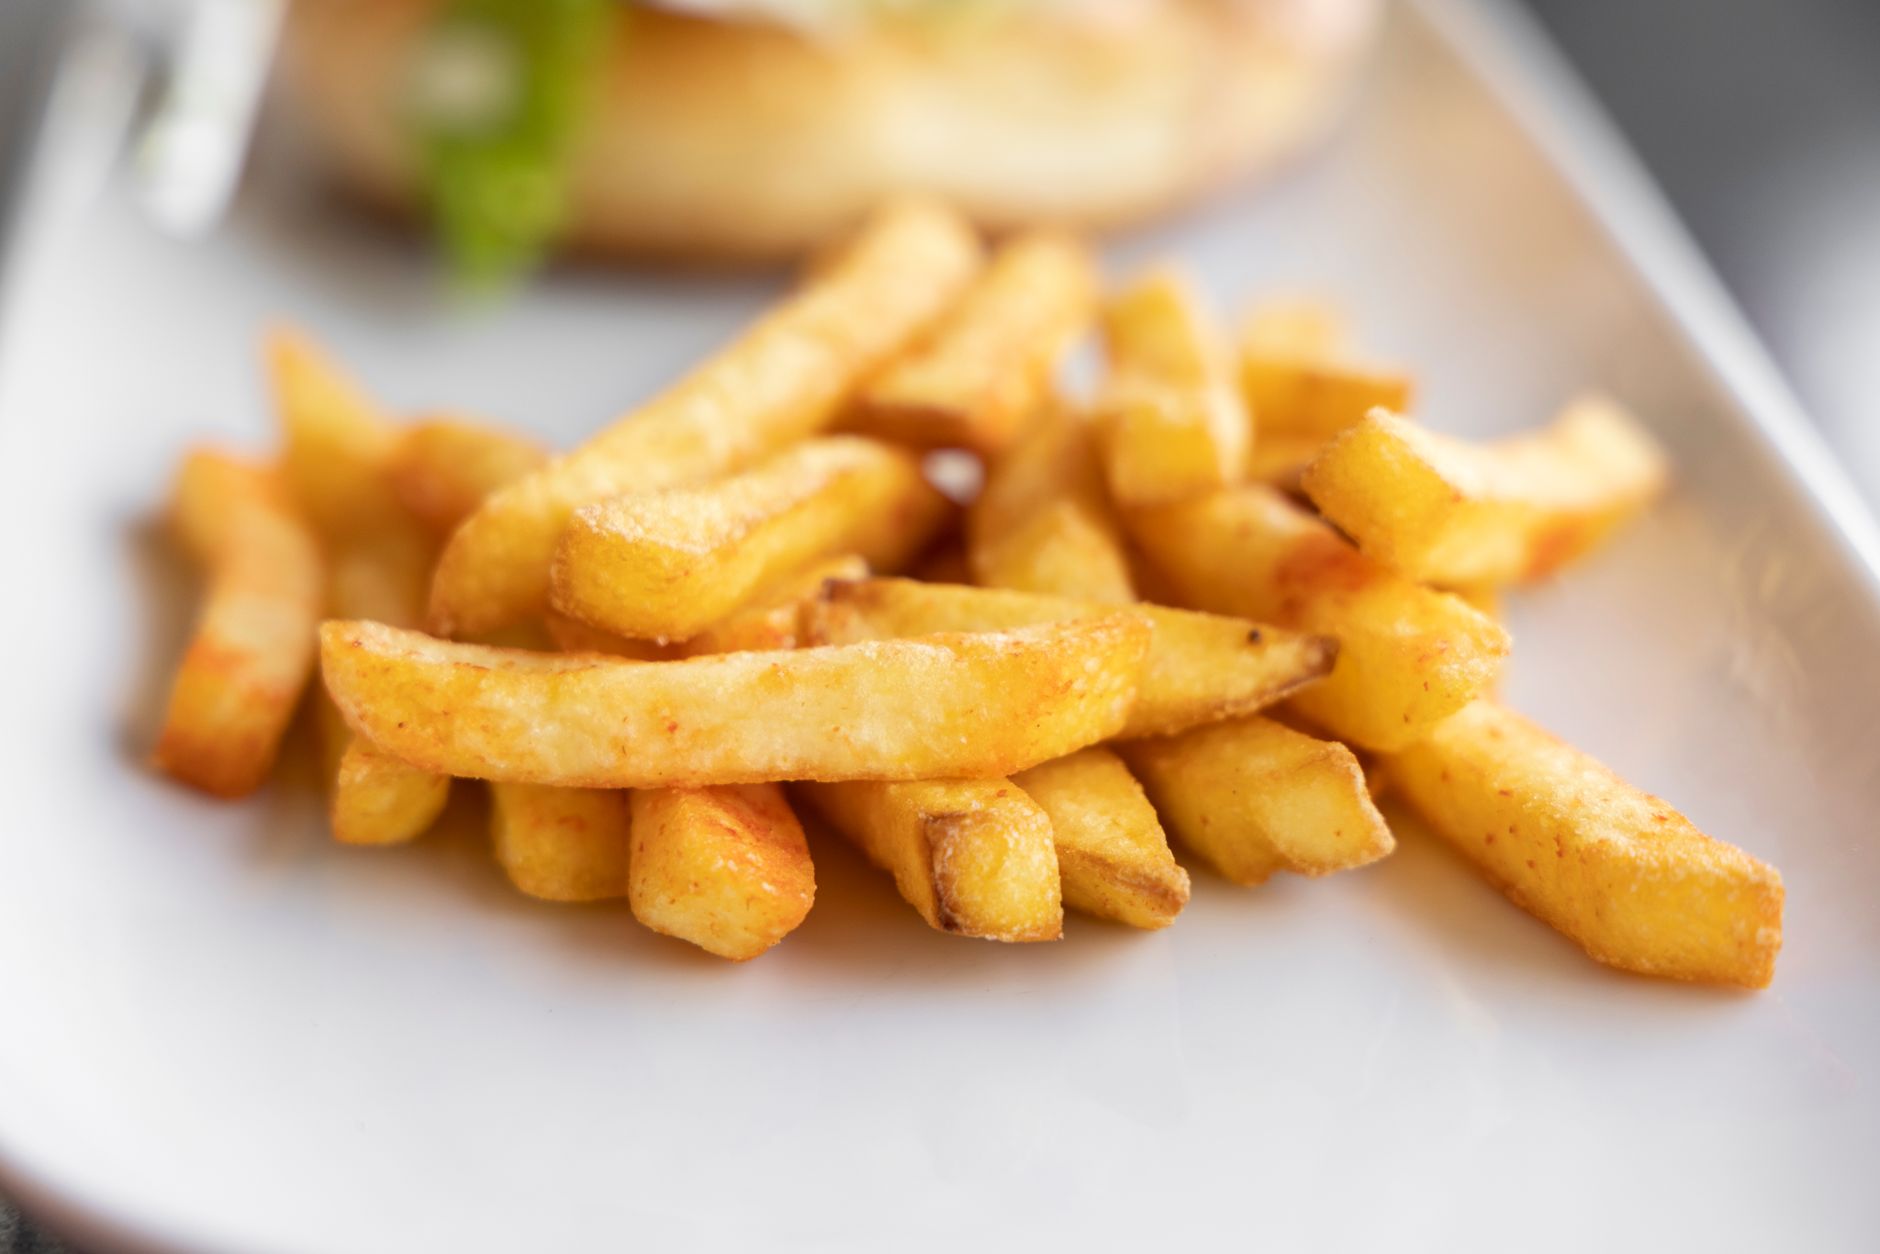
6250 US Hwy 285, Poncha Springs, CO 81242

Open Daily · Summer 7:30AM–8PM

(719) 539-6089

Facebook Instagram

Category: Recipes & Food Guides

Real recipes, food history, and ingredient guides covering sides, condiments, breakfast, and more.

  • Ranch Dressing: The Real History

    Ranch Dressing: The Real History

    Ranch is one of the most popular dressings and dips in America, and unlike a lot of food origin stories with murky or disputed details, ranch dressing’s history is unusually well documented, down to the actual ranch it’s named after.

    Here’s where it really came from.

    That level of documentation is rare for a food this common — most iconic American condiments have at least some disputed detail, but ranch’s story holds up consistently across sources.

    Hidden Valley Ranch, California

    Ranch dressing was invented by Steve Henson, a plumbing contractor who developed the recipe while working in Alaska in the 1950s, then perfected and served it to guests at Hidden Valley Ranch, a dude ranch he and his wife opened near Santa Barbara, California, in 1954. Guests loved the dressing so much that the Hensons started bottling and selling it, and eventually the dry seasoning packet mix, directly from the ranch.
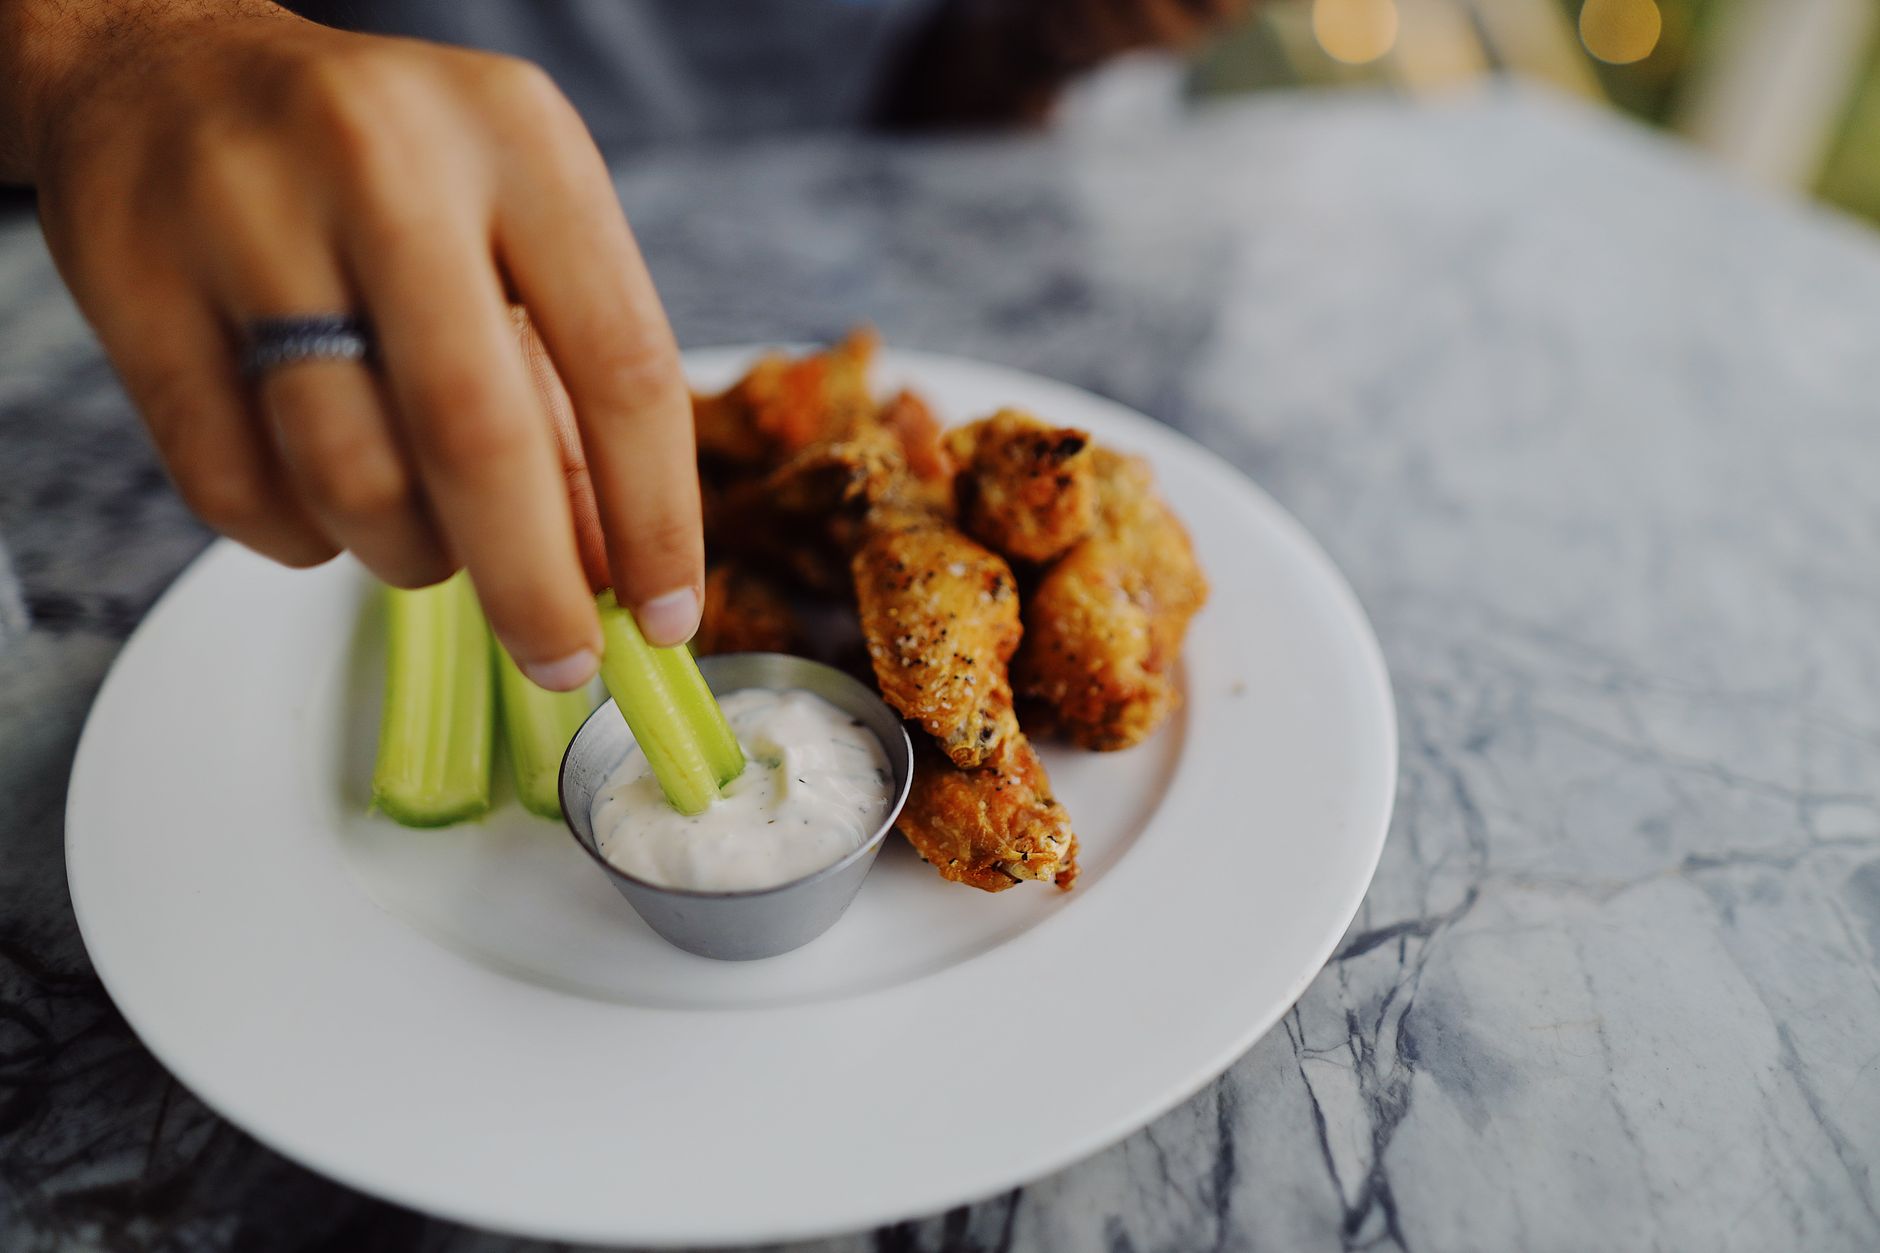
    A person dipping fresh celery sticks into a bowl of ranch dip

    From Ranch Gift Shop to National Brand

    What started as a homemade condiment sold to ranch visitors eventually grew into a packaged dry-mix product sold in grocery stores nationwide. Clorox purchased the Hidden Valley Ranch brand in 1972, and ranch dressing’s popularity only continued climbing from there, eventually becoming the best-selling salad dressing in the United States.
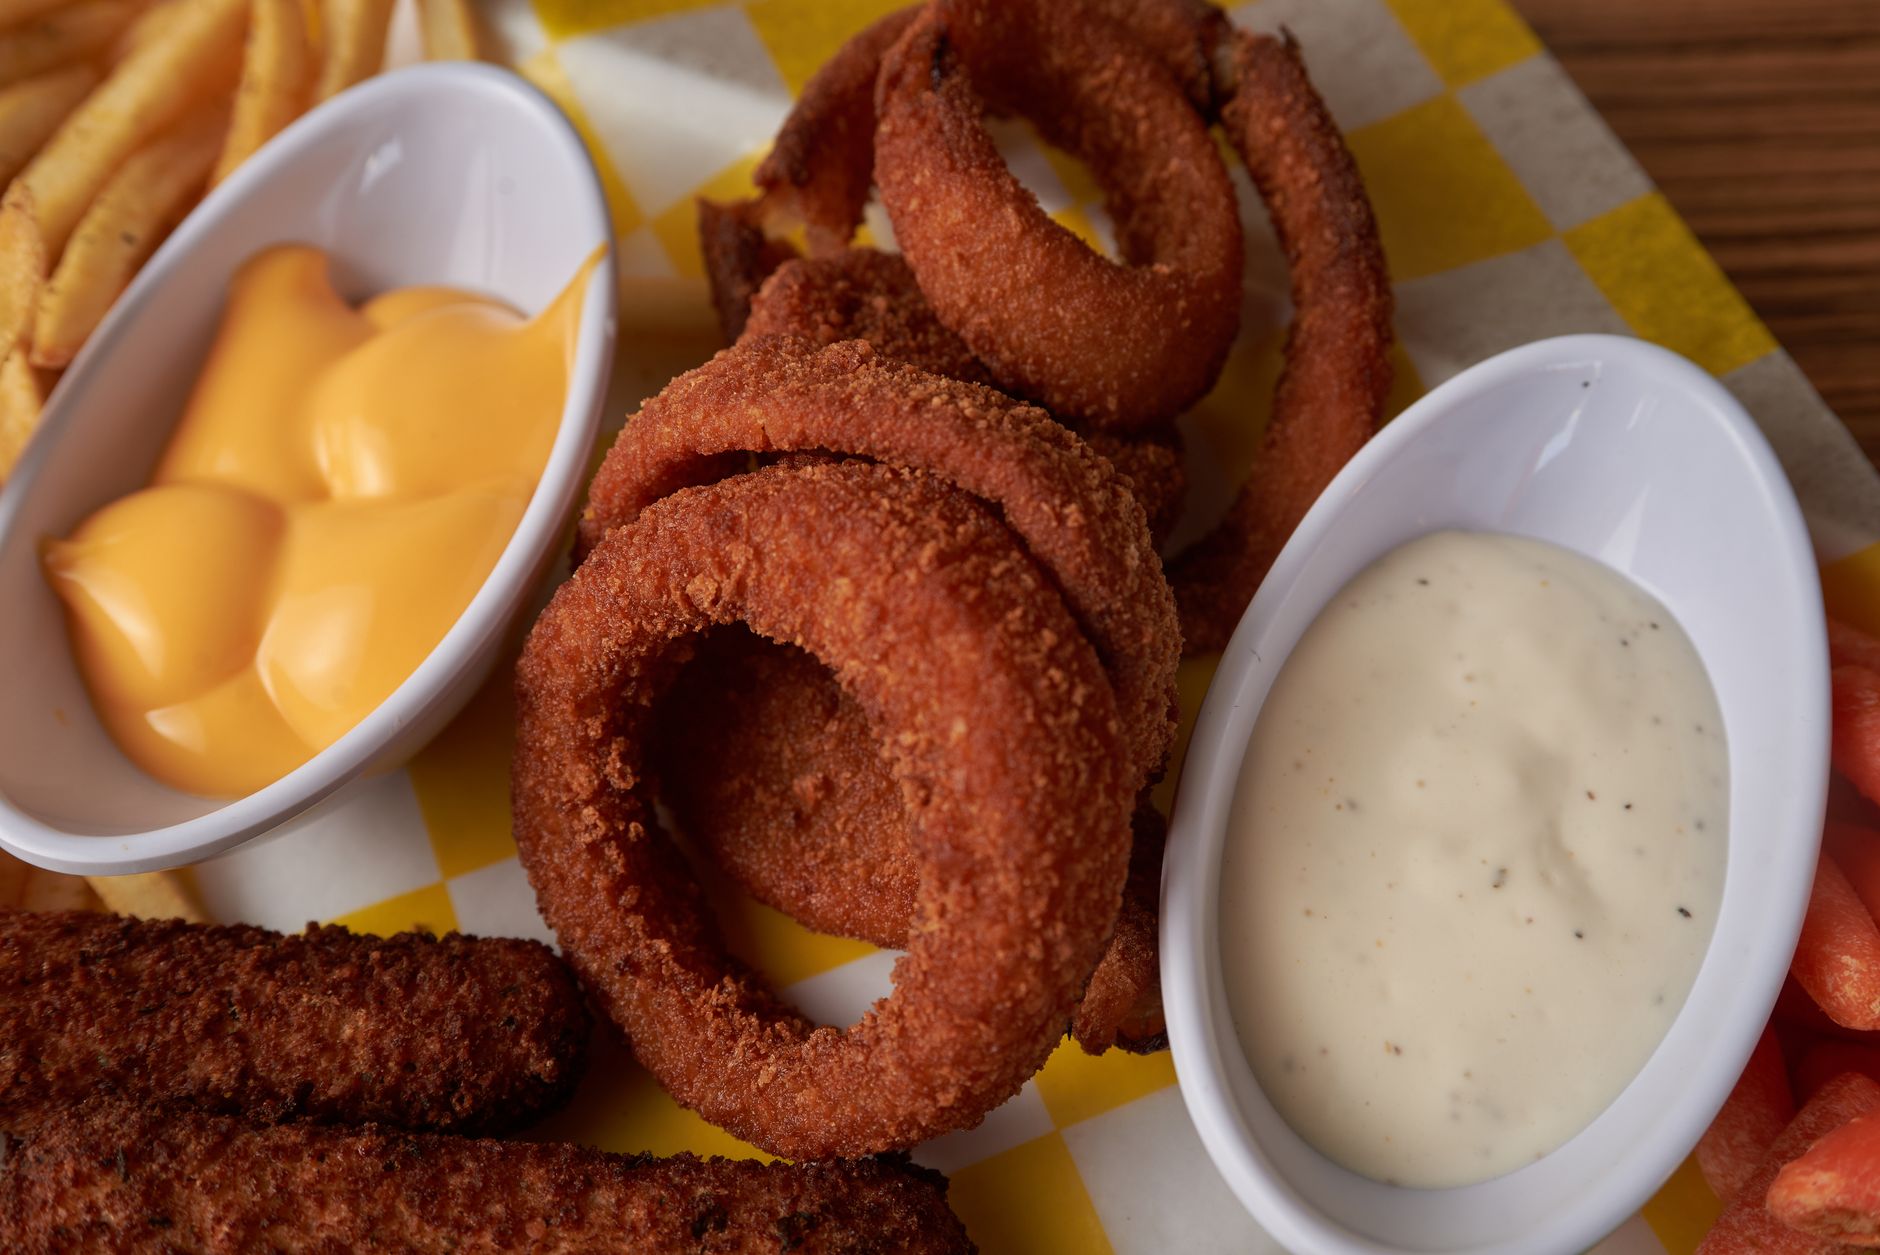
    Crispy fried onion rings served with a creamy dipping sauce

    Why It Became So Popular

    Ranch’s buttermilk-and-herb base offers a tangy, mild flavor that works as both a salad dressing and a dip, which broadened its use far beyond salads into pizza, wings, vegetables, and fried sides. That versatility, more than any single factor, is likely what pushed it past more traditional dressings in overall popularity.
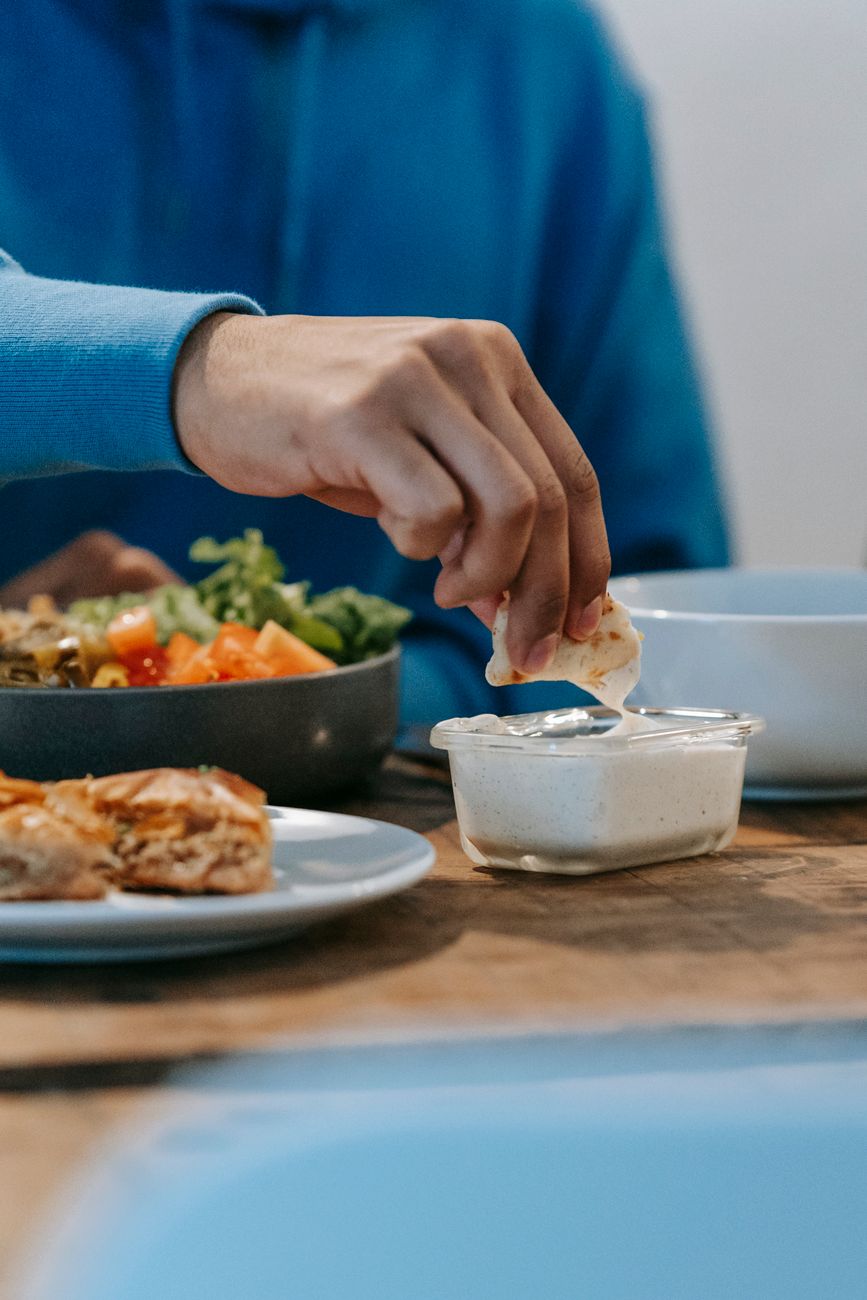
    A person dipping a piece of flatbread into a creamy sauce

    The Original Recipe Still Exists

    Unlike many food origin stories where the “original” version is lost or reconstructed from memory, the actual Hidden Valley Ranch recipe has been documented and passed down directly, since the Henson family continued running the business for years after the initial success.
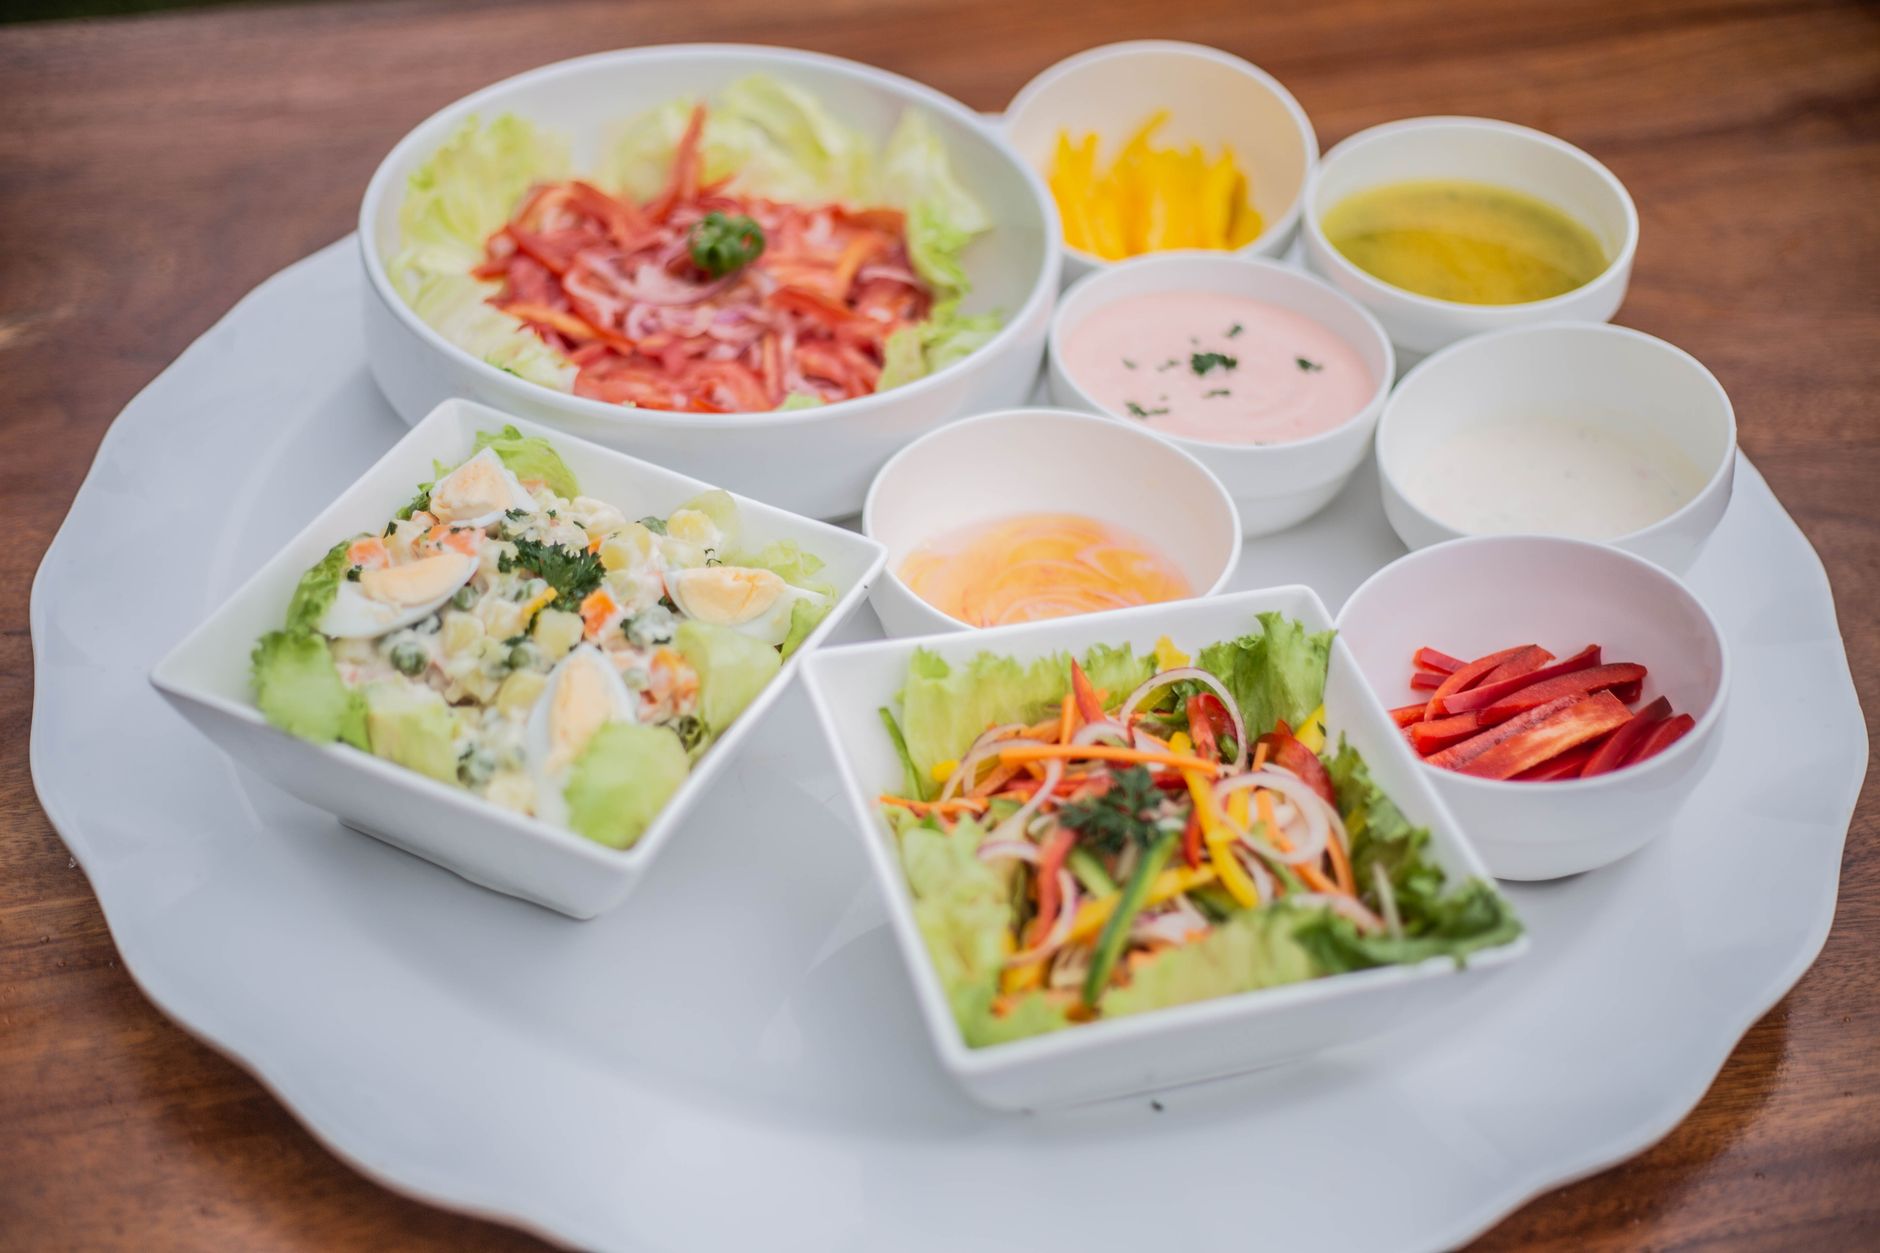
    A white plate with several small bowls of salad and dipping sauces

    Frequently Asked Questions

    Is ranch dressing named after a real ranch?

    Yes — Hidden Valley Ranch, a real dude ranch near Santa Barbara, California, where the dressing was first served to guests in 1954.

    Who invented ranch dressing?

    Steve Henson, who developed the recipe while working in Alaska and later perfected it at Hidden Valley Ranch.

    When did ranch become available in stores?

    The dry seasoning mix was sold starting in the 1950s and 60s, with Clorox acquiring the brand in 1972 and expanding it nationally.

    Is ranch dressing the best-selling dressing in the U.S.?

    Yes — it has held that position for years, driven largely by its use as a dip beyond just salads.

    What pairs well with ranch dressing?

    Fried sides like onion rings and vegetables are classic pairings, alongside salads.

    Is homemade ranch different from the bottled version?

    Homemade ranch, made fresh with buttermilk and herbs, tends to taste brighter than shelf-stable bottled versions, which use preservatives for a longer shelf life.

    When did Clorox acquire the Hidden Valley Ranch brand?

    In 1972, after which the brand expanded significantly beyond its original ranch-based sales.

    Curious how ranch compares to another classic dressing? See our Thousand Island vs. Russian dressing guide.

    For more on this dressing’s documented origin, see NPR.
  • Bacon Guide: Curing Methods and Types

    Bacon Guide: Curing Methods and Types

    Bacon shows up on breakfast sandwiches, BLTs, and burgers alike, but most people have never looked closely at how it’s actually made or what separates the different types sold in stores.
    Here’s a practical breakdown of curing, smoking, and the most common bacon varieties.

    Understanding these differences also helps explain why bacon from different sources can taste so different, even when cooked exactly the same way in a pan at home.

    What Curing Actually Does

    Curing bacon involves treating pork belly with salt, sugar, and typically sodium nitrite, which draws out moisture, preserves the meat, and gives cured bacon its characteristic pink color and flavor. This step happens before smoking or cooking, and it’s the primary reason bacon tastes and looks different from plain cooked pork belly.

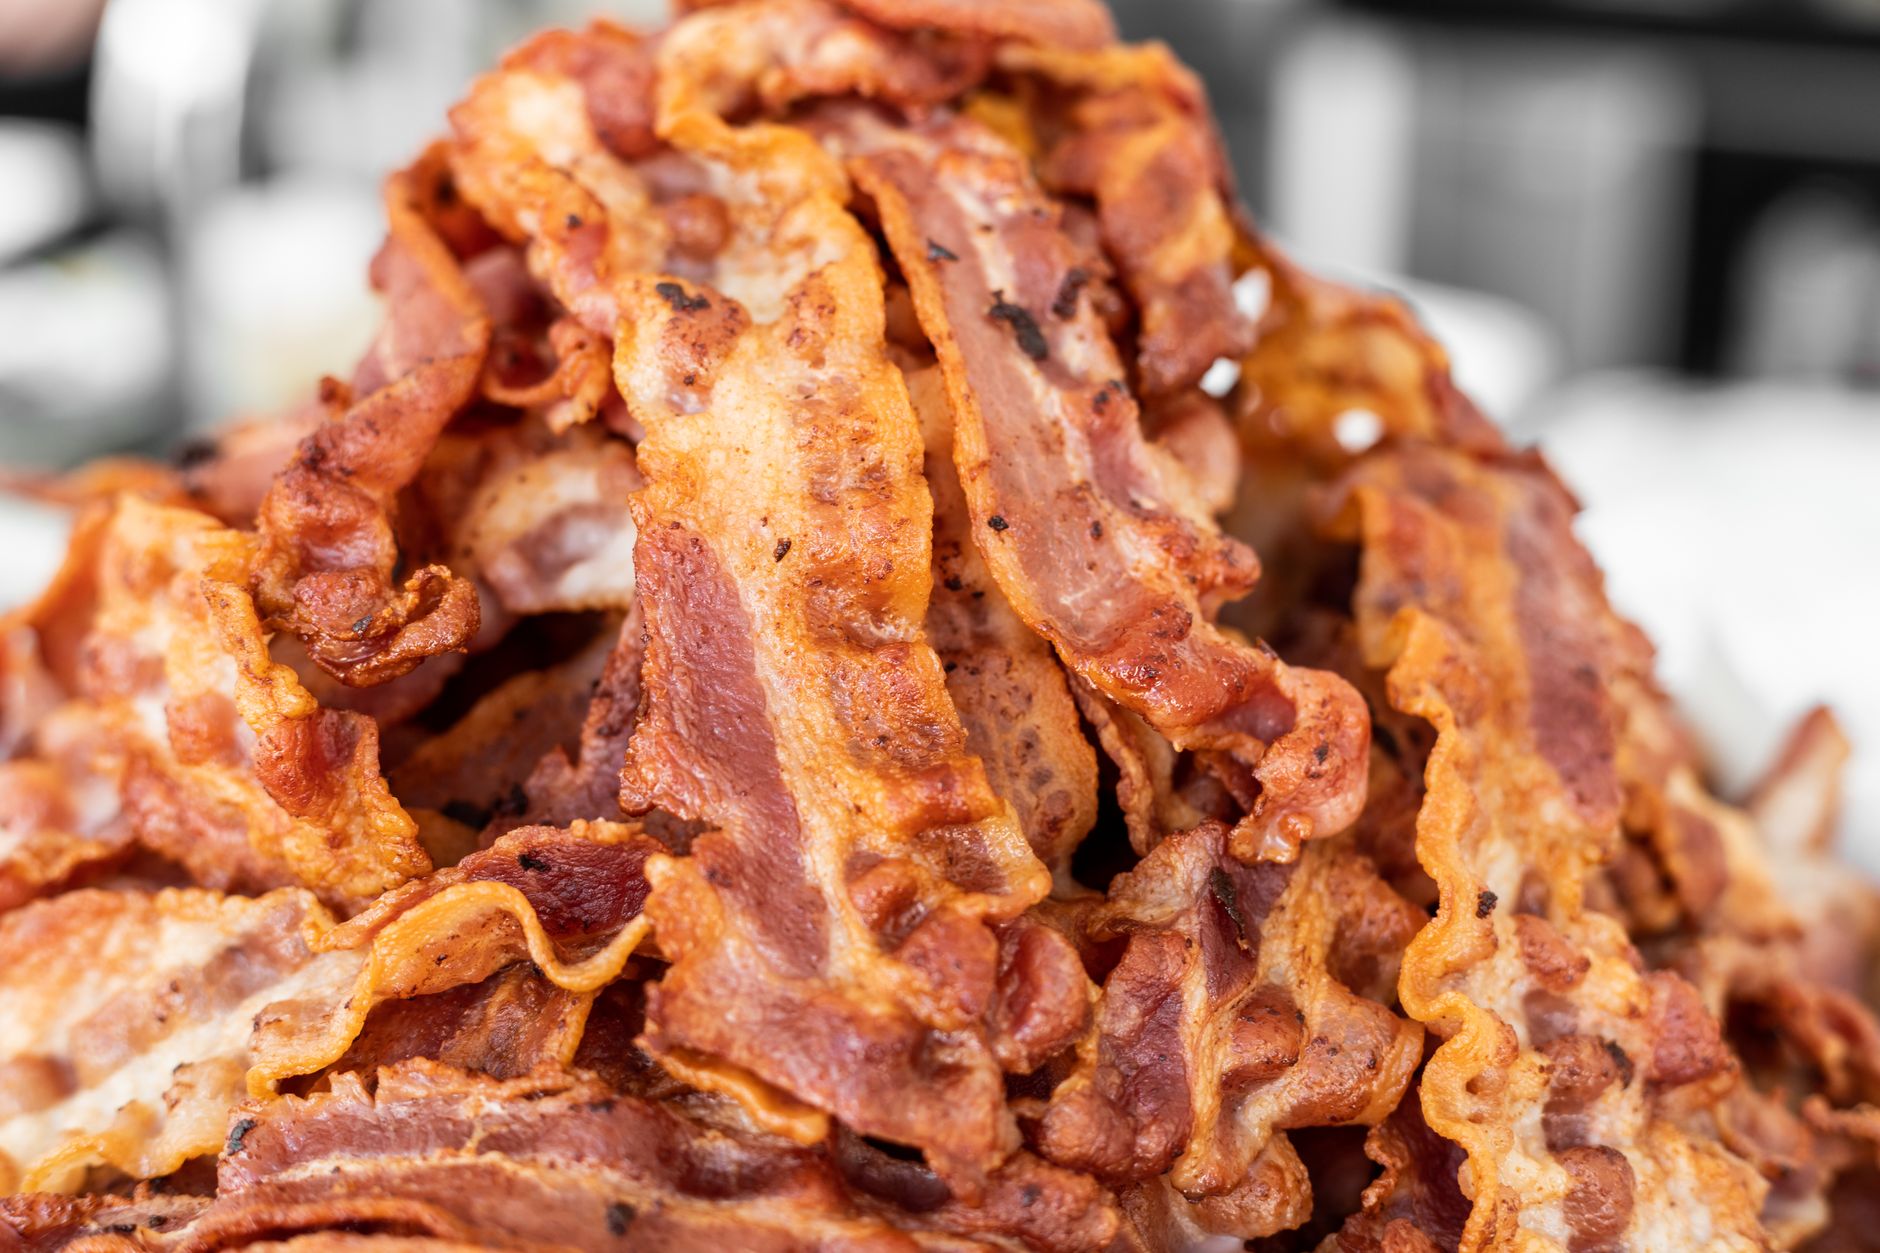
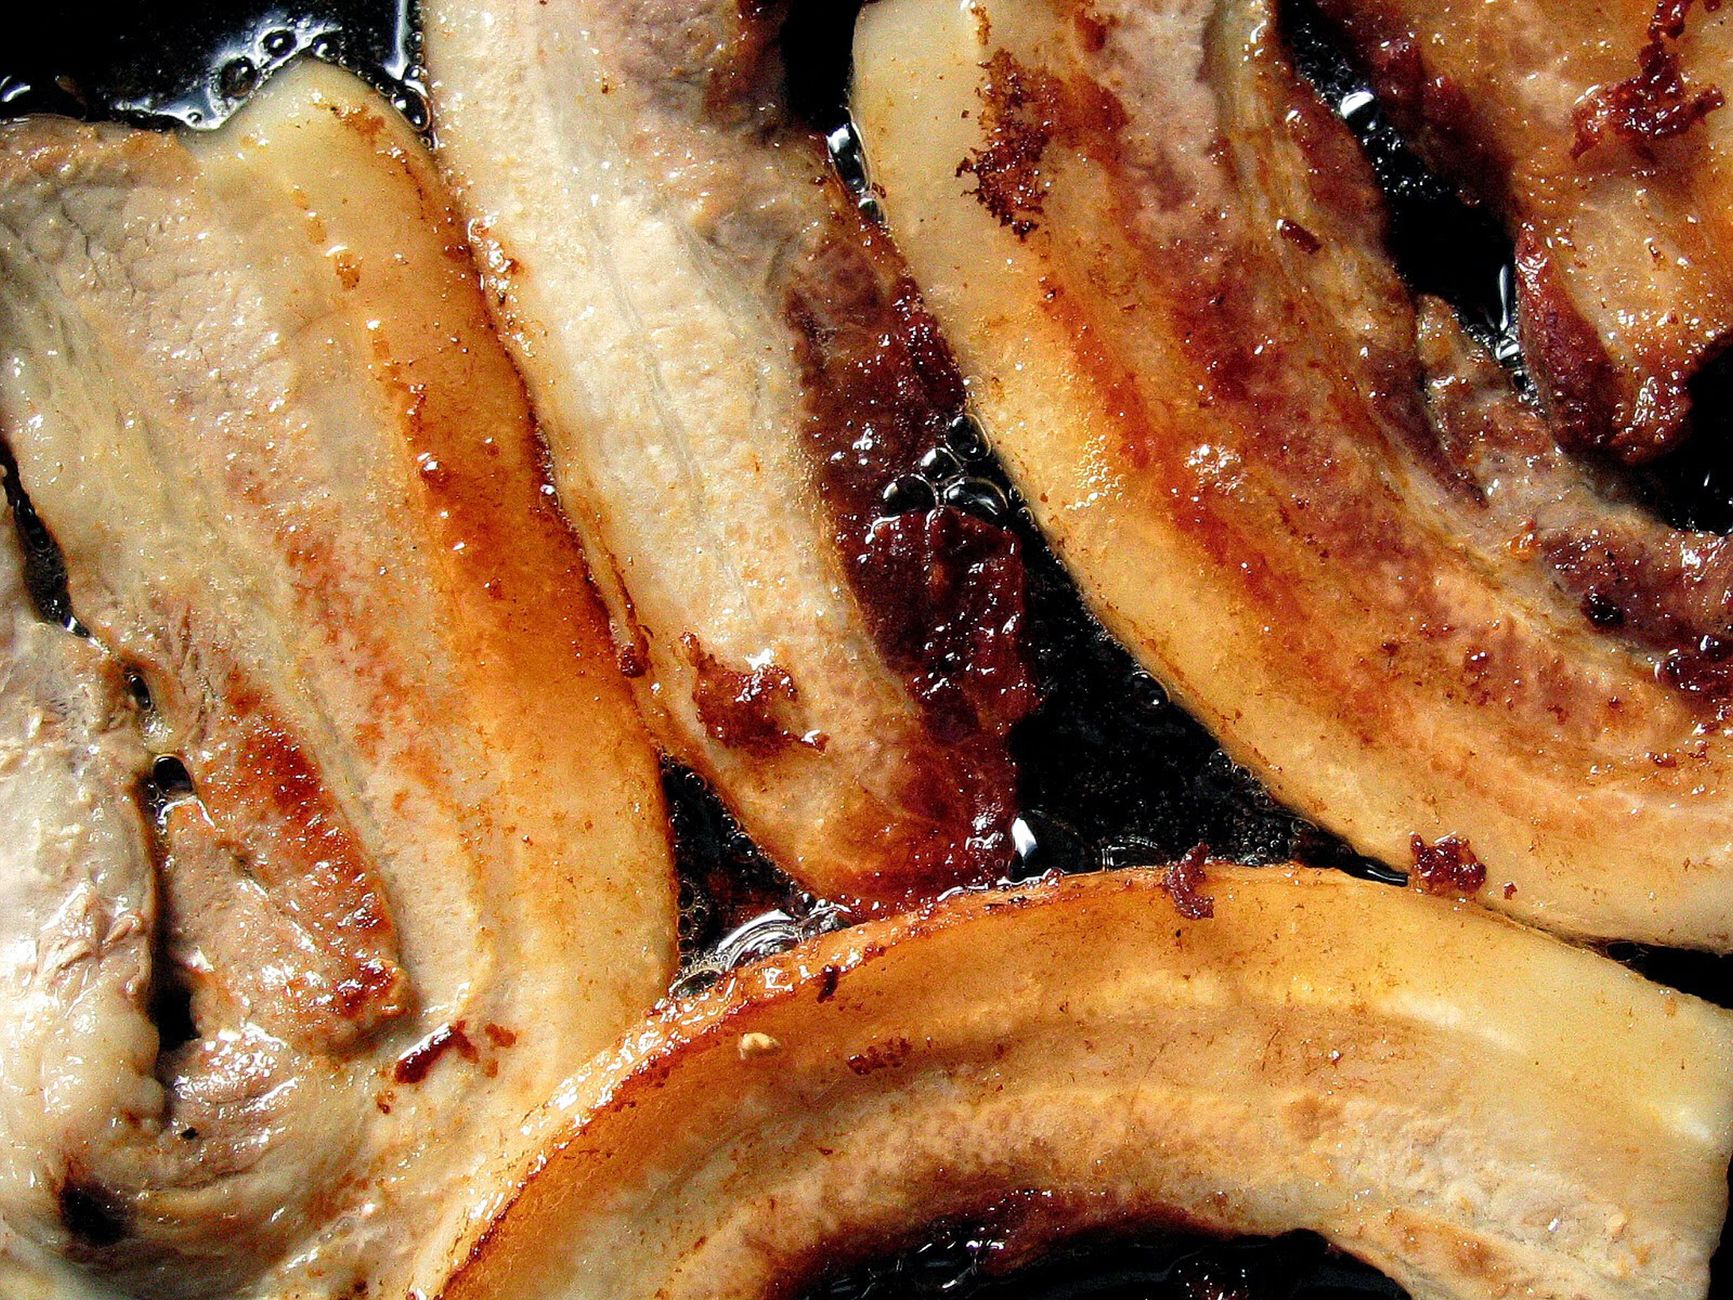
    A close-up photograph of crispy cooked bacon strips

    Dry-Cured vs. Wet-Cured

    Dry curing rubs the salt-and-sugar mixture directly onto the meat and lets it sit for days to weeks, producing a more concentrated flavor. Wet curing, more common in mass-produced bacon, submerges or injects the meat in a brine, which is faster and yields a more consistent product at scale.

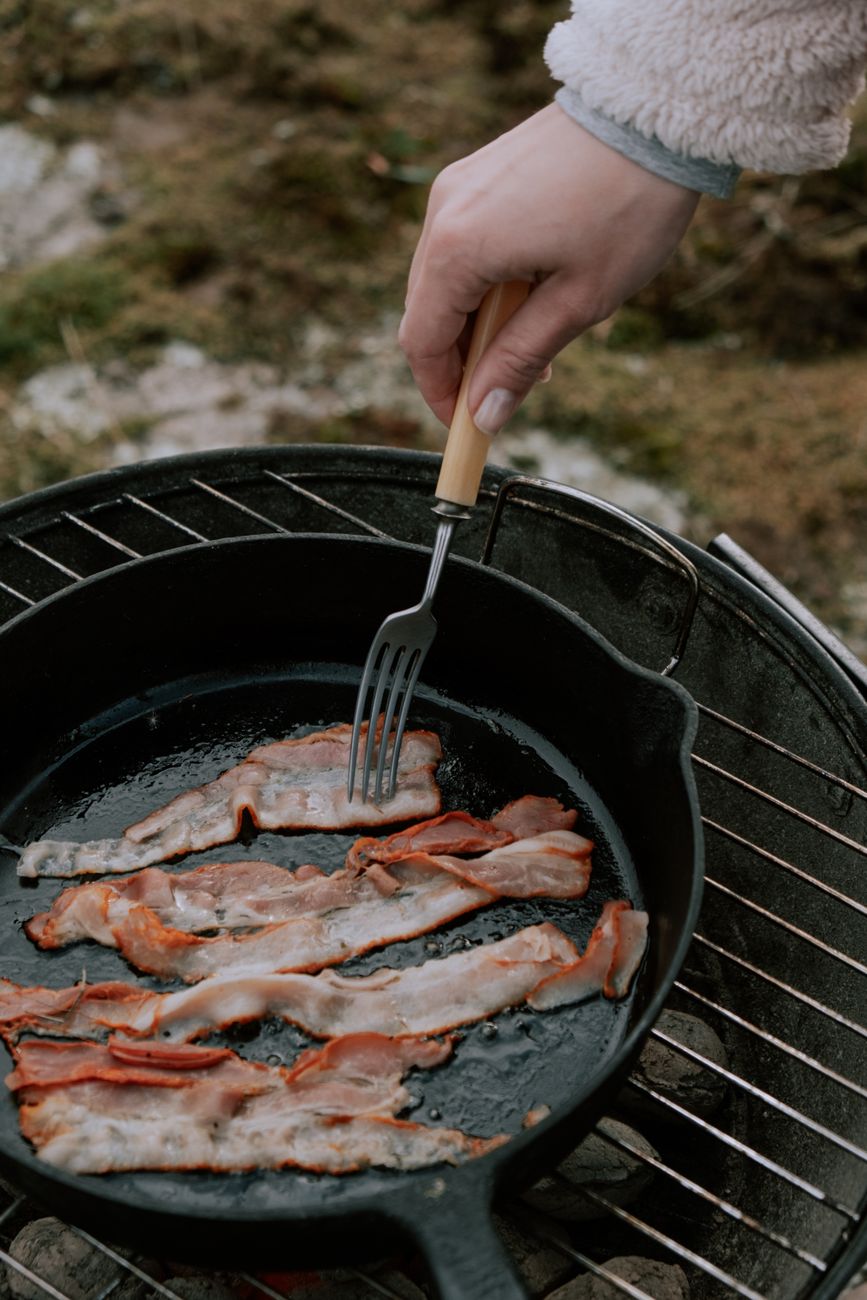
    A hand cooking strips of bacon in a hot frying pan

    Common Bacon Types

    TypeCutNotes
    Streaky (standard)Pork bellyThe most common U.S. bacon; high fat content, crisps well
    Canadian baconPork loinLeaner, closer to ham in texture
    Turkey baconTurkeyLower fat, milder flavor, common substitute
    Thick-cutPork bellyCut thicker than standard slices, meatier bite
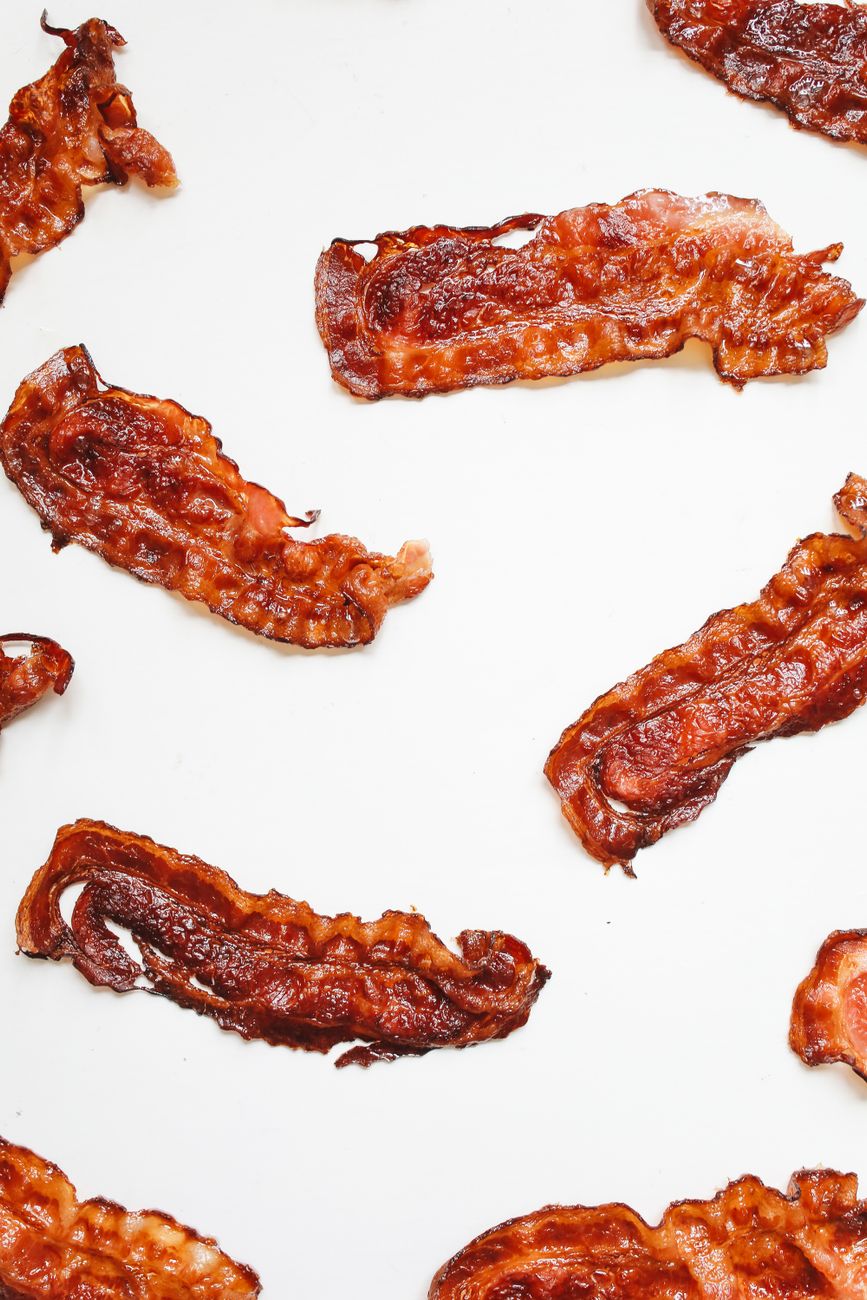
    Raw brown bacon strips laid out on a white surface

    Smoking Adds a Second Layer

    After curing, many bacons are smoked over wood, which adds flavor beyond what curing alone provides. Unsmoked cured bacon exists too, sometimes labeled “green bacon,” though it’s less common on U.S. grocery shelves than the smoked version.

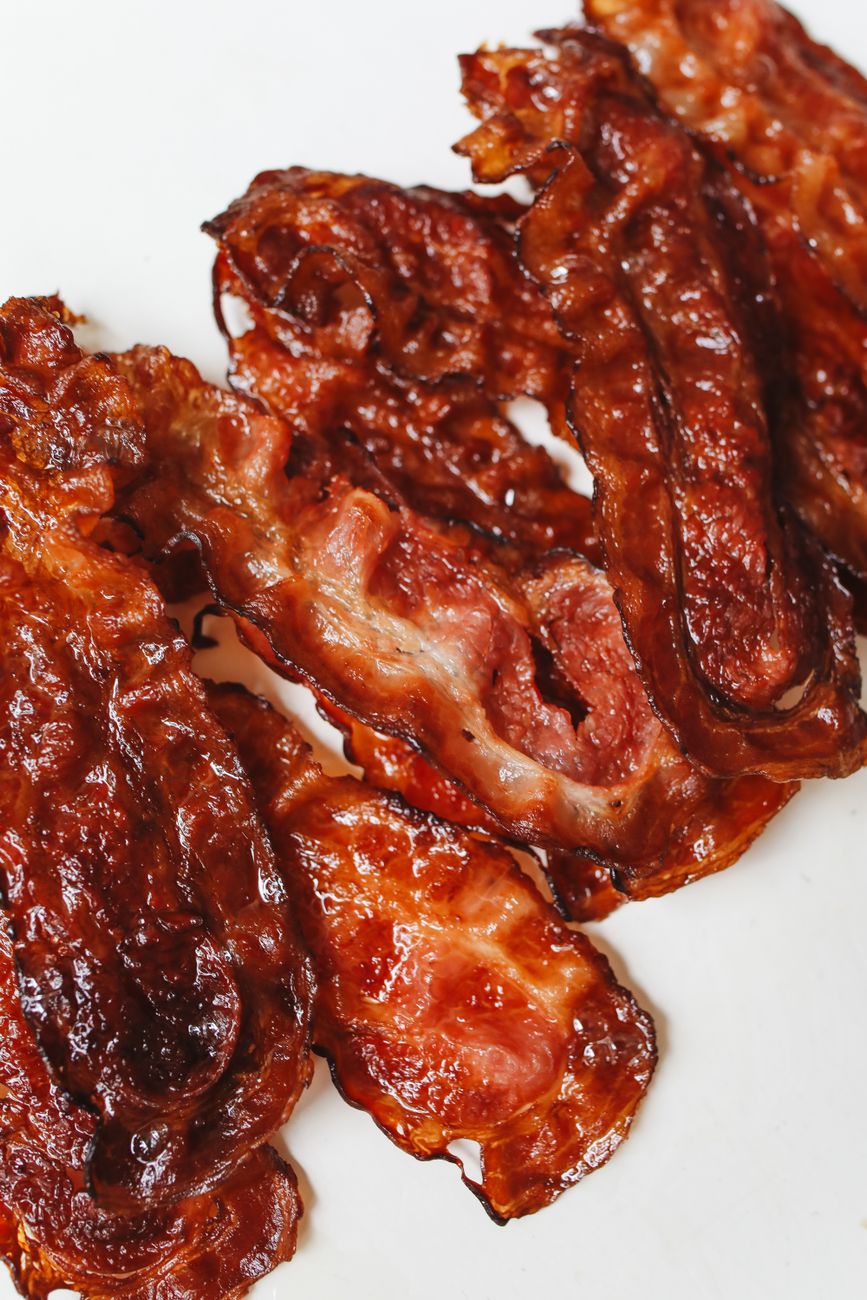
    A close-up photo of crispy cooked bacon strips

    Frequently Asked Questions

    What does curing actually do to bacon?

    It draws out moisture, preserves the meat, and gives it its characteristic pink color and flavor, using salt, sugar, and typically sodium nitrite.

    What’s the difference between dry-cured and wet-cured bacon?

    Dry curing rubs the mixture directly onto the meat over days to weeks; wet curing submerges or injects the meat in a brine, which is faster.

    Is Canadian bacon the same as regular bacon?

    No — it comes from pork loin rather than pork belly, giving it a leaner texture closer to ham.

    Is all bacon smoked?

    No — unsmoked cured bacon exists, sometimes called “green bacon,” though smoked versions are far more common in U.S. stores.

    What sandwich at Mabel’s Deli uses bacon?

    The BLT is the most direct example; see our classic BLT recipe.

    Why does bacon curl up when cooked?

    The muscle fibers contract faster than the surrounding fat as it heats, causing the strip to curl; scoring the fat edges lightly can help it lie flatter.

    Is thick-cut bacon better than standard bacon?

    Not necessarily better, just different — thick-cut offers a meatier bite, while standard slices cook faster and crisp more easily.

    Want to put bacon to good use? See our classic BLT sandwich recipe.

    For USDA guidance on bacon curing and labeling, see the National Pork Board.

  • How to Make Quick Refrigerator Pickles

    How to Make Quick Refrigerator Pickles

    Refrigerator pickles skip the traditional water-bath canning process entirely, which makes them a genuinely approachable project for anyone without canning equipment or experience. They’re also a natural pairing for the sandwiches and grill items at Mabel’s Deli.

    Here’s a simple recipe, along with the flexibility built into the method that makes it worth learning as a template rather than a fixed formula.

    Since the vegetables are never processed under heat and pressure the way true canned pickles are, this method trades long-term shelf stability for speed and simplicity, which is exactly the right trade-off for a small batch meant to be eaten within a few weeks.

    Basic Method

    Combine water, vinegar, and seasonings to make a pickle brine, then pour it over sliced cucumbers (or other vegetables) and store the jar in the refrigerator. Cucumber pickles made this way are ready to eat within a few hours to a day, and they keep for weeks in the refrigerator.

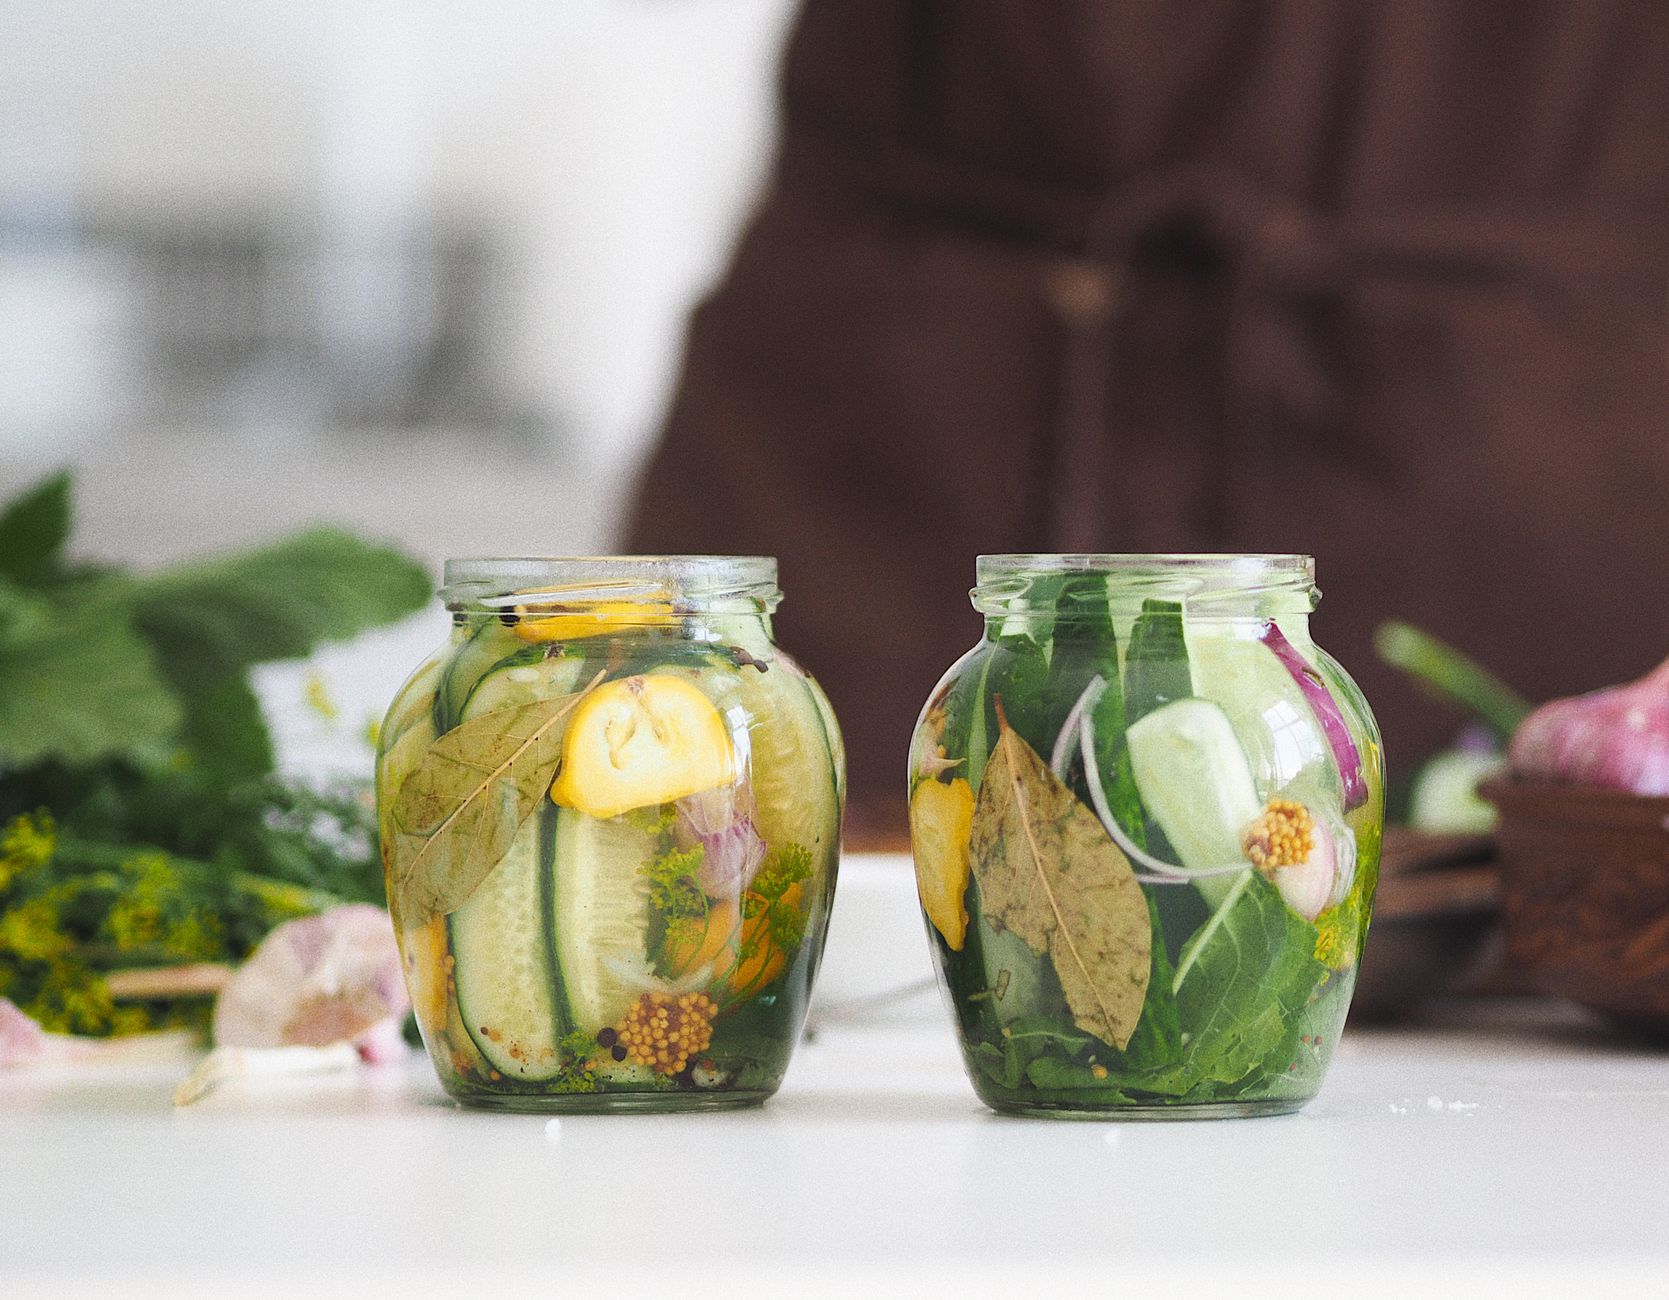
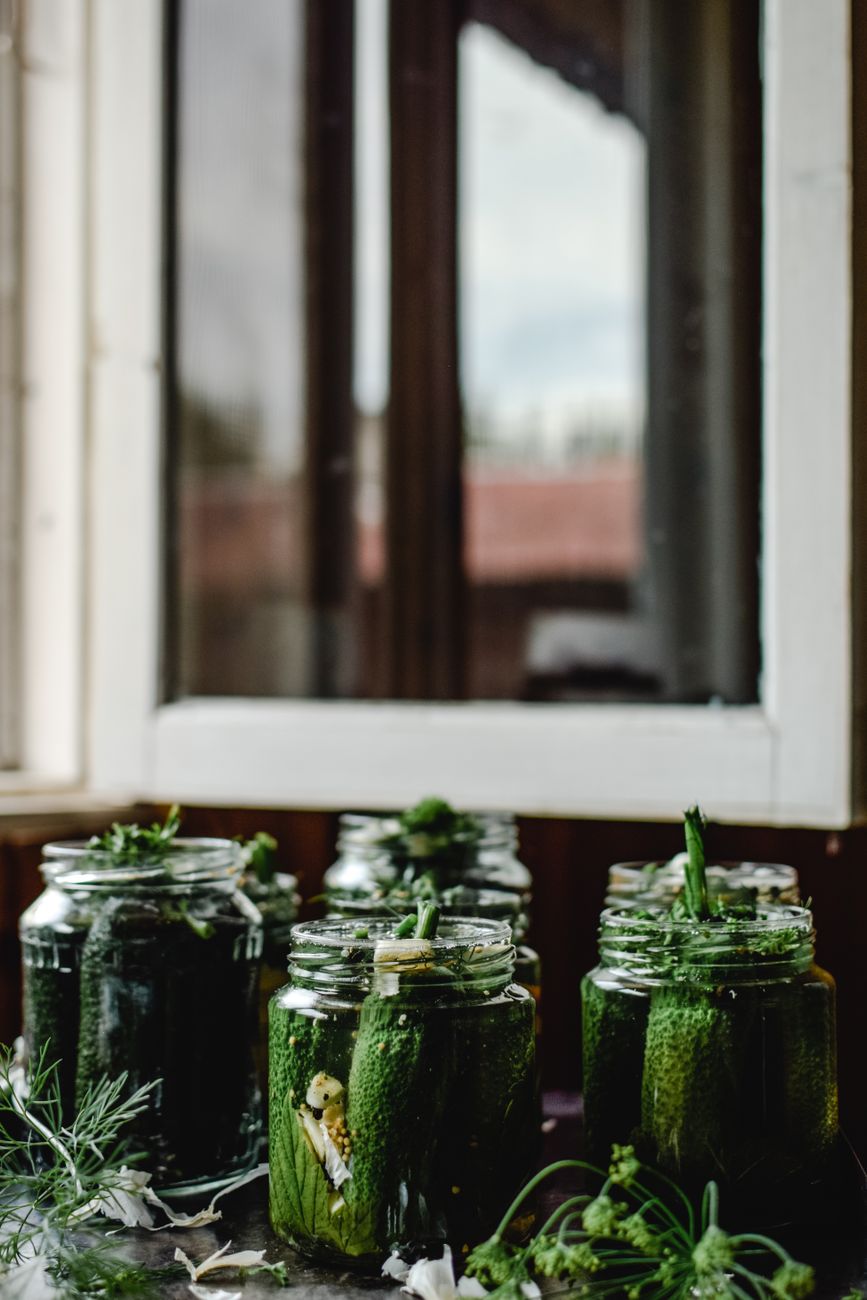
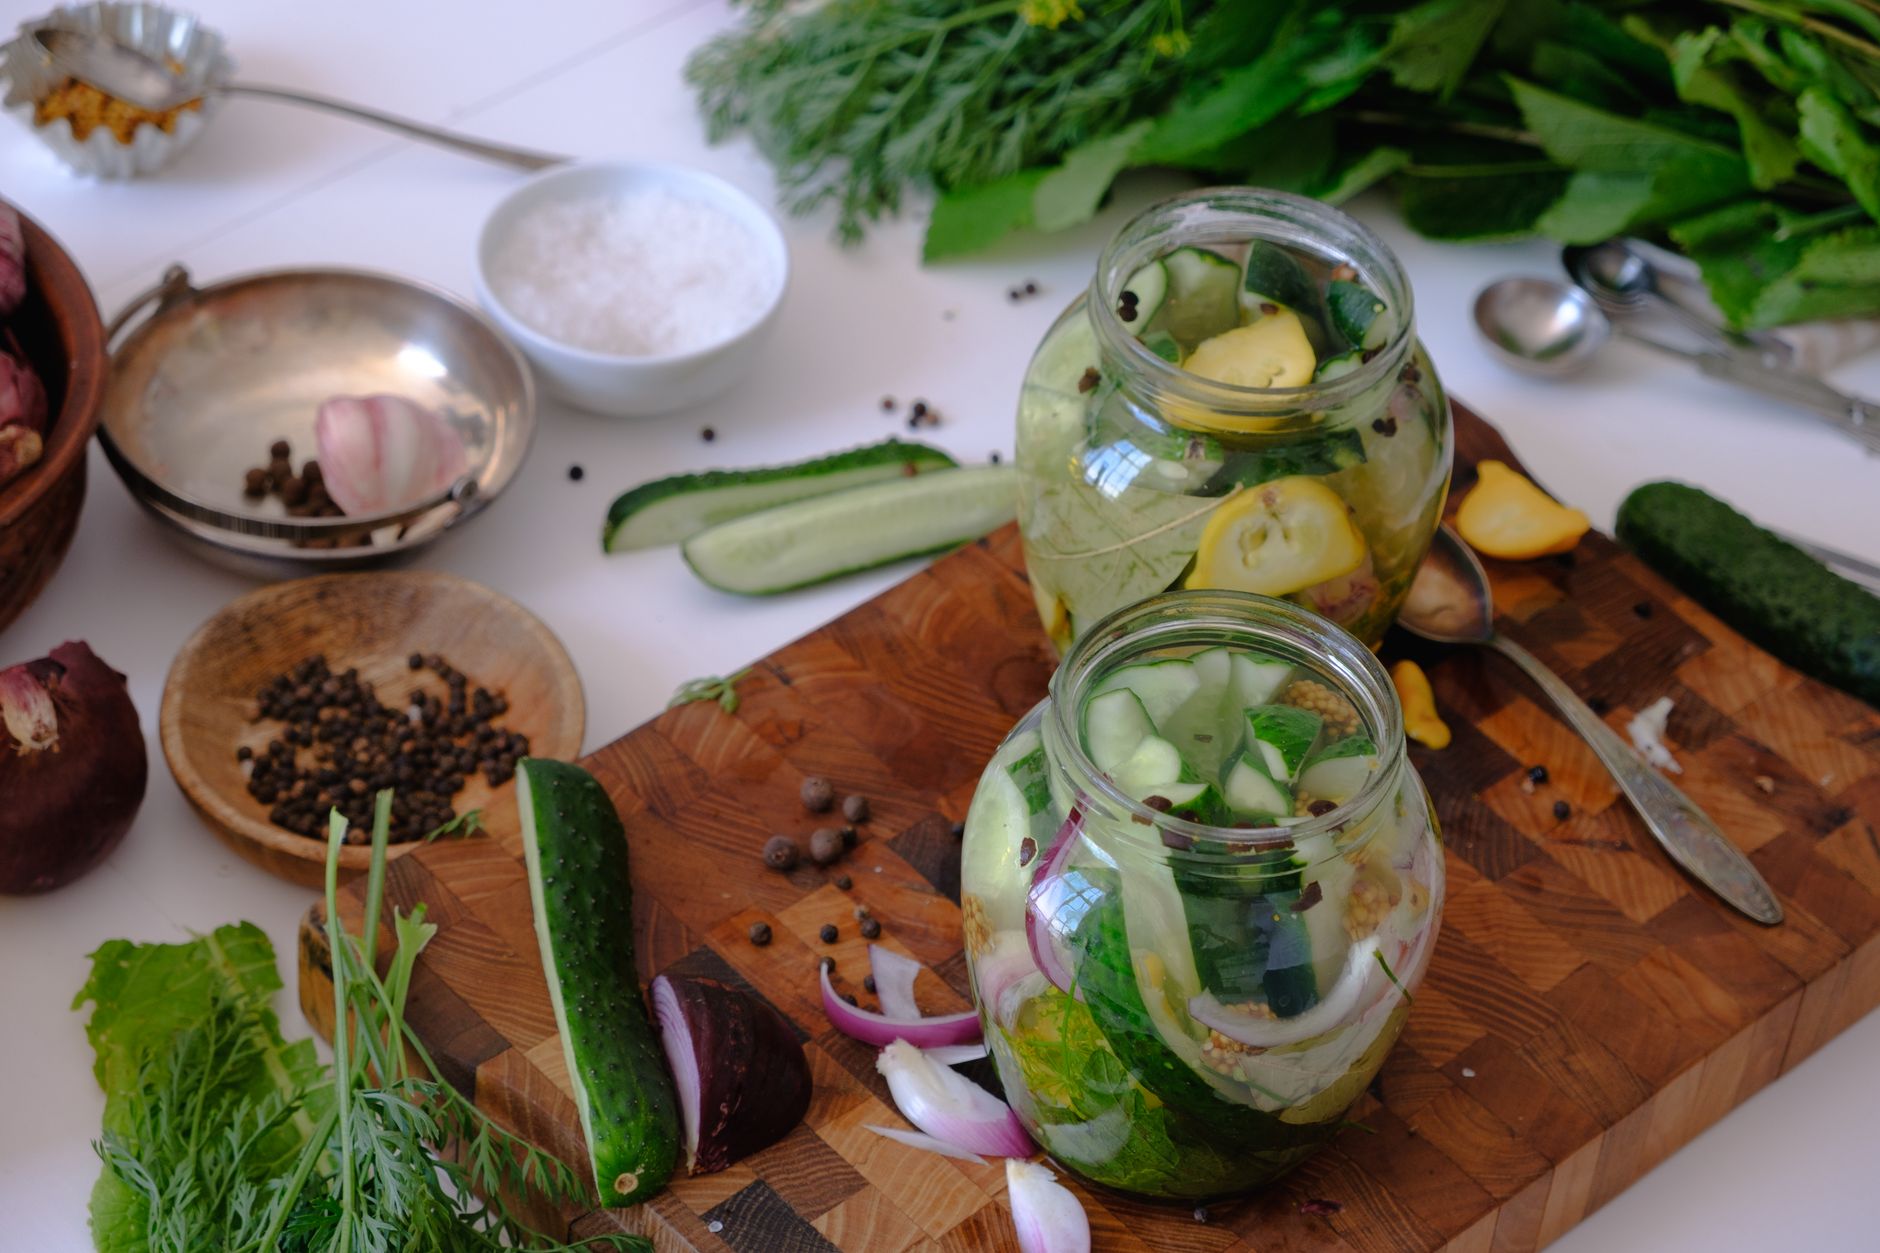
    Fresh cucumbers pickling in glass jars on a wooden surface

    Simple Recipe

    • 1 pint jar, clean
    • 2–3 cucumbers, sliced
    • 1 cup vinegar
    • 1 cup water
    • 1 tablespoon salt
    • 1–2 teaspoons sugar (optional)
    • Fresh or dried dill, garlic cloves, and peppercorns to taste
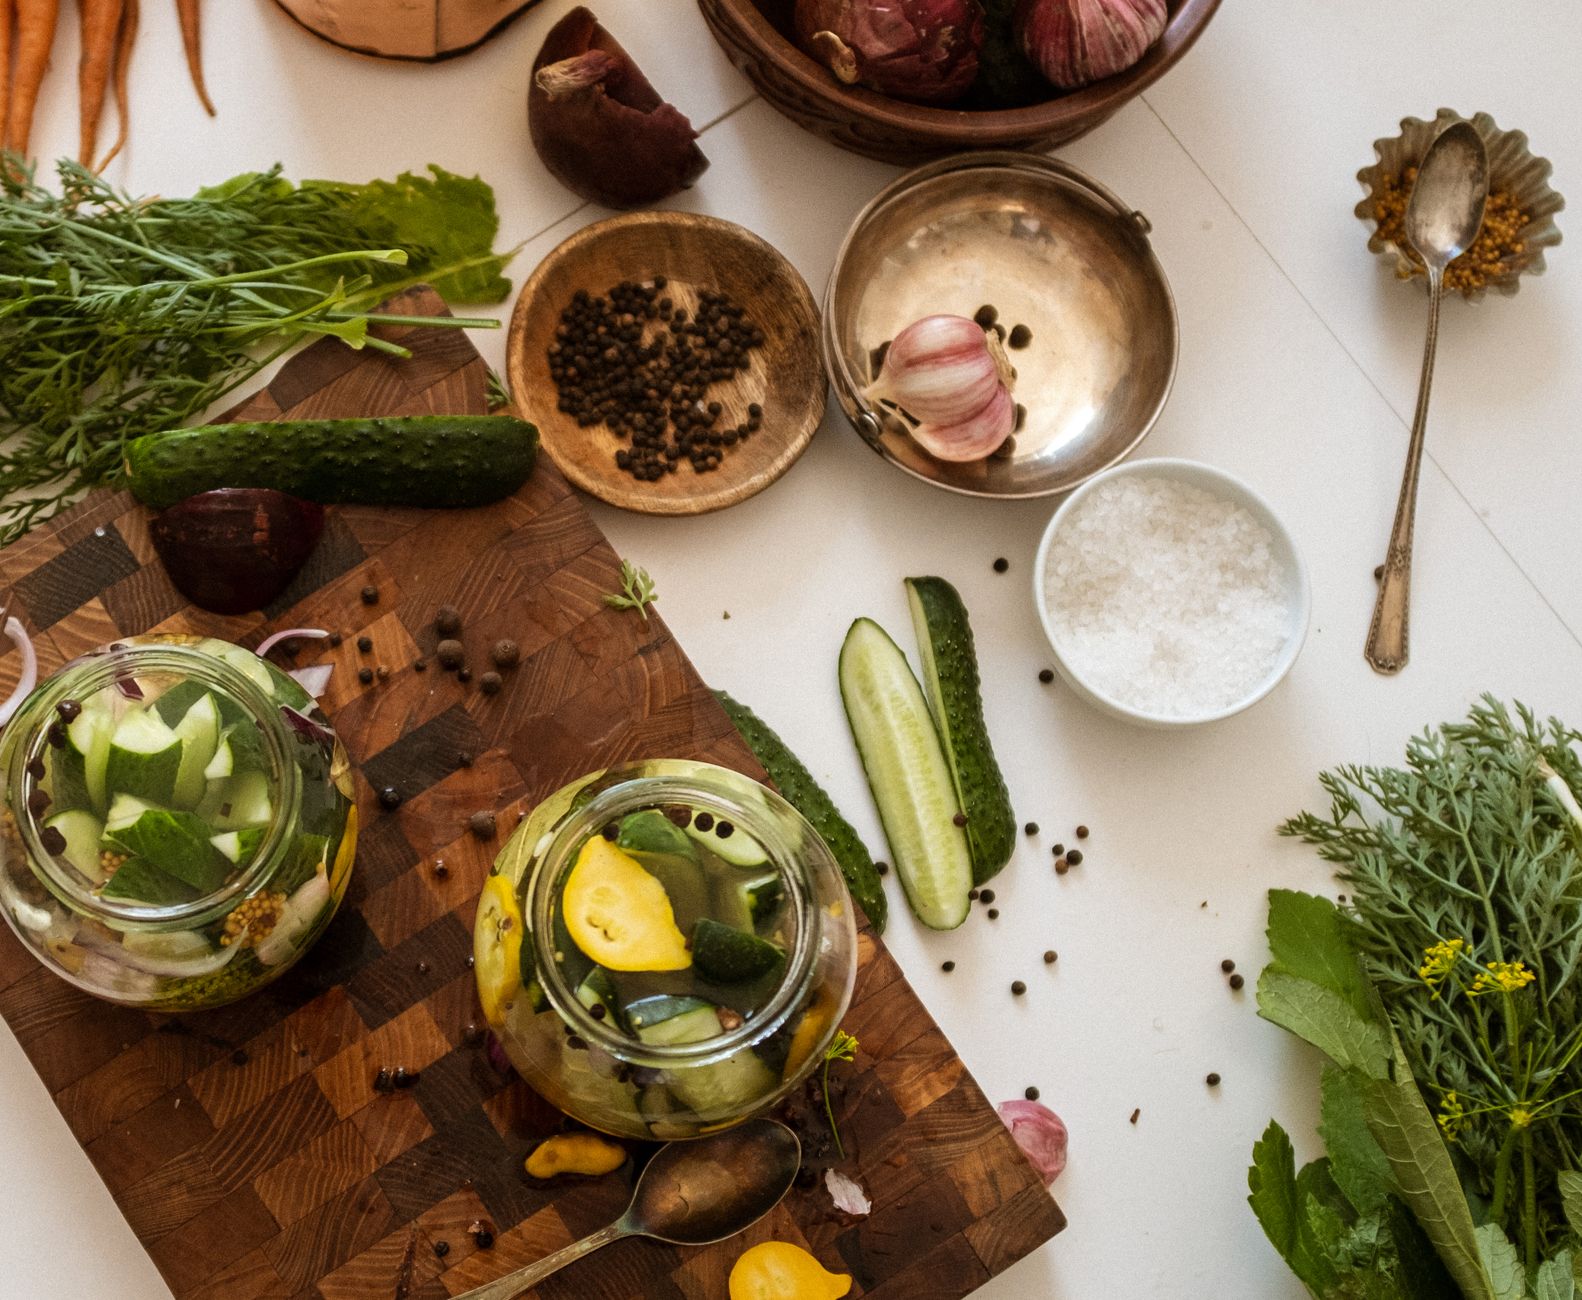
    Aerial view of kitchen table with fresh vegetables and pickle preparation

    Instructions

    1. Pack the sliced cucumbers into the jar along with dill, garlic, and peppercorns.
    2. Combine vinegar, water, salt, and sugar if using, stirring until the salt dissolves.
    3. Pour the brine over the cucumbers, making sure they’re fully submerged.
    4. Seal and refrigerate for at least 6 hours, though flavor improves after a full day.
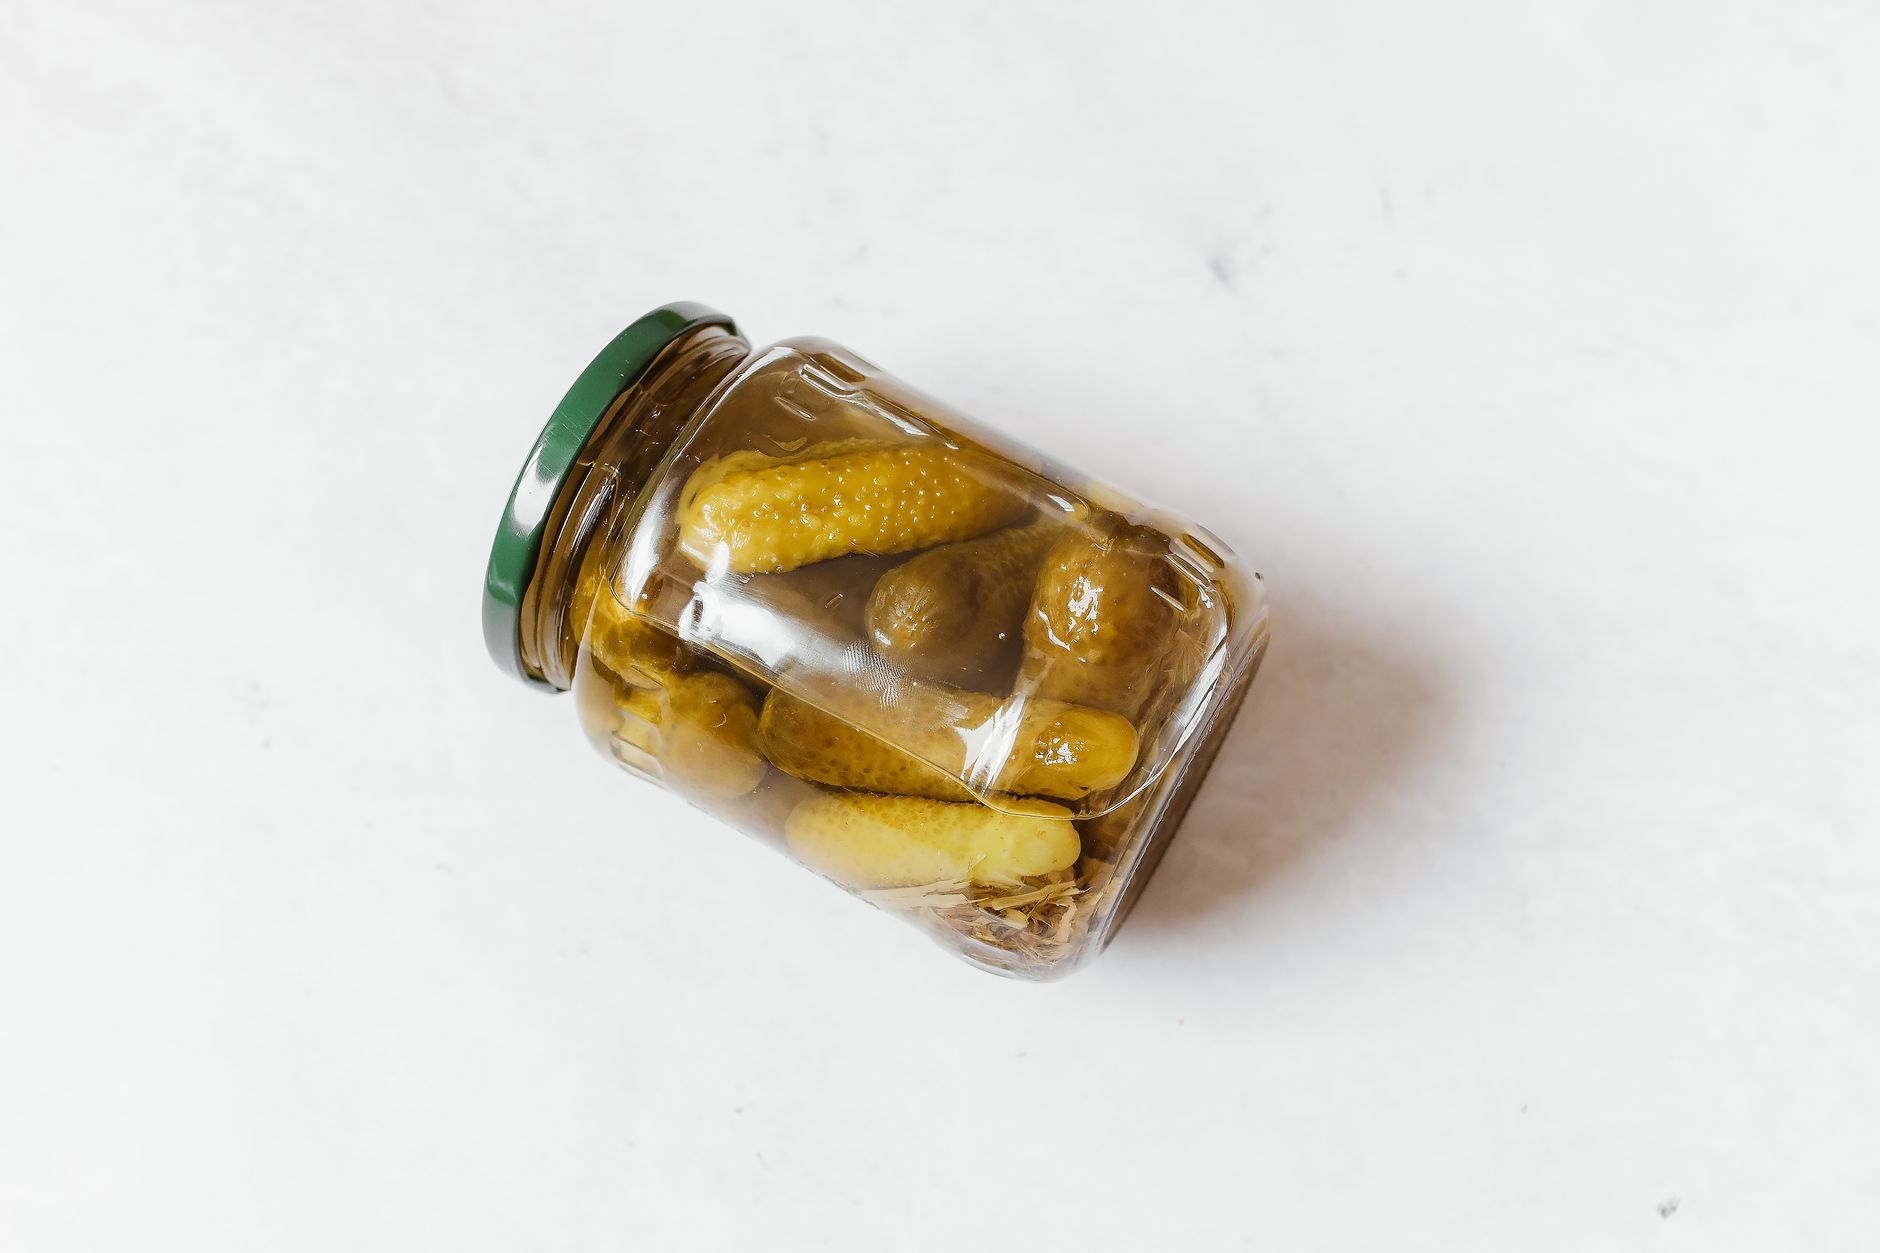
    Glass jar with pickled cucumbers on a white surface

    Adjusting the Brine to Taste

    The basic 1:1 vinegar-to-water ratio is a solid starting point, but it’s easy to adjust once you’ve made a batch or two — more vinegar produces a sharper, tangier pickle, while more water and a touch more sugar softens the bite for a milder, sweeter result.

    Beyond Cucumbers

    The same brine works well on all kinds of vegetables — green beans, carrots, onions, and zucchini all take well to quick pickling, and customizing the brine’s sweetness, spiciness, and add-ins is entirely up to personal preference since there’s no strict canning ratio to follow the way there is with shelf-stable preservation.

    High angle view of glass jars filled with homemade pickles on a wooden surface

    Frequently Asked Questions

    How long do refrigerator pickles last?

    Several weeks in the refrigerator, though they’re best within the first couple of weeks for peak crunch.

    Do I need canning equipment for refrigerator pickles?

    No — that’s the main appeal of this method; no pressure canner or vacuum sealer is required.

    Can I pickle vegetables other than cucumbers?

    Yes — green beans, carrots, onions, and zucchini all work well with the same basic brine.

    How soon can I eat refrigerator pickles?

    As soon as 6 hours, though flavor continues to improve over the first full day.

    Are refrigerator pickles as shelf-stable as canned pickles?

    No — they must stay refrigerated and are meant for shorter-term storage rather than long-term pantry preservation.

    Do refrigerator pickles need to be processed in a water bath?

    No — that’s the entire point of the method; skipping water-bath processing is what makes it fast, at the cost of shelf stability.

    Can I reuse the brine for a second batch?

    It’s best to make a fresh batch of brine each time, since reused brine loses acidity and flavor strength after the first use.

    Want a real pickle with your sandwich? See our Mabel’s Deli menu guide for build-your-own options.

    For food safety guidance on home pickling, see the National Center for Home Food Preservation.

  • How to Make Classic Homemade Coleslaw

    How to Make Classic Homemade Coleslaw

    Coleslaw is one of the simplest sides to make from scratch, and it’s also one of the most forgiving — a base of shredded cabbage and carrots tossed in a creamy dressing, with room to adjust sweetness, tang, and crunch entirely to taste. It’s a natural pairing for the sandwiches, brats, and hot dogs served at Mabel’s Deli.

    Here’s a classic recipe, along with a few details that separate a genuinely good homemade coleslaw from a bland, watery one.

    Because it requires no cooking at all, coleslaw comes down almost entirely to ingredient ratios and timing — getting the cabbage-to-dressing balance right and not letting it sit too long before serving.

    It’s also one of the few side dishes that genuinely improves the day after it’s made, up to a point, since the flavors have more time to meld — a rare case where a make-ahead approach actually produces a better result than serving something completely fresh.

    Ingredients

    • 4 cups shredded green cabbage
    • 1 cup shredded red cabbage
    • 1 cup shredded carrots
    • ¼ cup finely diced red onion
    • ¾ cup mayonnaise
    • 2 tablespoons apple cider vinegar
    • 1–2 tablespoons sugar
    • 1 teaspoon celery seed
    • Salt and pepper to taste
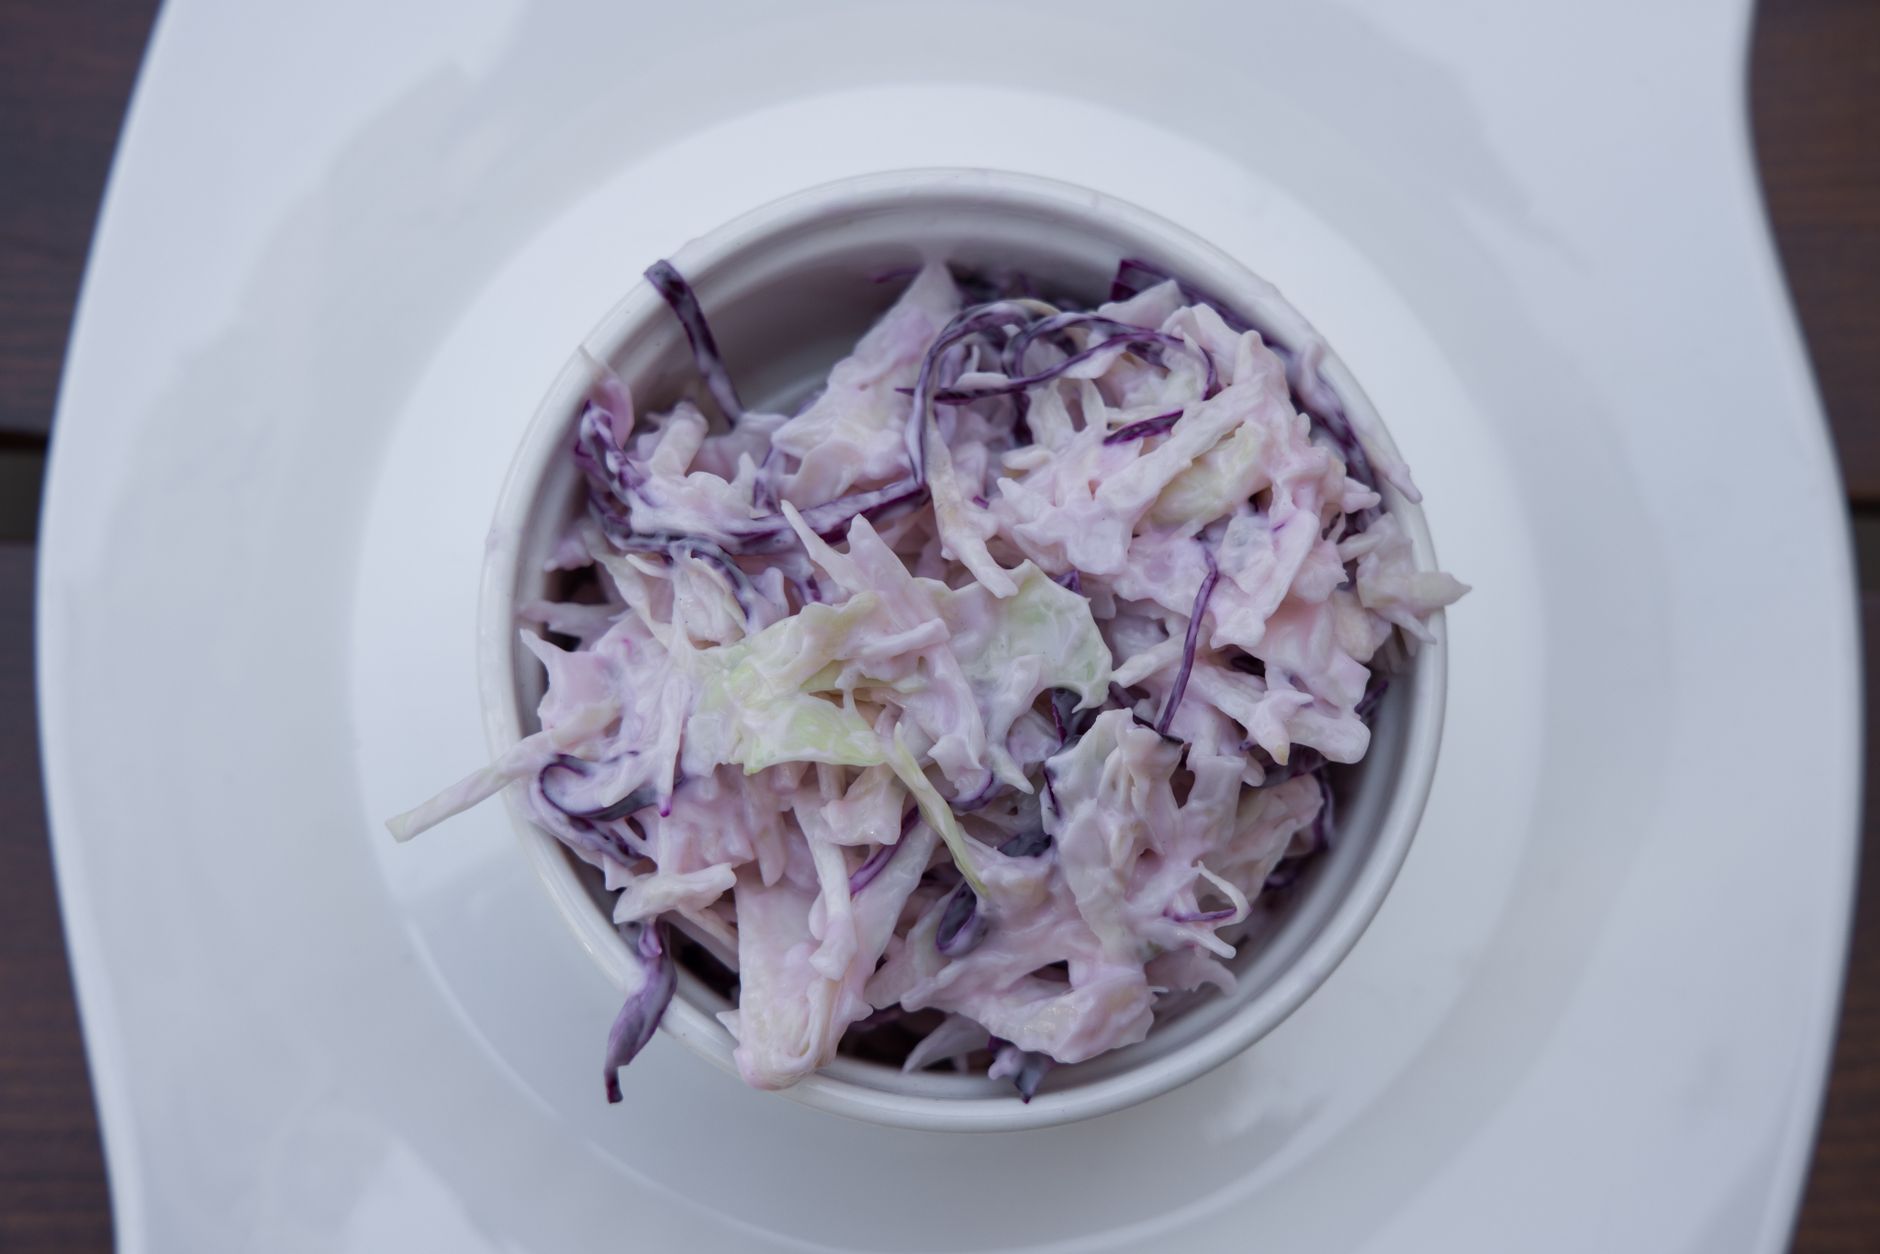
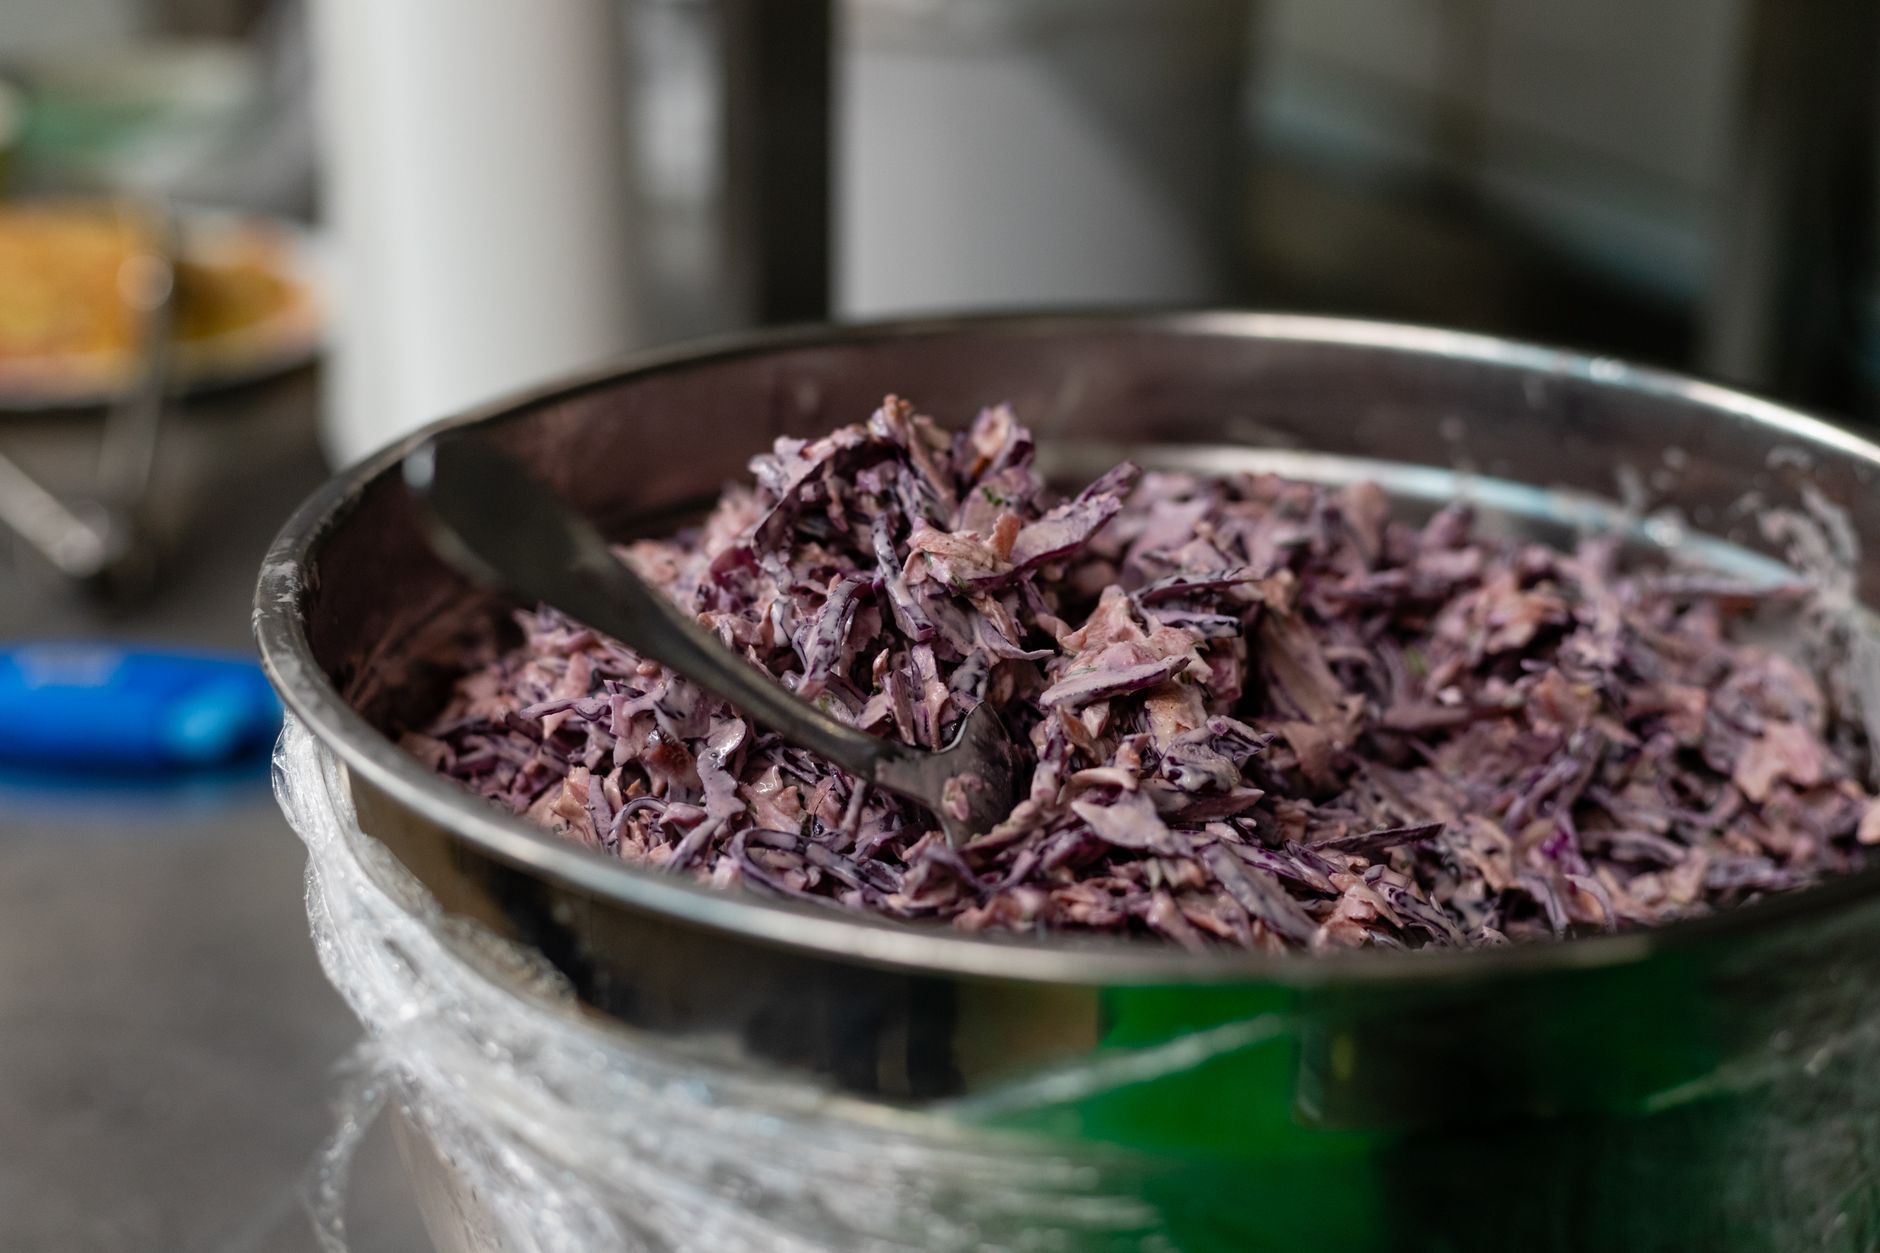
    Delicious homemade coleslaw in a metal bowl, perfect for summer picnics

    Instructions

    1. Combine the shredded cabbages, carrots, and onion in a large bowl.
    2. In a separate bowl, whisk together the mayonnaise, vinegar, sugar, celery seed, salt, and pepper until smooth.
    3. Pour the dressing over the cabbage mixture and toss thoroughly to coat.
    4. Refrigerate for at least 30 minutes before serving to let the flavors meld and the cabbage soften slightly.
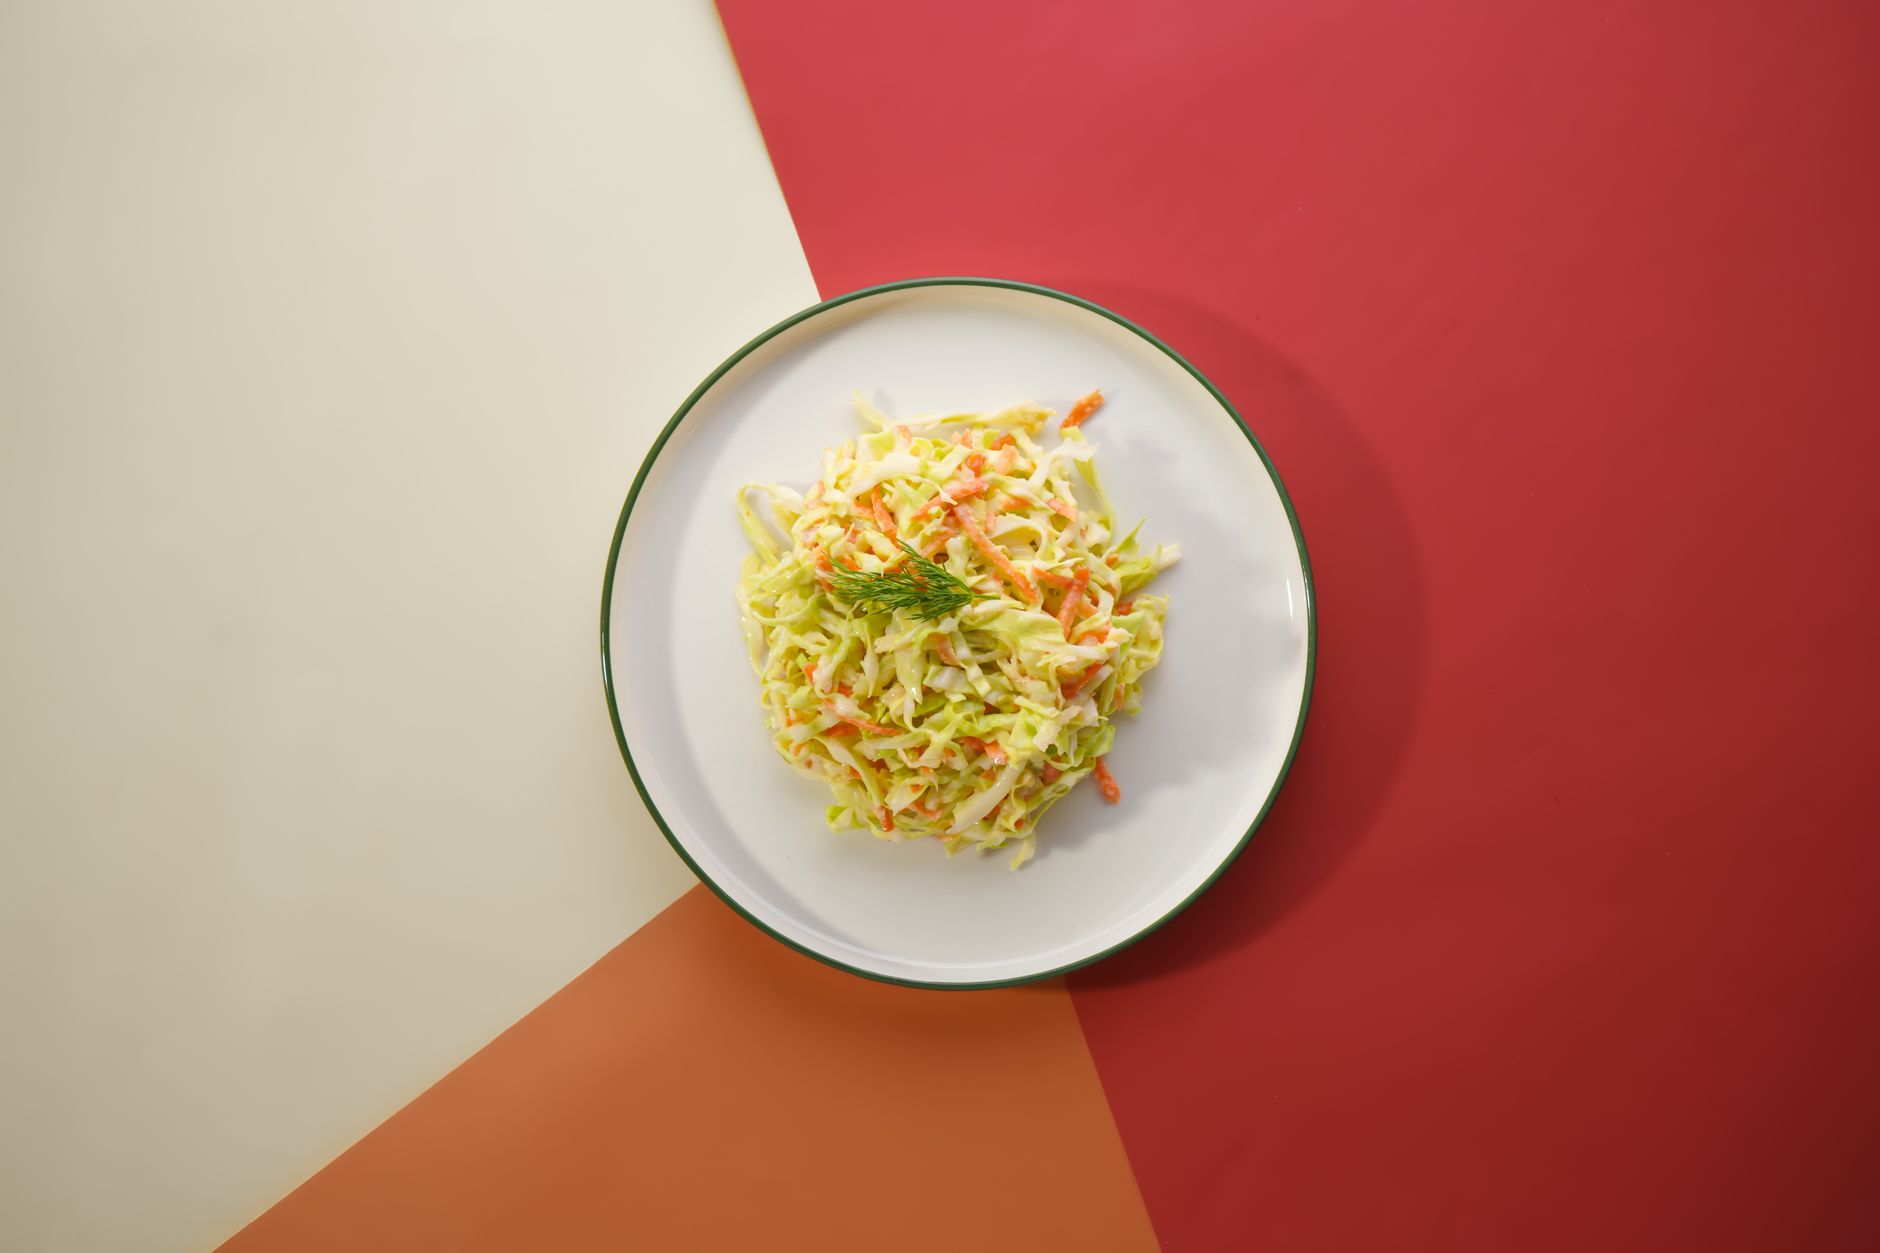
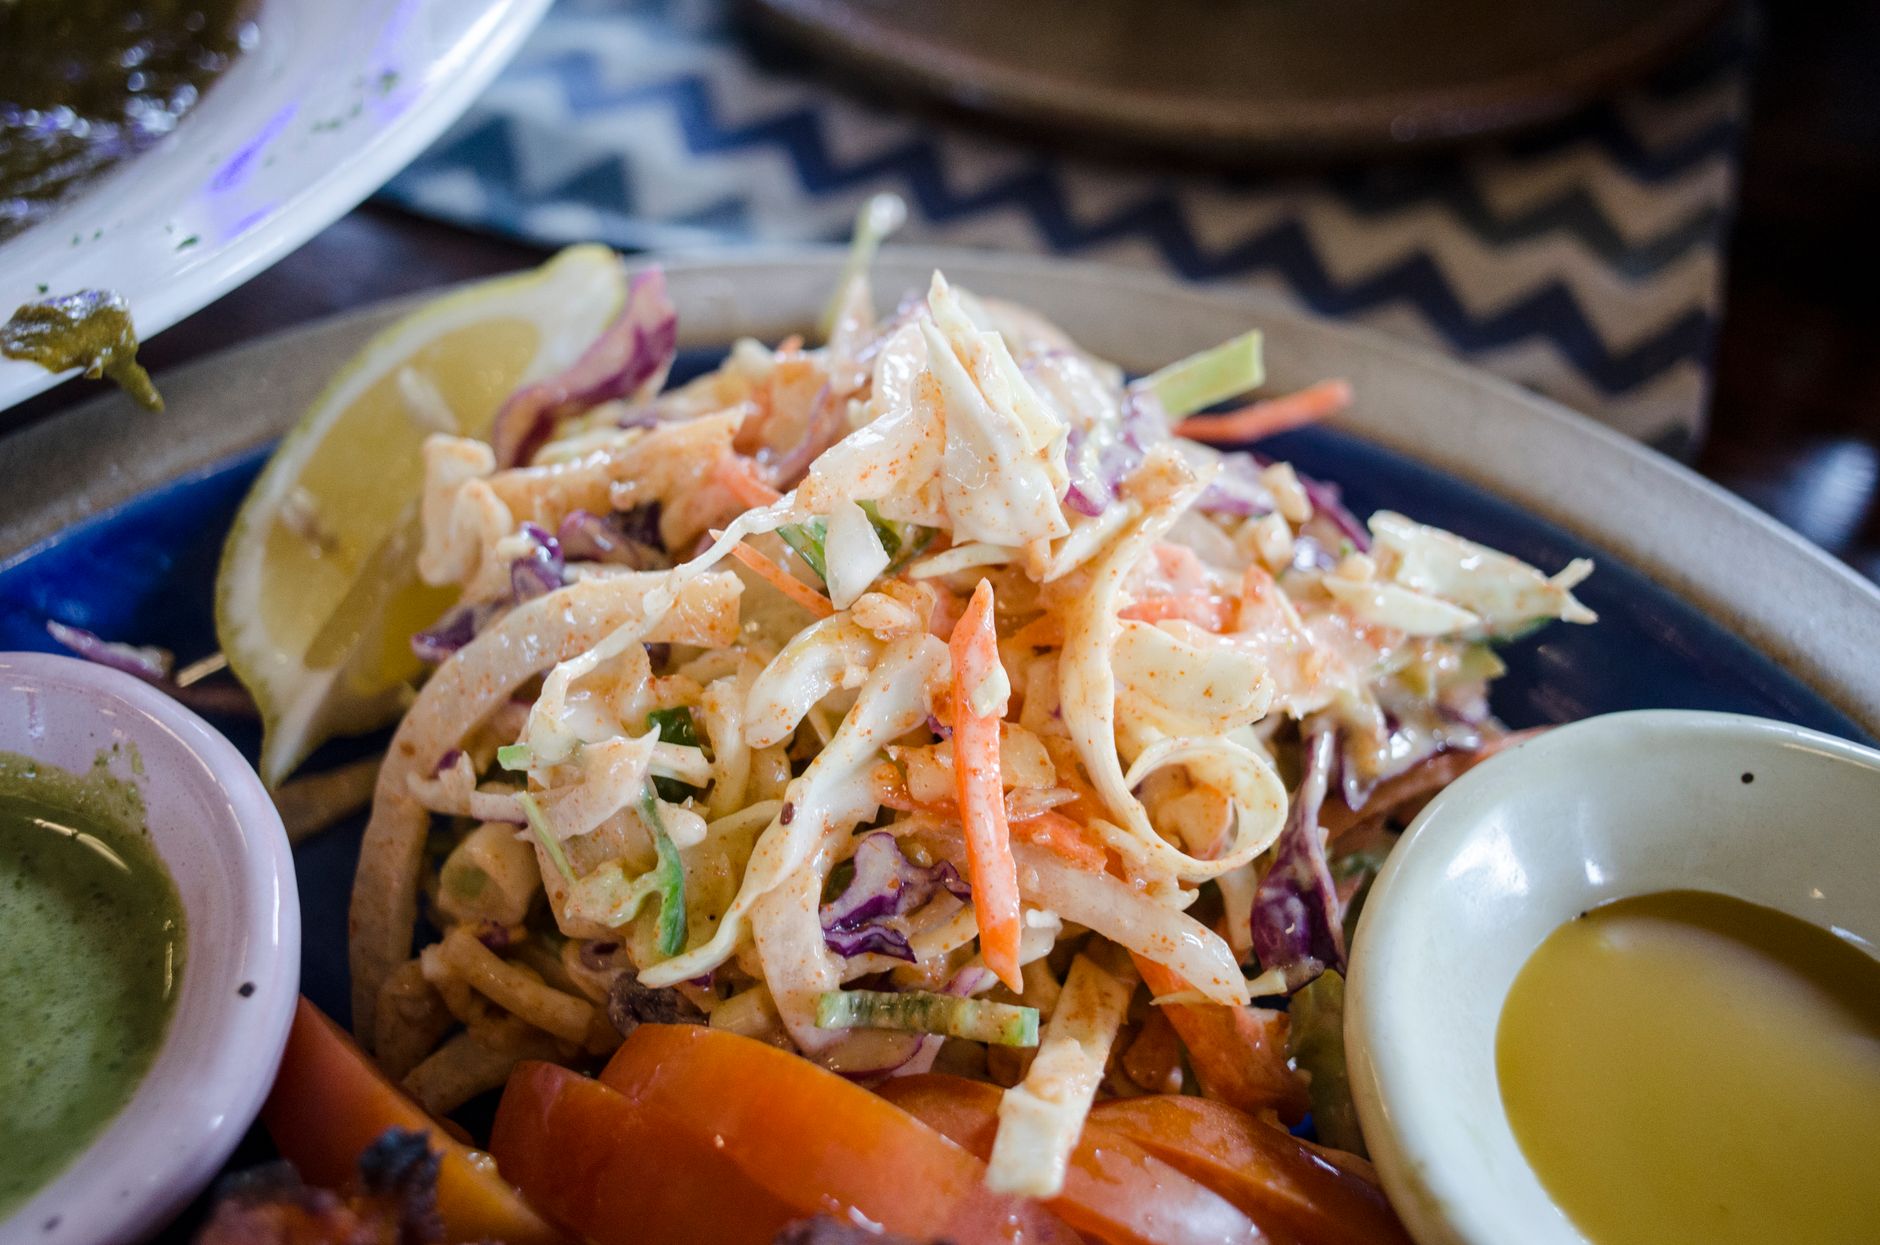
    Crisp coleslaw served on a vibrant geometric backdrop

    A Note on Slaw Cut

    Most store-bought bagged coleslaw mix is cut fairly fine, which works well for a classic creamy coleslaw. If shredding cabbage by hand, a slightly coarser cut holds up better against a heavier dressing without turning mushy as quickly.

    Why Green and Red Cabbage Together

    Green cabbage provides the crunchy, slightly peppery base most people expect from coleslaw, while red cabbage adds color and a slightly different texture. Using both isn’t strictly necessary, but it makes for a more visually appealing and textured result than green cabbage alone.

    A vibrant and healthy vegetable salad with lemon and dressing

    Timing Matters More Than People Think

    Coleslaw dressed too far in advance can turn watery, since salt in the dressing draws liquid out of the cabbage over time. Dressing it 30 minutes to a few hours before serving is the sweet spot — enough time for the flavors to meld without the cabbage releasing so much liquid that the whole dish turns soupy.

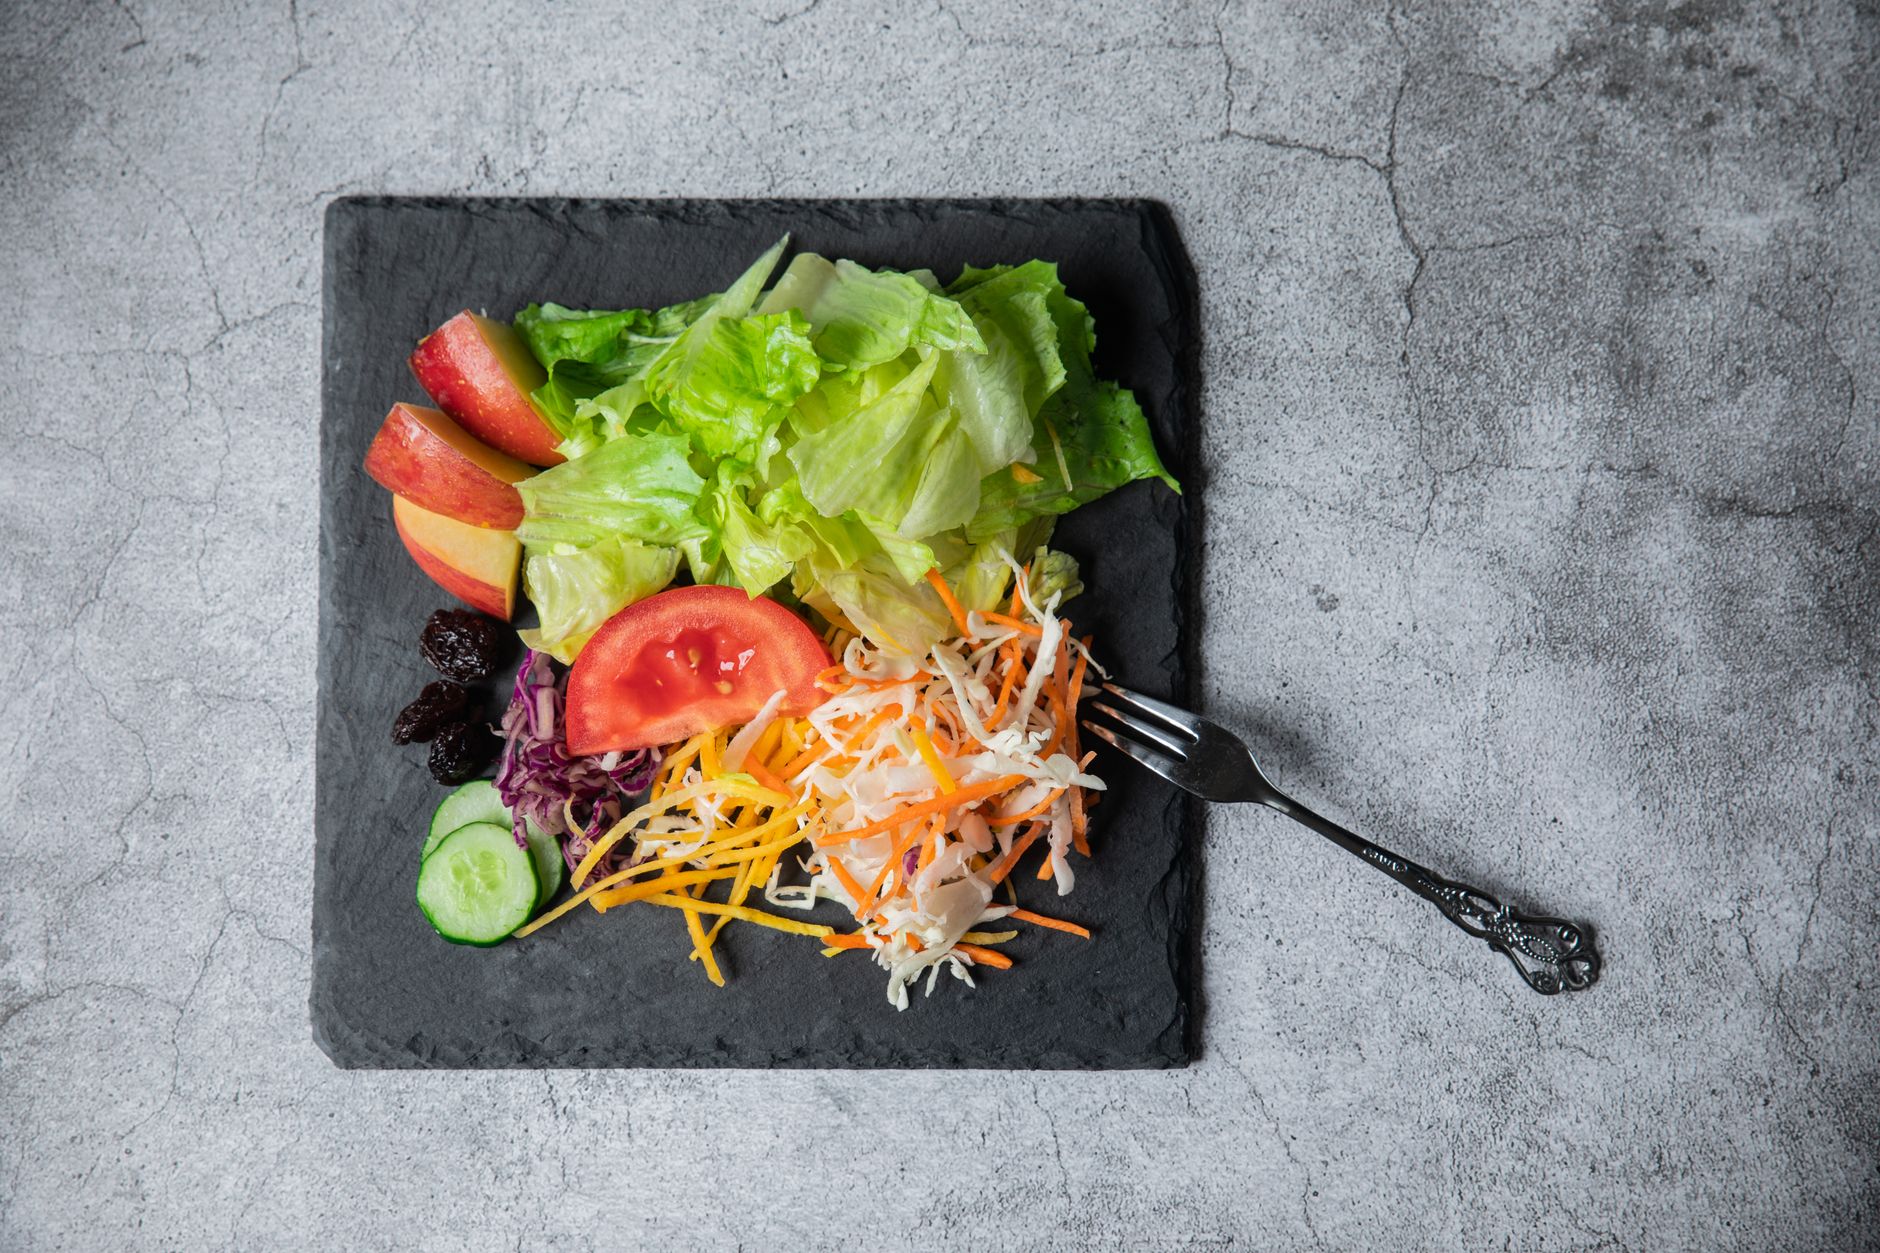
    Top view of a colorful vegetable and fruit salad with lettuce, tomato

    Frequently Asked Questions

    Why is my coleslaw watery?

    It was likely dressed too far in advance; salt in the dressing draws liquid out of the cabbage over time, so dressing it closer to serving helps.

    Do I need both green and red cabbage?

    No, green cabbage alone works fine; using both simply adds color and slightly more textural variety.

    How long does coleslaw keep in the refrigerator?

    Typically 3 to 5 days, though the texture softens the longer it sits.

    Can I make coleslaw ahead for a cookout?

    Yes — prepare the cabbage mixture and dressing separately, then combine them a few hours before serving for the best texture.

    What pairs well with coleslaw?

    Bratwurst, hot dogs, and pulled pork-style sandwiches are all classic pairings, available on Mabel’s Deli’s menu.

    Should I salt the cabbage before dressing it?

    Some cooks lightly salt shredded cabbage and let it sit to draw out excess moisture before dressing, which helps prevent a watery result, though it’s an optional step rather than a strict requirement.

    Can I make coleslaw with a vinegar-based dressing instead?

    Yes — a vinegar-based slaw, without mayonnaise, is a lighter alternative that holds up even better over multiple days without turning watery.

    Looking for something to pair it with? See our Mabel’s Deli menu guide for grill items and sandwiches.

    For more classic side dish recipes, see Southern Living.

  • How to Make Fresh Pico de Gallo Salsa

    How to Make Fresh Pico de Gallo Salsa

    Pico de gallo is a fresh, uncooked Mexican salsa made from finely chopped ripe tomatoes, onion, cilantro, jalapeno, and lime — a genuinely simple recipe where technique and ingredient quality matter far more than any complicated method. It pairs naturally with the tamales and smothered burritos at Mabel’s Deli inside Poncha Market.

    Here’s how to make it well, along with the specific techniques that separate a watery, bland version from a genuinely bright, fresh one.

    Because it’s entirely uncooked, pico de gallo lives or dies on ingredient freshness more than almost any other salsa style — there’s no cooking process to mask a mediocre tomato or a limp cilantro bunch, which makes shopping carefully genuinely worth the extra effort.

    Ingredients

    • 4 ripe tomatoes, seeded and diced
    • ½ white onion, finely diced
    • ¼ cup fresh cilantro, chopped
    • 1–2 jalapenos, seeded for mild or left with seeds for spicier
    • 1 clove garlic, minced
    • Juice of 1–2 limes
    • Salt to taste
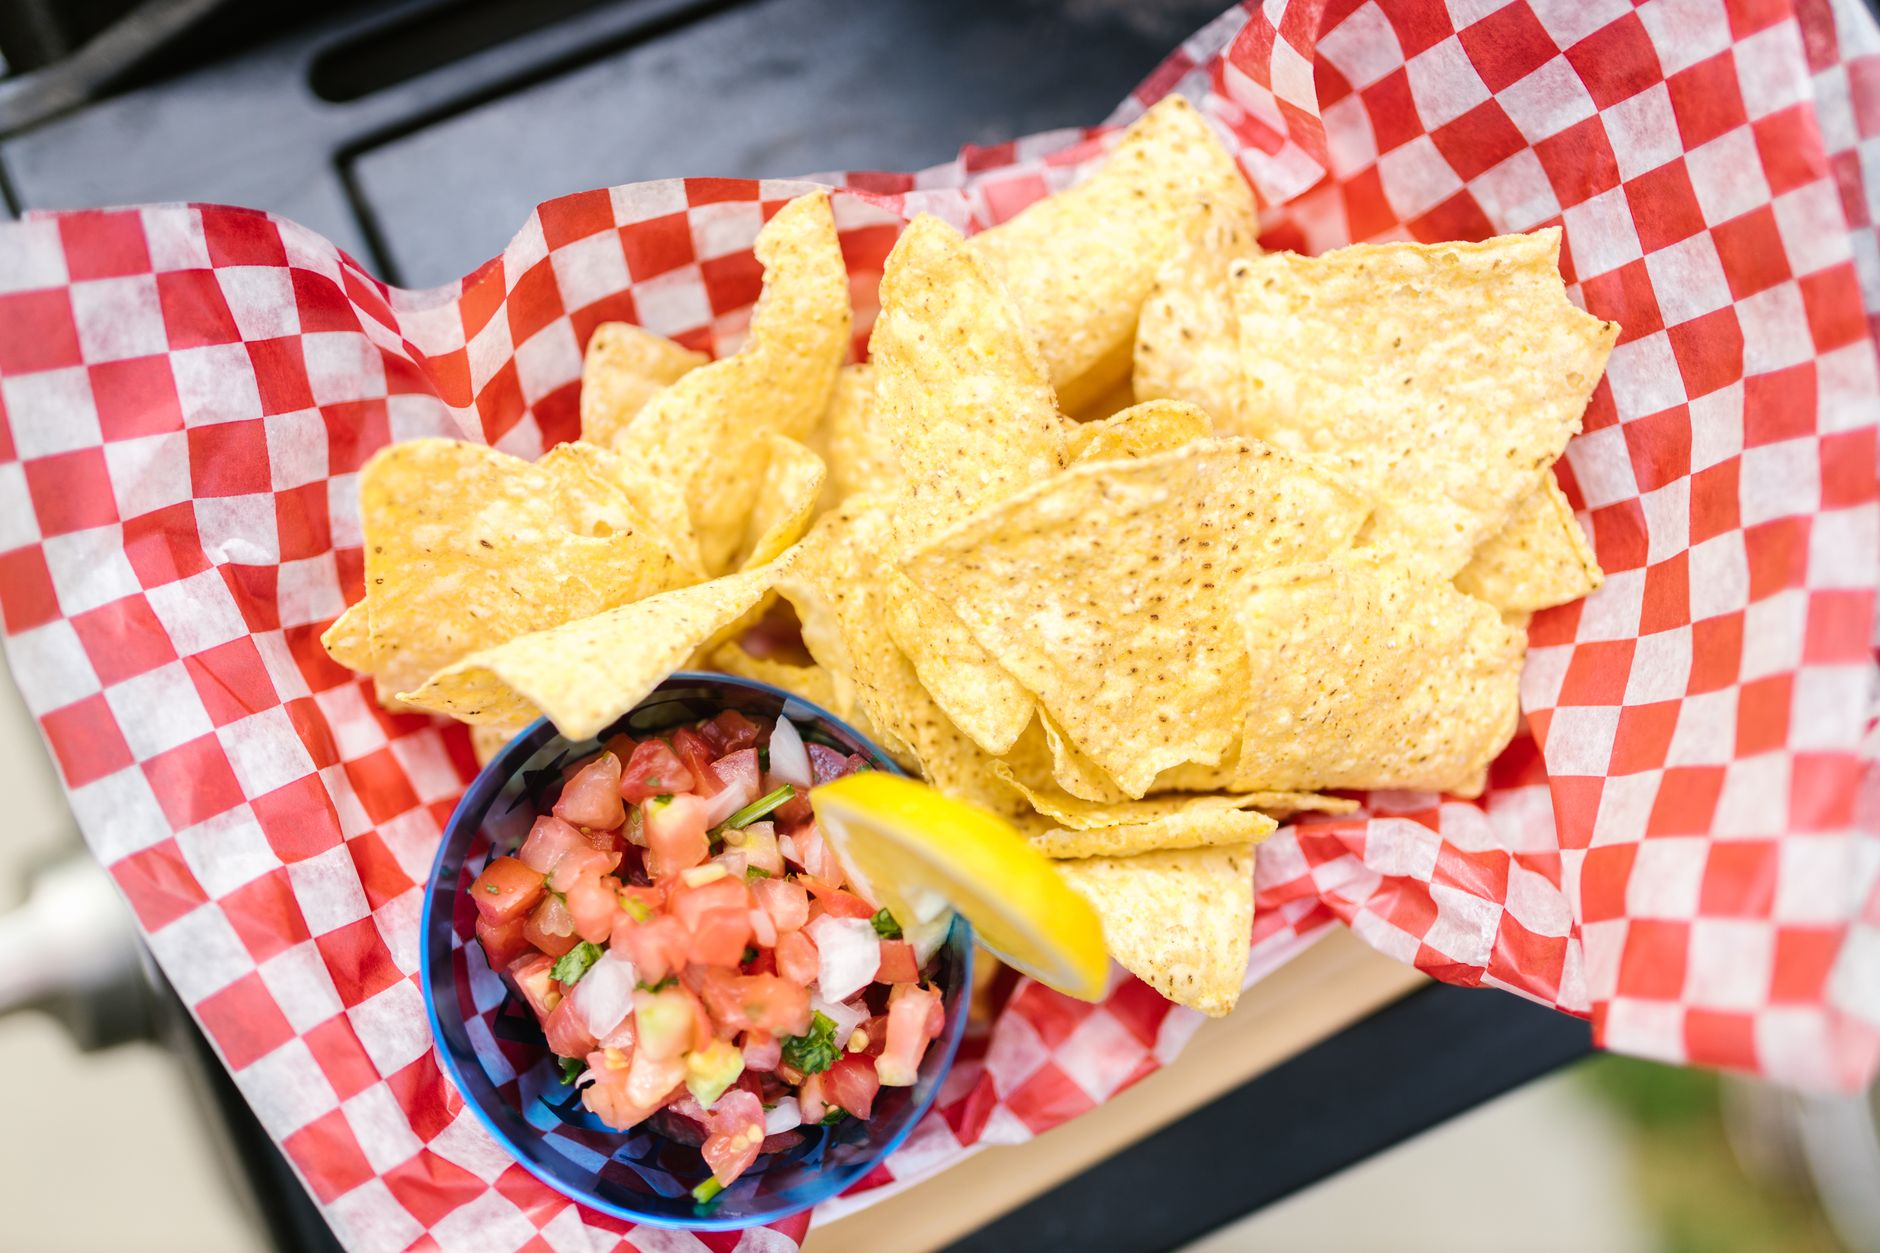
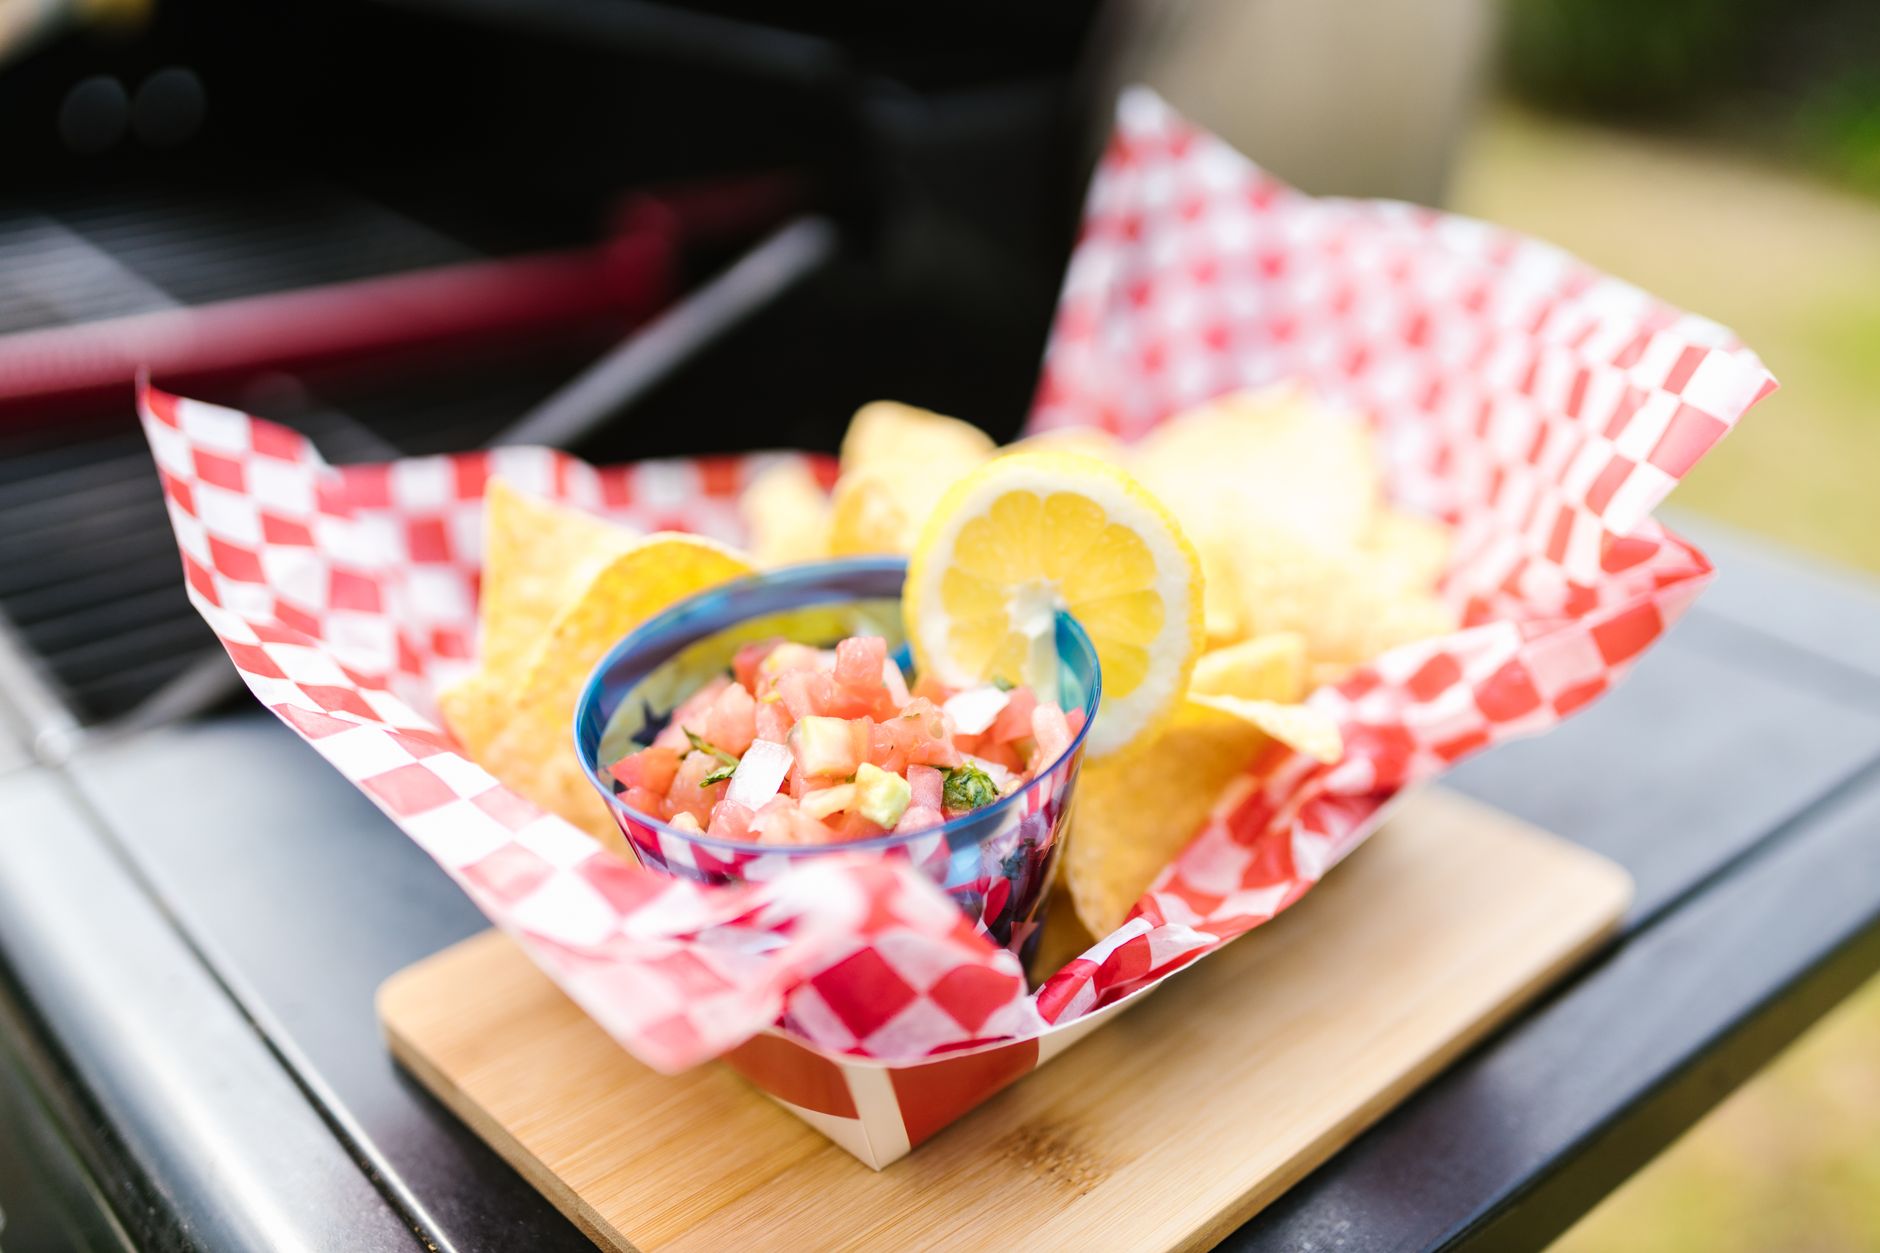
    Crispy nachos served with fresh, colorful pico de gallo and lime

    Instructions

    1. In a medium bowl, combine the diced tomatoes, onion, cilantro, jalapeno, and garlic.
    2. Add lime juice and salt, and stir to combine.
    3. Taste and adjust seasoning as needed.
    4. Chill for at least 15 minutes before serving to let the flavors meld.
    Close-up of nachos with fresh salsa and lemon

    The Texture Trick: Removing Tomato Seeds

    Using the tomato flesh rather than the seeds and surrounding juice is the single biggest factor in avoiding a watery, soupy pico de gallo. Roma or plum tomatoes work particularly well here since they’re naturally less juicy than other varieties, making it easier to control the final consistency.

    If your pico de gallo does turn out watery despite these precautions, draining it briefly in a fine-mesh strainer before serving salvages the batch without needing to start over, though prevention through proper tomato prep remains the better approach.

    Making a batch specifically to rest overnight, rather than serving it immediately, also tends to produce a more cohesive flavor — the salt draws out a bit of moisture from the vegetables over time, which then remixes with the lime juice and seasoning into a more unified whole.

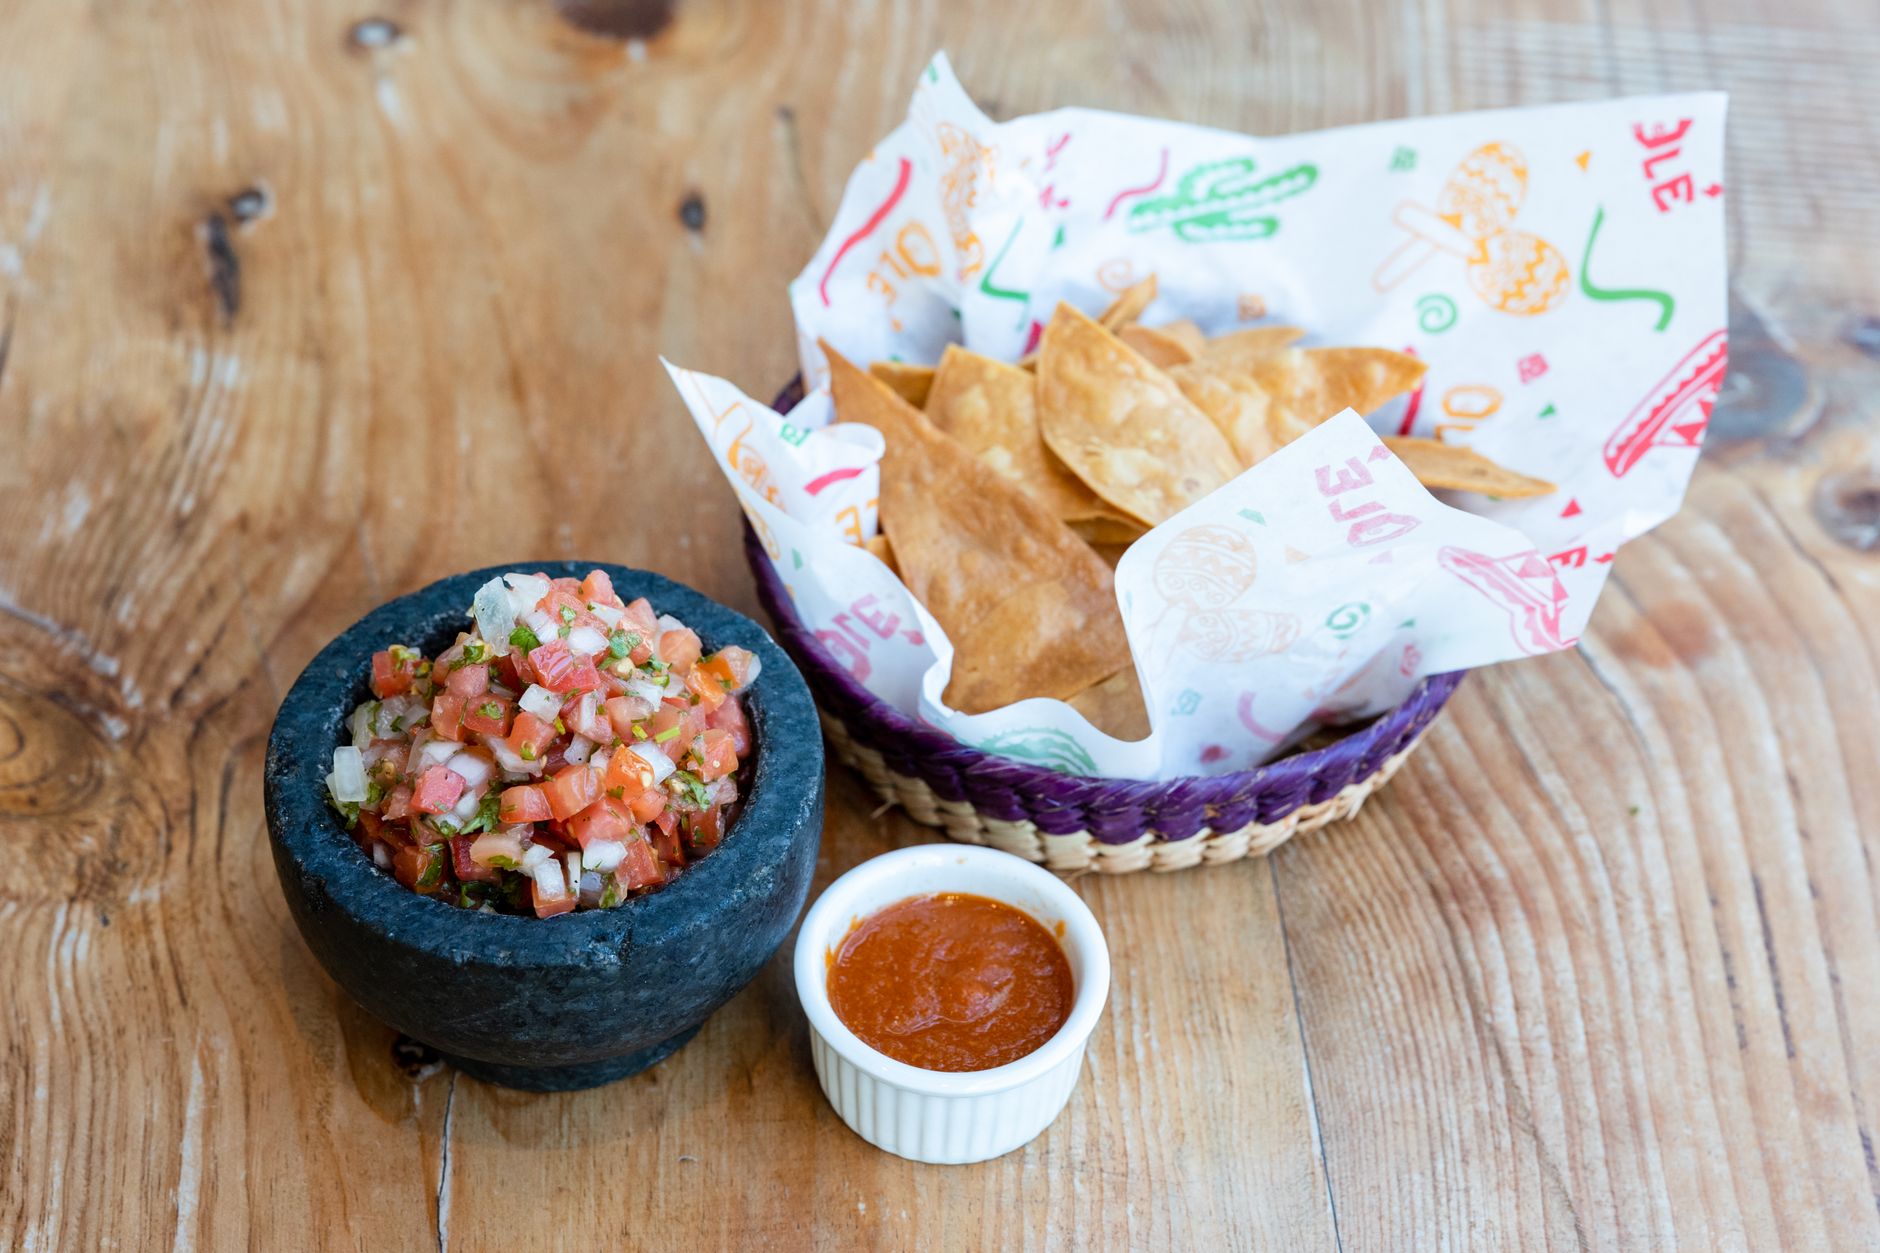
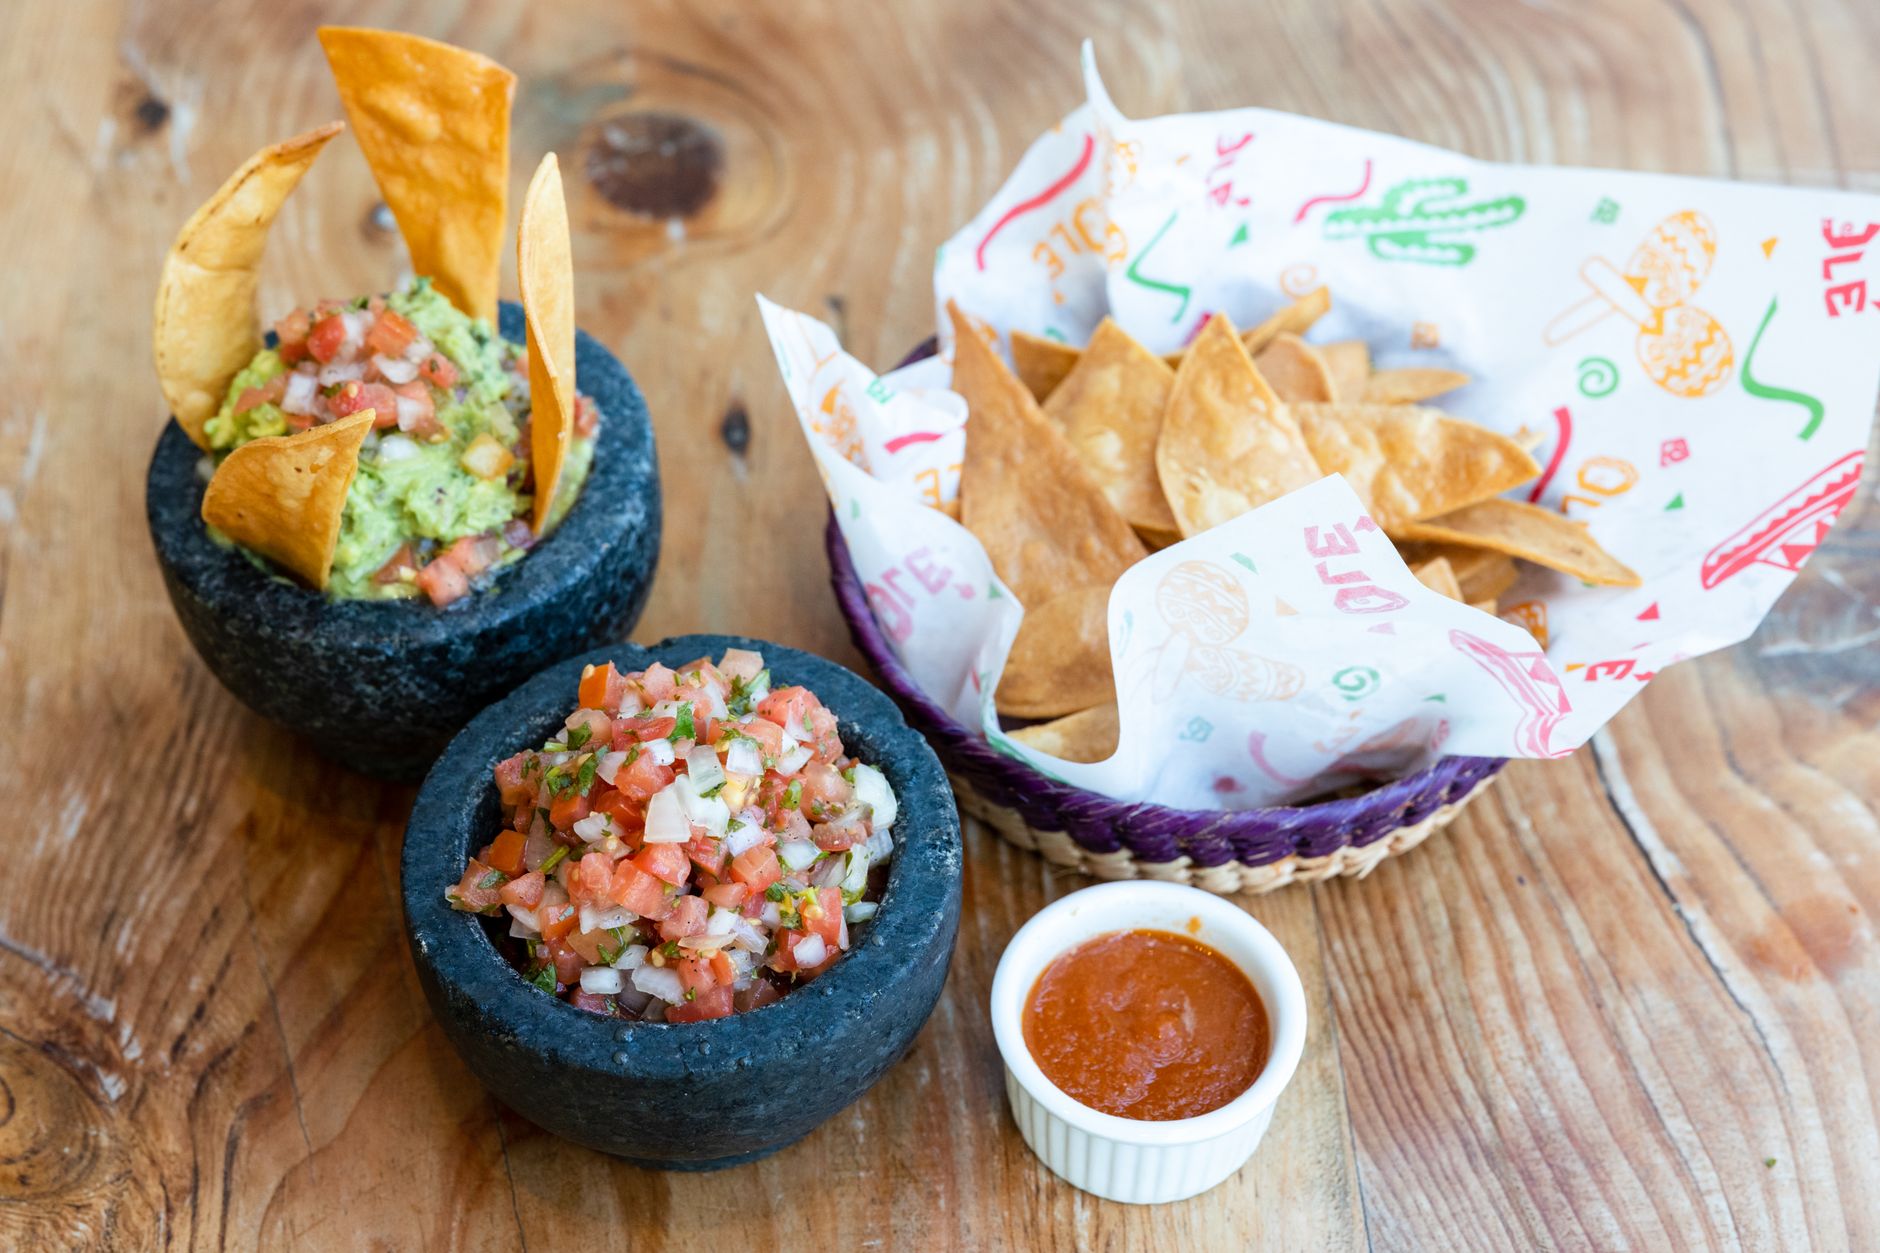
    Delicious guacamole and salsa served with crispy tortilla chips

    Taming Raw Onion

    Letting finely diced raw onion sit in cold water for about 10 minutes before adding it to the salsa tones down its sharp, raw bite considerably, leaving behind crunch and sweetness without the lingering onion breath that comes from using it completely untreated.

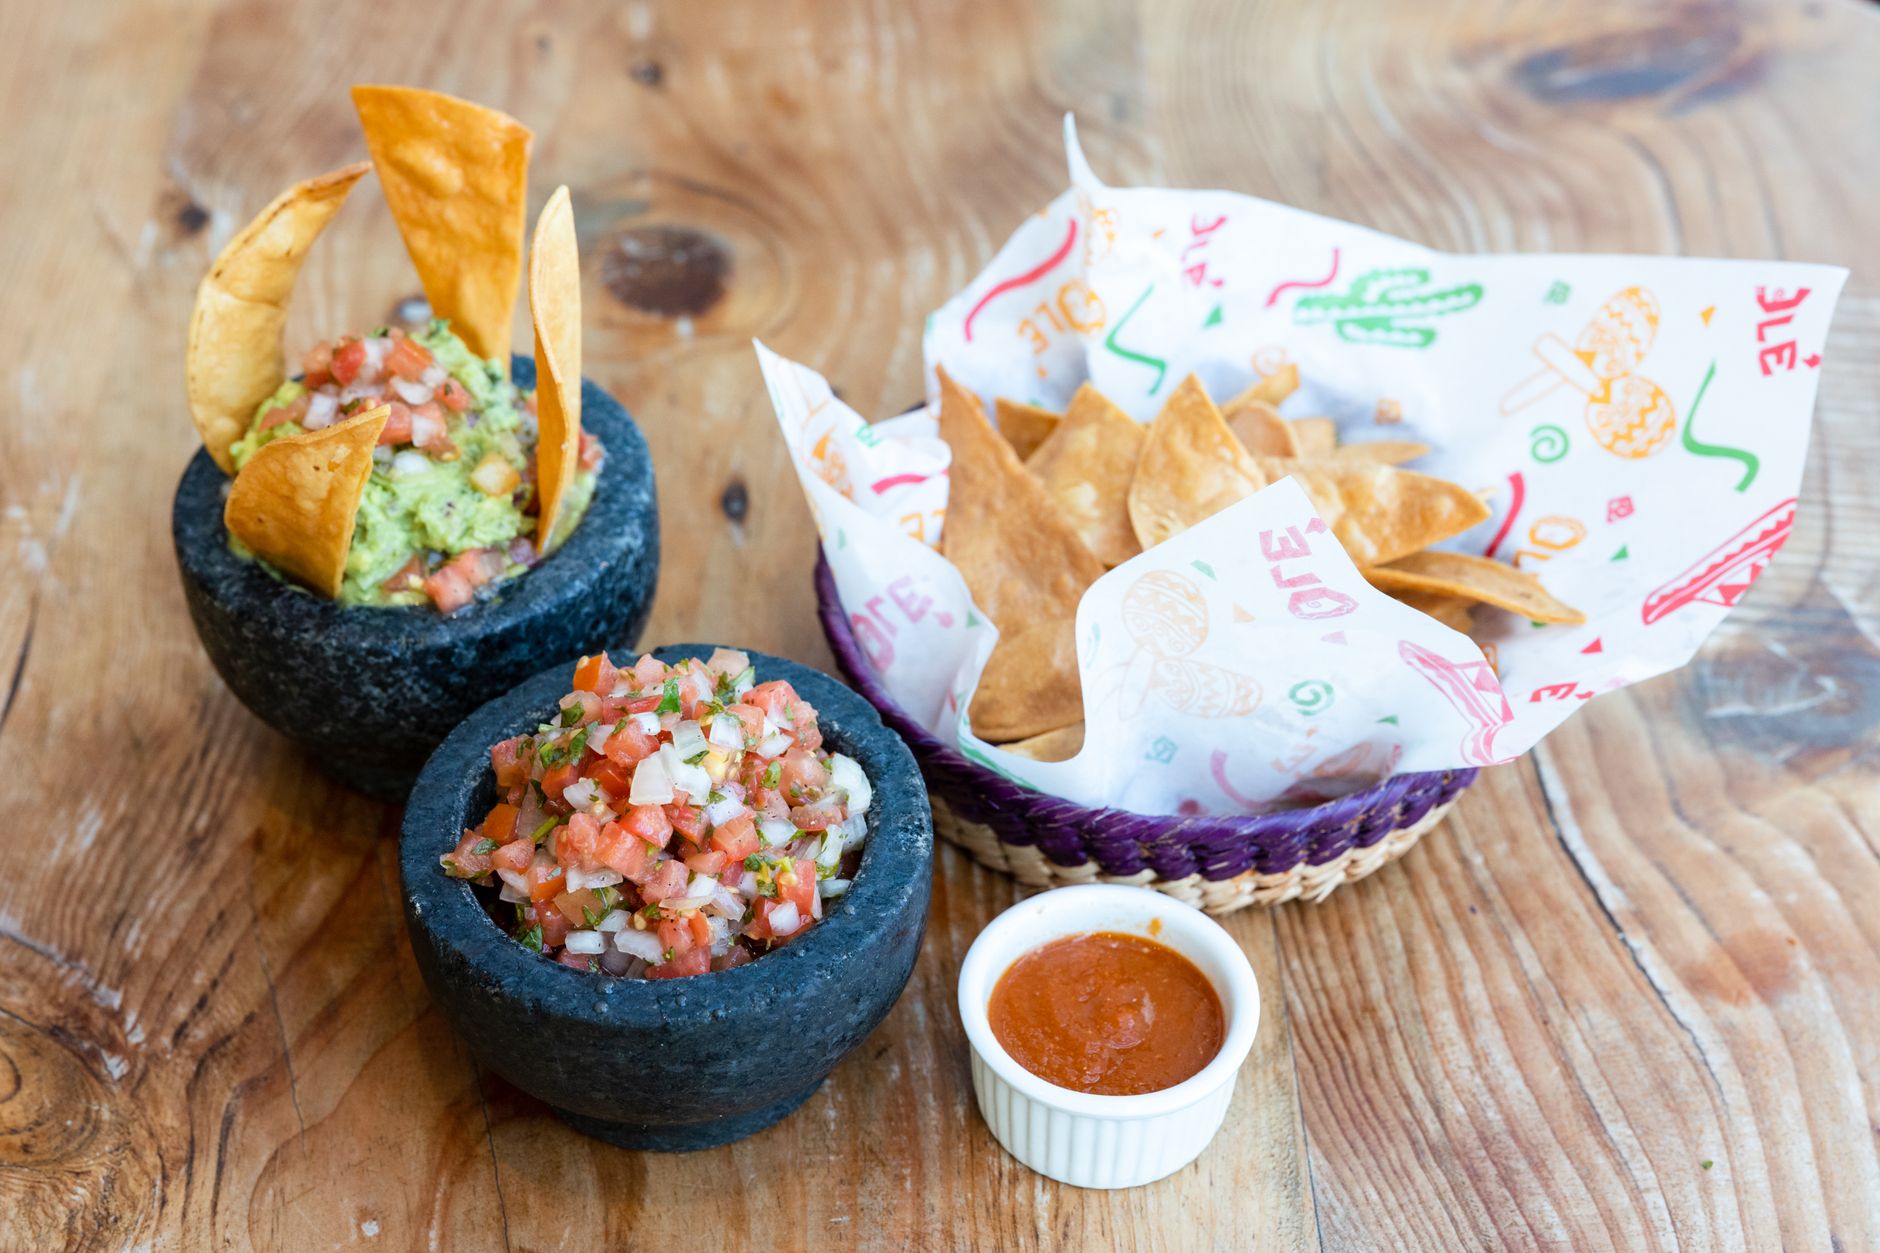
    Delicious homemade Mexican salsa and guacamole with crispy tortilla chips

    Adjusting the Heat Level

    For a milder salsa, remove the seeds and white membrane inside the jalapeno before dicing, since that’s where most of the pepper’s heat is concentrated. For a spicier version, leave some or all of the seeds and membrane in.

    Storage

    Keep pico de gallo in a sealed container in the refrigerator for no more than three days — the tomatoes soften and turn mushy the longer it sits, which is part of why this is best made fresh rather than far in advance.

    Frequently Asked Questions

    Why is my pico de gallo watery?

    Usually from using the tomato seeds and juice rather than just the flesh; removing the seeds before dicing solves this.

    How do I make pico de gallo less spicy?

    Remove the seeds and white membrane from the jalapeno before dicing, since that’s where most of the heat is concentrated.

    How long does homemade pico de gallo last?

    Up to three days in a sealed container in the refrigerator, though it’s best enjoyed fresh.

    Should I use Roma tomatoes for pico de gallo?

    Yes, they’re a good choice since they’re naturally less juicy than other varieties, helping control the salsa’s final consistency.

    What pairs well with pico de gallo at Mabel’s Deli?

    It pairs naturally with tamales and smothered burritos on the Mabel’s Deli menu.

    Can I salvage watery pico de gallo?

    Yes — draining it briefly in a fine-mesh strainer removes excess liquid, though proper tomato prep beforehand is the better long-term fix.

    Can I make pico de gallo without cilantro?

    Yes, for anyone who dislikes cilantro’s flavor; the salsa still works, though it loses some of its traditional brightness.

    Want it with your meal? See our Mabel’s Deli menu guide for tamales and smothered burritos.

    For more Mexican cooking technique, see Epicurious.

  • How to Make a Grilled Chicken Ranch Wrap at Home

    How to Make a Grilled Chicken Ranch Wrap at Home

    A good grilled chicken wrap comes down to just a few real variables done well: properly cooked chicken, fresh vegetables, and a ranch dressing that’s generous without turning the whole wrap soggy. Mabel’s Deli inside Poncha Market serves this combination as The Ranch — grilled chicken strips, bacon, Swiss, avocado, lettuce, and tomato with ranch dressing, wrapped rather than served as a sandwich, for $9.99.

    Here’s how to build a genuinely good version of this at home.

    Wraps generally travel better than open sandwiches, which is part of why this format works so well for a road trip lunch specifically — everything is enclosed rather than layered loosely between two slices of bread, reducing the mess of eating one-handed.

    Ingredients

    • 1 large flour tortilla
    • 1 grilled boneless, skinless chicken breast, sliced into strips
    • 2 slices cooked bacon
    • 1 slice Swiss cheese
    • ½ avocado, sliced
    • Shredded lettuce
    • Sliced tomato
    • 2–3 tablespoons ranch dressing
    Tasty chicken wrap filled with creamy sauce on a wooden cutting board

    Cooking the Chicken

    Grill boneless, skinless chicken breasts for about 5–6 minutes per side, or until the internal temperature reaches 165°F, then let it rest briefly before slicing into strips. Leftover or rotisserie chicken works just as well if you’re short on time and don’t want to grill chicken specifically for the wrap.

    Letting the chicken rest for a few minutes before slicing matters more than people usually realize — cutting into it immediately lets the juices run out onto the cutting board rather than staying in the meat, resulting in drier strips inside the finished wrap.

    Slicing against the grain, once the chicken has rested, also makes a genuine difference in tenderness — cutting with the grain leaves longer muscle fibers intact, which makes each bite noticeably chewier than it needs to be.

    These small technique details — resting, slicing against the grain, applying dressing in stages — individually seem minor, but together they’re the difference between a wrap that tastes assembled with care and one that tastes like it was thrown together in a hurry.

    Close-up of a fresh chicken wrap with vegetables on a wooden table

    Assembly Instructions

    1. Lightly warm the tortilla so it folds without cracking.
    2. Drizzle a small amount of ranch dressing in the center of the tortilla.
    3. Layer the sliced chicken, bacon, Swiss cheese, avocado, lettuce, and tomato.
    4. Drizzle more ranch over the top.
    5. Fold in the sides, then roll tightly from the bottom, and slice in half to serve.
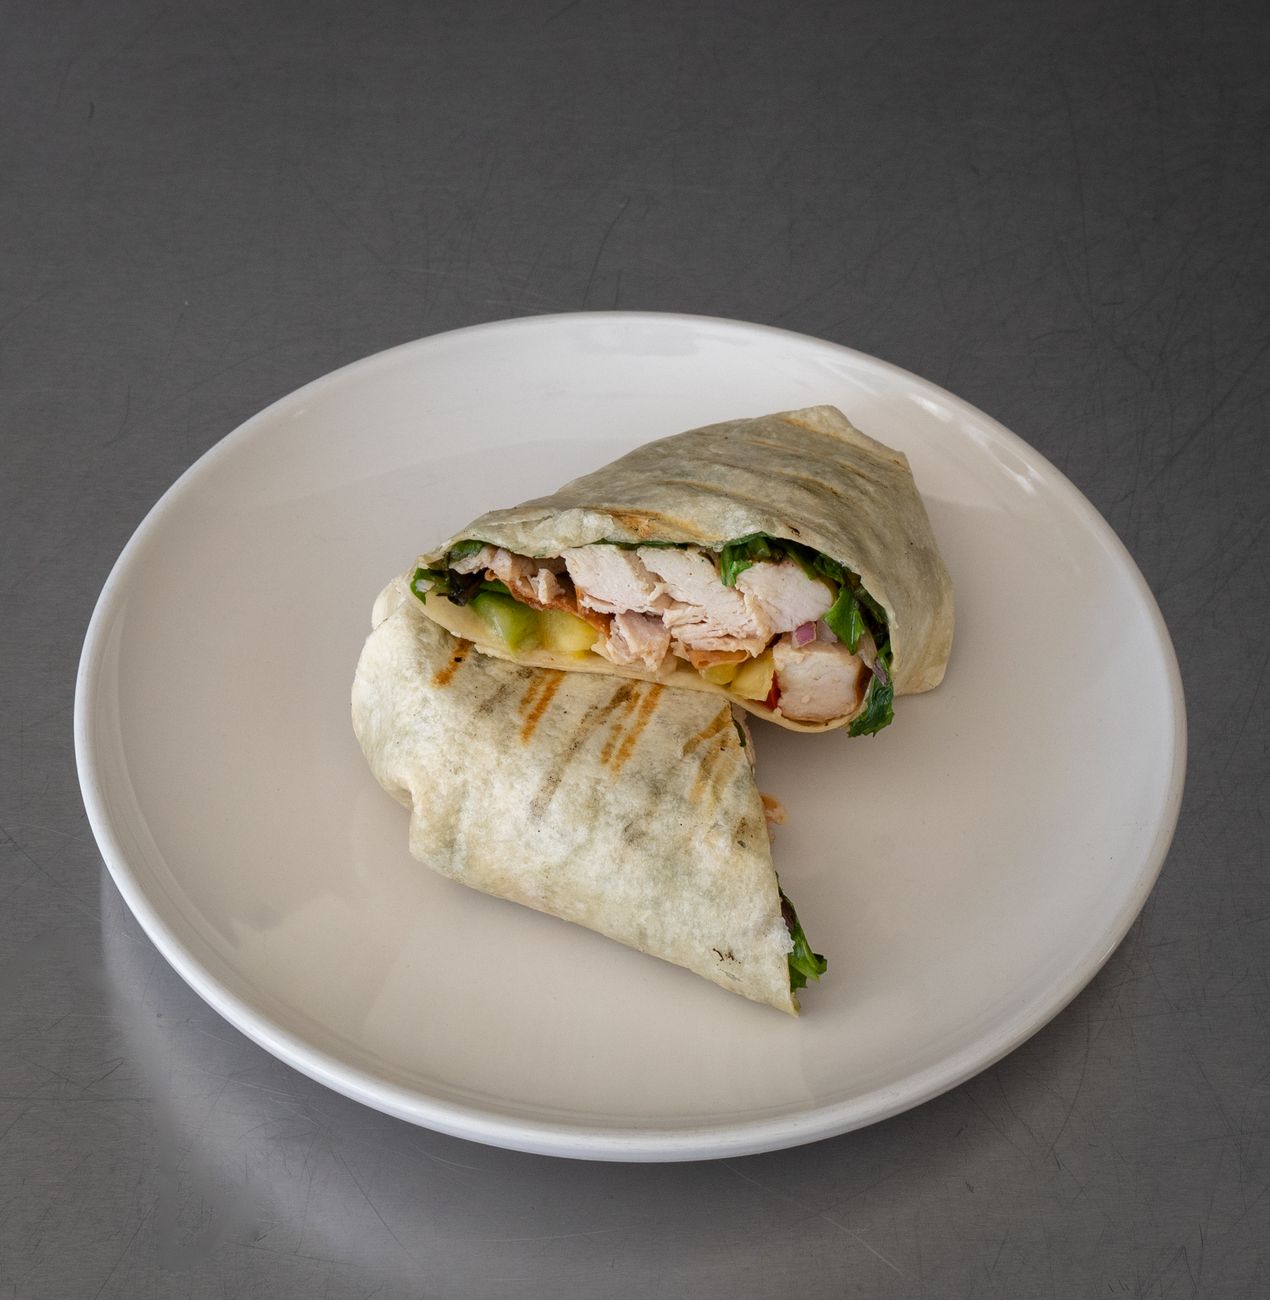
    Close-up of a delicious grilled chicken shawarma wrap on a plate

    Keeping It From Getting Soggy

    Ranch dressing is genuinely one of the wetter condiments you can put in a wrap, so applying it in two smaller applications — a light layer before the fillings and a bit more on top — rather than one heavy pour tends to distribute the flavor without soaking straight through the tortilla before you finish eating.

    Close-up of a grilled chicken burrito with vegetables, sliced diagonally

    Frequently Asked Questions

    Can I use rotisserie chicken instead of grilling my own?

    Yes — rotisserie or leftover chicken works well and saves time, especially for a quick lunch wrap.

    How do I keep a chicken wrap from getting soggy?

    Apply ranch dressing in two smaller applications rather than one heavy pour, and avoid over-wetting the tortilla before rolling.

    What cheese works best in a ranch chicken wrap?

    Swiss or cheddar are both common choices; Swiss is what’s used in Mabel’s Deli’s version specifically.

    Can I make this wrap ahead of time?

    It travels reasonably well for a few hours if wrapped tightly, though it’s best eaten within the same day for the freshest texture.

    Where can I get The Ranch near Poncha Springs?

    Mabel’s Deli inside Poncha Market serves The Ranch for $9.99.

    Why should I let grilled chicken rest before slicing?

    Resting keeps juices in the meat rather than letting them run out immediately, resulting in moister chicken in the finished wrap.

    Can I make this wrap with a different dressing?

    Yes — ranch is traditional here, but a similar wrap works well with other creamy dressings if you prefer a different flavor.

    Want the real thing? See our Mabel’s Deli menu guide for The Ranch and other wrap options.

    For more chicken cooking guidance, see the U.S. Poultry and Egg Association.

  • Veggie Burgers 101: Types and How to Cook Them

    Veggie Burgers 101: Types and How to Cook Them

    Veggie burgers aren’t a single, uniform product — they range from bean-and-vegetable patties to mushroom-based versions to store-bought options built to mimic beef as closely as possible, and each type genuinely benefits from a slightly different cooking approach. Mabel’s Deli inside Poncha Market offers a Veggie Burger for $8.59, right alongside the standard hamburger.

    Here’s a practical breakdown of the main types and how to cook each one well, rather than treating every veggie burger like an identical product.

    This matters more than it might seem, since the biggest complaint people have about veggie burgers — that they fall apart or come out dry and bland — usually traces back to using the wrong cooking method for the specific type of patty, not a fundamental flaw with veggie burgers as a category.

    Bean-and-Vegetable Patties

    Built from a base like black beans combined with roasted vegetables, spinach, walnuts, breadcrumbs, egg, and herbs, this style tends to be softer and more prone to falling apart than a beef patty. Refrigerating the formed patties for at least 30 minutes, and up to overnight, before cooking firms them up considerably and helps them hold together on the grill or in a pan.

    Adding a binder like an extra egg or additional breadcrumbs, if a homemade batch feels too loose to shape confidently, is a reasonable fix rather than something to avoid — a slightly denser patty that holds together beats a lighter one that crumbles apart mid-cook.

    Flavor development also benefits from actively seasoning each component before combining them, rather than relying on salt and pepper added at the end — roasting the vegetables with their own seasoning first, for instance, builds more depth than trying to fix an under-seasoned mixture after the fact.

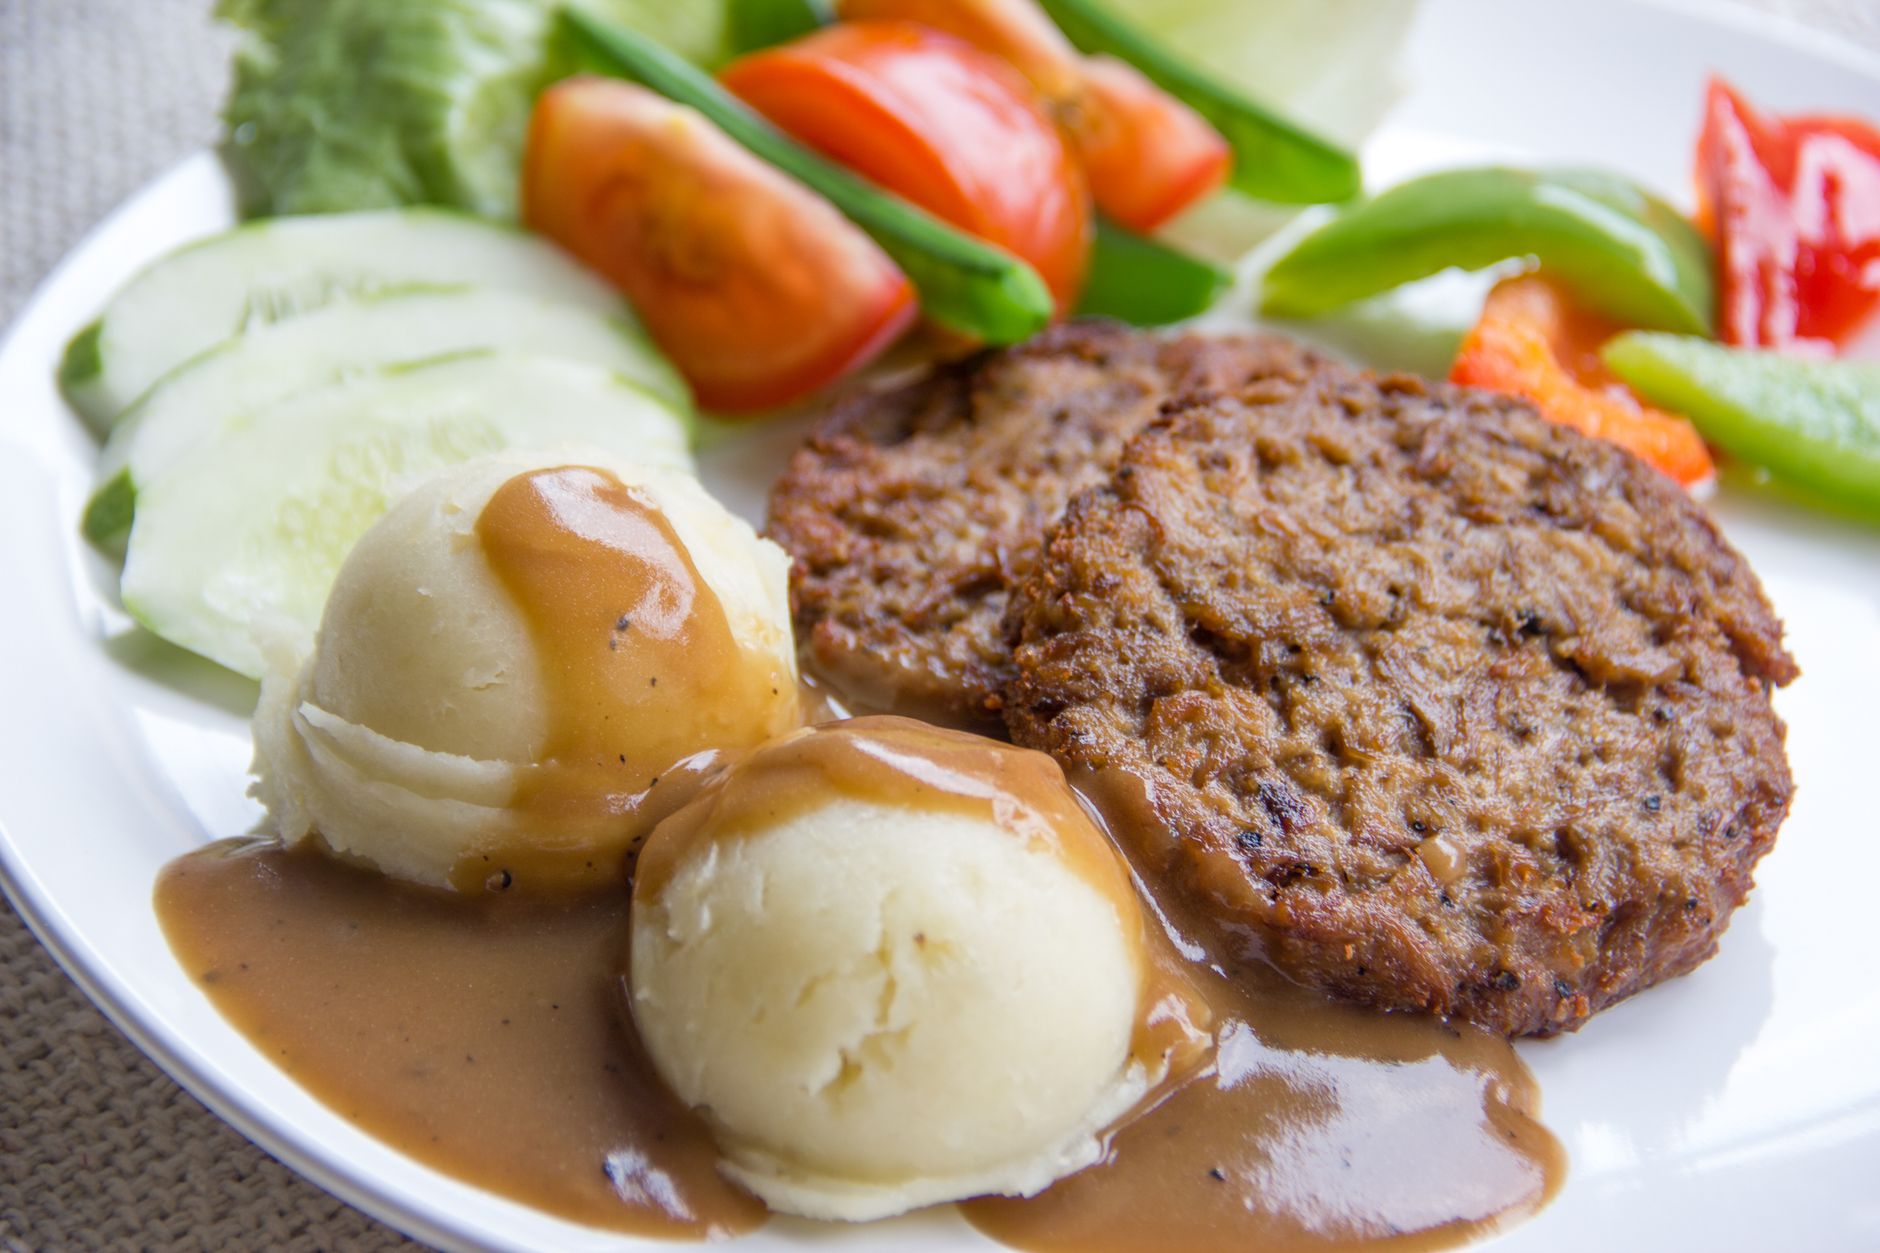
    Delicious veggie patties served with mashed potatoes and fresh salad

    Mushroom-Based Patties

    Mushroom-forward veggie burgers lean into a naturally smoky, savory, meaty flavor profile that reads closer to a traditional burger than a bean-based version does. These generally hold together a bit better during cooking, thanks to mushrooms’ firmer, less crumbly texture compared to mashed beans.

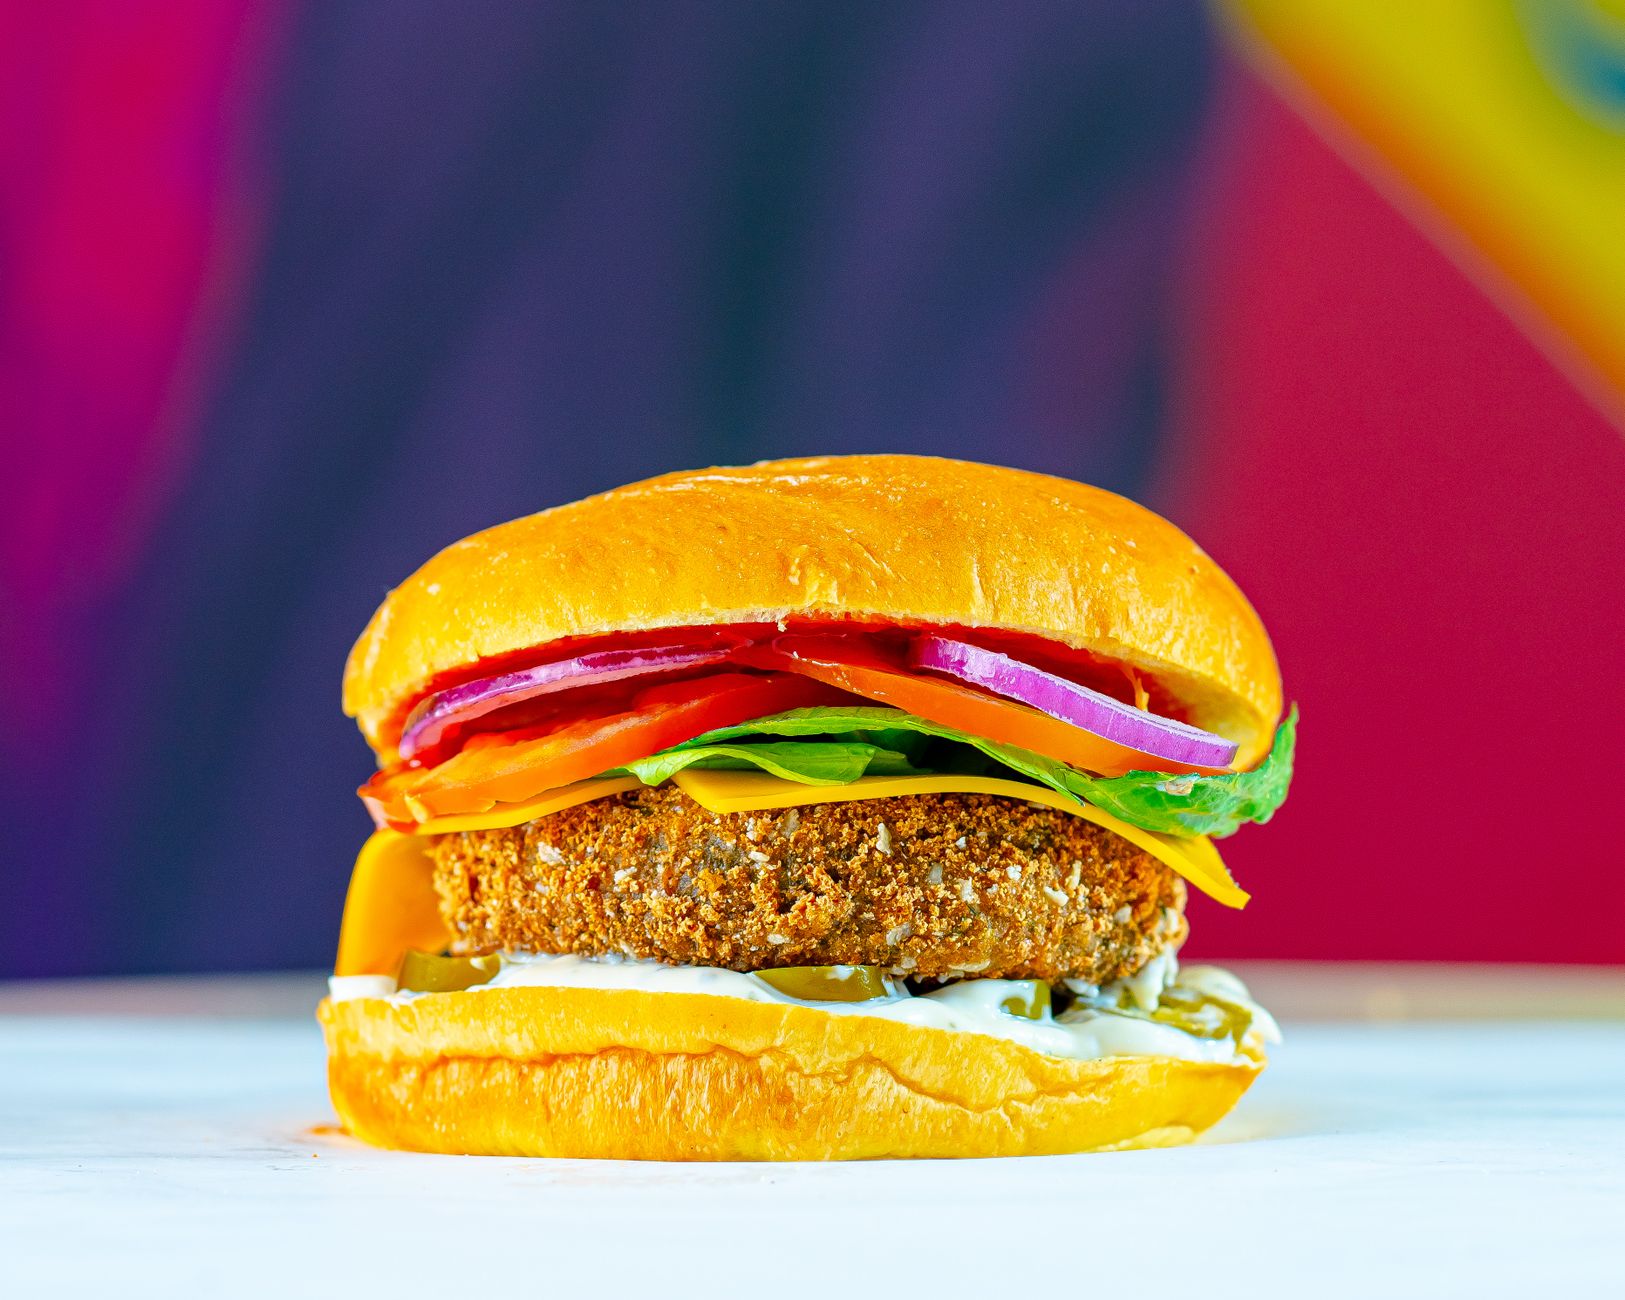
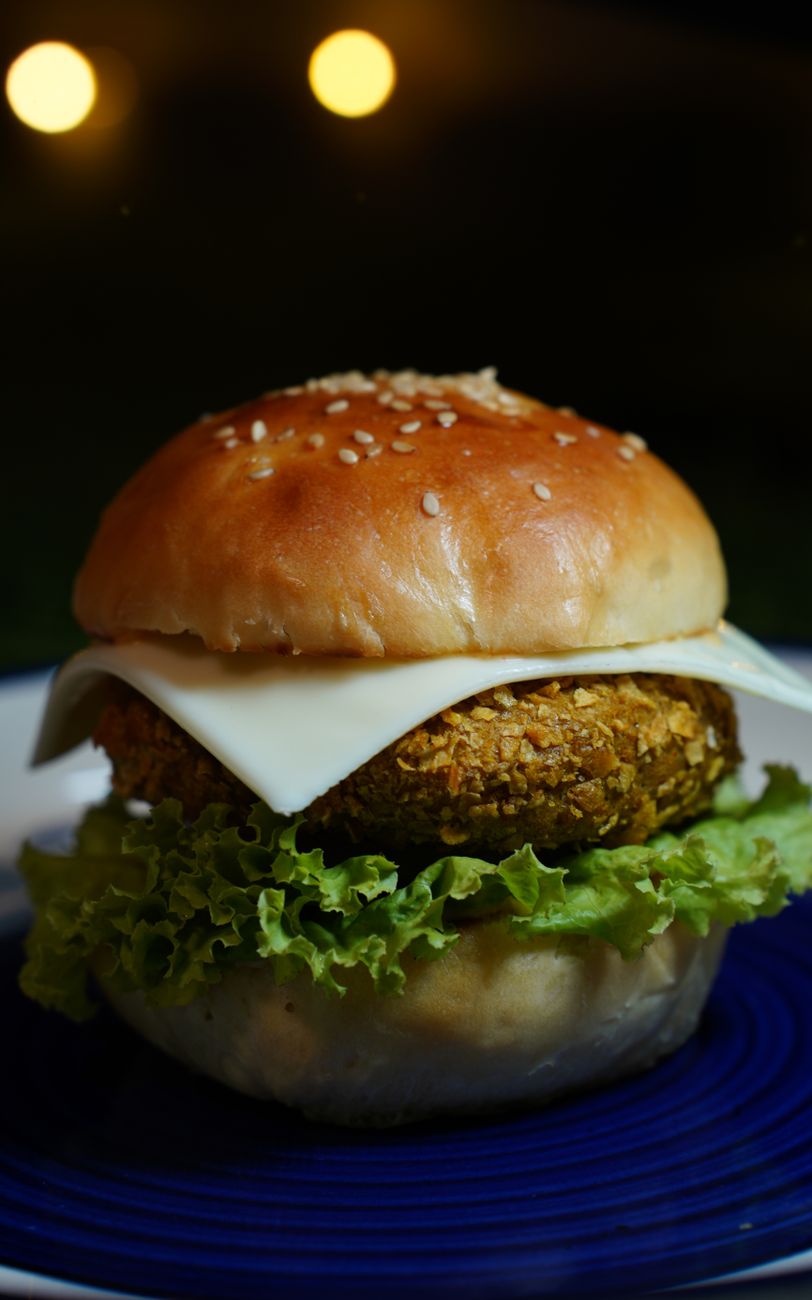
    A close-up of a delicious veggie burger with cheese and lettuce

    Store-Bought Options

    Commercial veggie burgers, including well-known brands built to closely mimic beef in texture and flavor, are formulated specifically to hold together reliably during cooking — generally the most foolproof option if you’re cooking for a group and don’t want to risk a homemade patty falling apart on the grill.

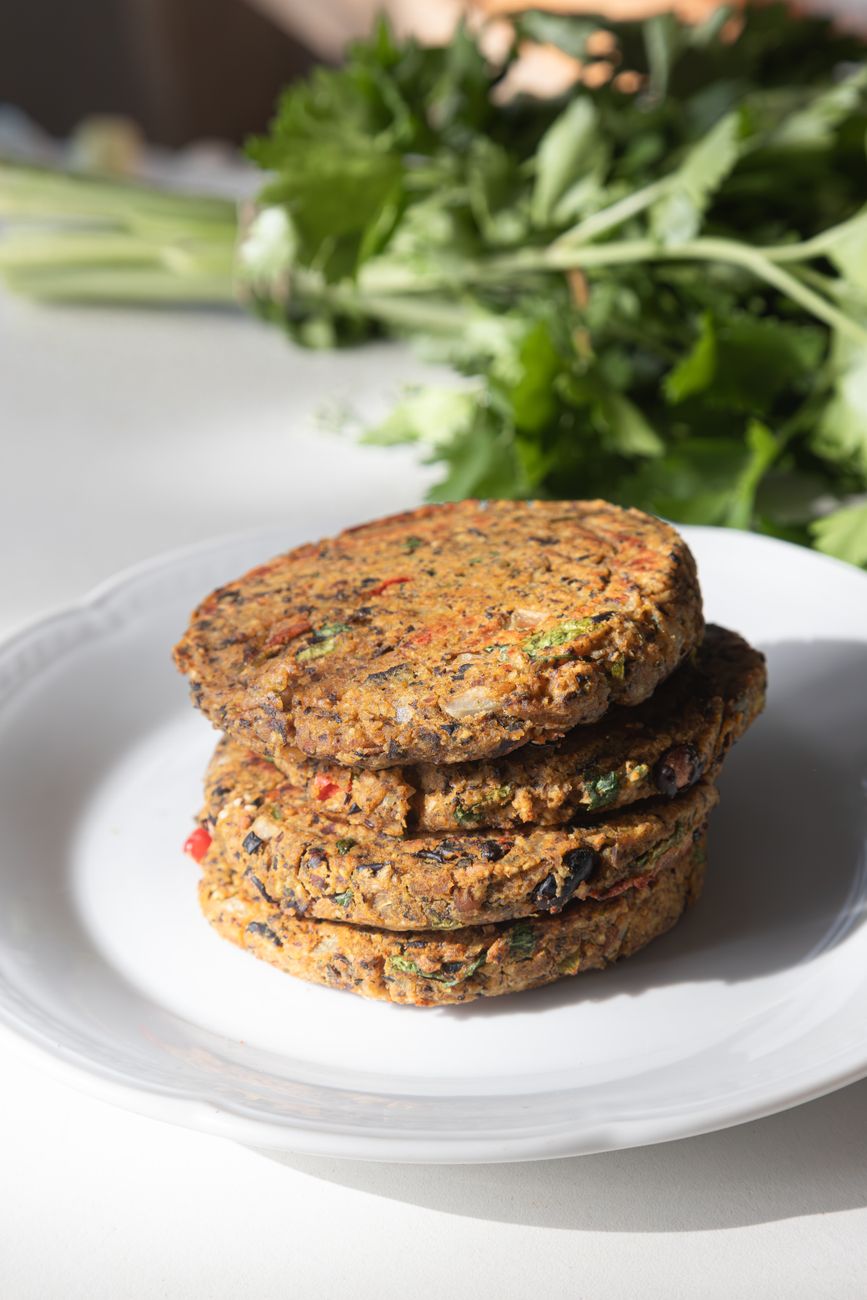
    Stack of homemade vegetarian burger patties on a plate with fresh herbs

    How to Cook Each Type

    Cooking MethodTimeBest For
    Stovetop/skillet12–14 minutes, flipping every few minutesHomemade bean-based patties
    Oven15–20 minutes at 350°F, flipping halfwayFragile patties prone to falling apart on a grill
    GrillVaries by thicknessFirmer mushroom-based or store-bought patties
    Close-up of a delicious veggie burger with fresh vegetables and creamy sauce

    Storage Tips

    Homemade veggie burgers freeze well for up to three months, and it’s generally best to cook them first and then freeze, rather than freezing raw patties, which can fall apart more easily once thawed and cooked.

    Frequently Asked Questions

    Why do homemade veggie burgers fall apart?

    Usually because the patties weren’t chilled long enough before cooking; refrigerating for at least 30 minutes helps them firm up and hold together.

    What’s the best way to cook a veggie burger?

    It depends on the type — firmer mushroom-based or store-bought patties handle grilling well, while more delicate bean-based patties often do better in a skillet or oven.

    Can I freeze veggie burgers?

    Yes, ideally after cooking them first, for up to three months.

    Are all veggie burgers vegetarian and vegan?

    Most are vegetarian, though not all are vegan, since some recipes include egg as a binder; check specific ingredients if you’re eating fully plant-based.

    Where can I get a veggie burger near Poncha Springs?

    Mabel’s Deli inside Poncha Market serves one for $8.59.

    How do I fix a veggie burger mix that feels too loose?

    Add an extra egg or more breadcrumbs as a binder; a slightly denser patty that holds together is better than one that crumbles during cooking.

    Do veggie burgers need less cooking time than beef?

    Generally similar or slightly less, since most veggie burgers just need to be heated through rather than cooked to a specific safe internal temperature the way raw beef does.

    Want a plant-based option on the road? See our Mabel’s Deli menu guide for the Veggie Burger and other grill items.

    For more vegetarian cooking guidance, see the Vegetarian Resource Group.

  • How to Make Crispy French Fries at Home

    How to Make Crispy French Fries at Home

    Restaurant-style French fries — crispy on the outside, fluffy on the inside — are genuinely achievable at home, but they require a specific technique most single-fry home methods skip entirely: frying the potatoes twice, at two different temperatures, rather than once. Mabel’s Deli inside Poncha Market offers regular or sweet potato fries for $2.99, and understanding this double-fry method explains why restaurant fries so consistently outperform a single home attempt.

    Here’s the full method, along with the preparation steps that matter just as much as the frying itself.

    This method takes more total time than a single fry, but very little of that time is active work — most of it is passive soaking, resting, or waiting for oil to reach the right temperature, which makes it a genuinely realistic weekend project rather than a demanding one.

    Why Double-Frying Works

    The first fry, done at a lower temperature, cooks the potato through to a tender interior without browning the outside. The second fry, at a considerably higher temperature, is purely about crisping and browning the exterior quickly. Trying to accomplish both goals in a single fry means compromising on one or the other — either an undercooked center or an overly dark, greasy exterior.

    This same two-stage logic explains why fast food and restaurant fries hold their crunch noticeably longer than a typical home-fried batch — the first fry can even be done well ahead of time and the potatoes held at room temperature or refrigerated, with only the quick second fry happening right before serving.

    Curious how they compare to the sweeter alternative? See our sweet potato fries vs. regular fries guide.

    A high-angle shot of golden French fries scattered on a black surface

    Preparation Before Frying

    1. Cut potatoes into even-sized sticks so they cook consistently.
    2. Place the cut fries in a bowl of cold water and soak for 30 to 60 minutes; if the water turns cloudy, drain and refill once. This step removes excess surface starch, which helps prevent sticking and encourages a cleaner, crispier crust.
    3. For best results, some cooks boil the potatoes briefly until just tender, then refrigerate them uncovered overnight to dry out the surface further before frying — an extra step, but one that meaningfully improves the final crunch.
    Close-up of crispy golden french fries served on a plate

    The Double-Fry Process

    1. Heat oil to 320°F and fry the potatoes in batches for several minutes, until just tender but not browned. Remove and let cool.
    2. Raise the oil temperature to 375°F.
    3. Fry the potatoes a second time for 2 to 3 minutes, until golden brown and crunchy on the outside.
    4. Drain briefly on paper towels, season immediately with salt while still hot, and serve right away.
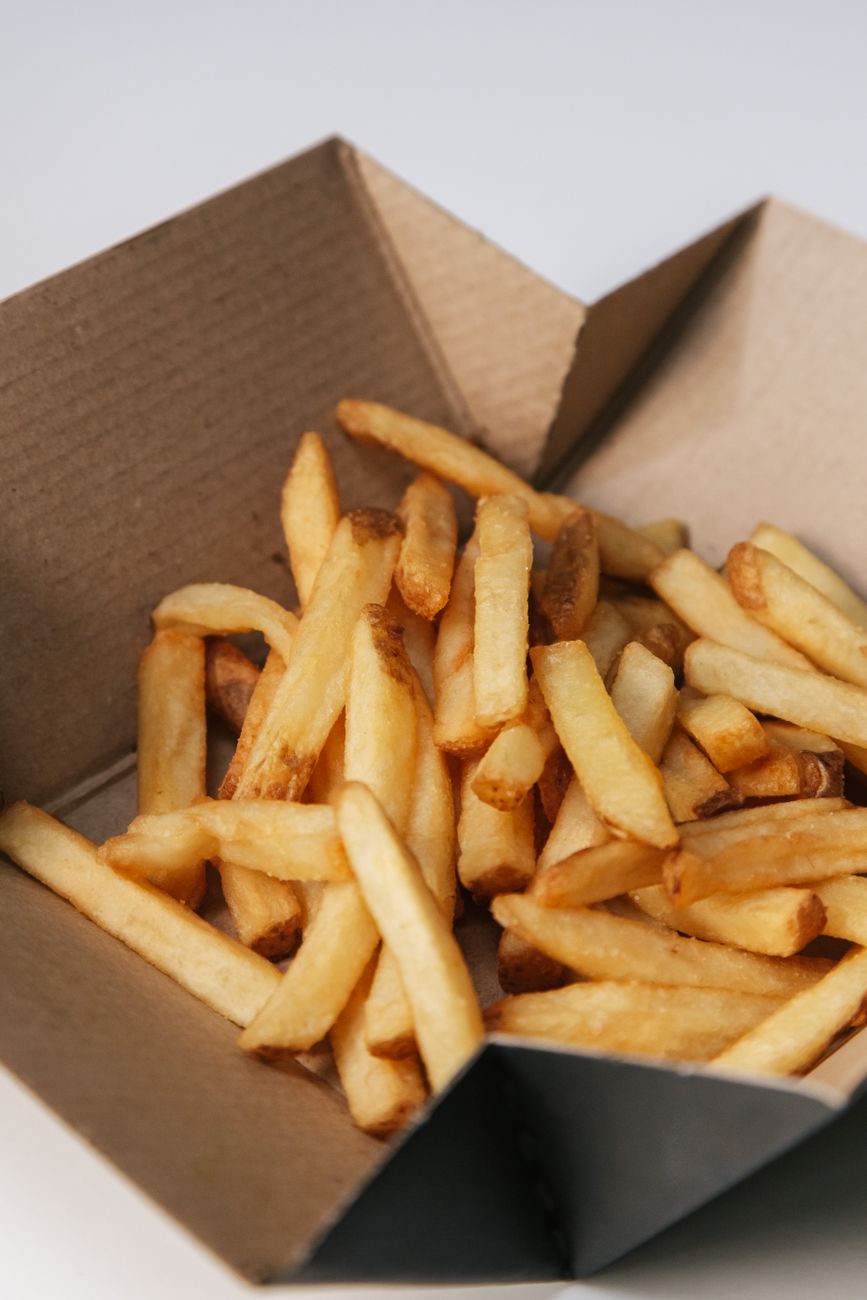
    Close-up of golden french fries in a brown cardboard takeout box

    Common Mistakes

    • Skipping the soak step, which leaves excess starch on the potatoes and results in fries that stick together and crisp unevenly.
    • Frying only once at a single temperature, which forces a trade-off between a properly cooked interior and a crisp exterior.
    • Overcrowding the fryer, which drops the oil temperature and produces soggy, greasy fries instead of crispy ones.
    • Salting too early, before frying, which can draw out moisture and affect how the fries crisp.
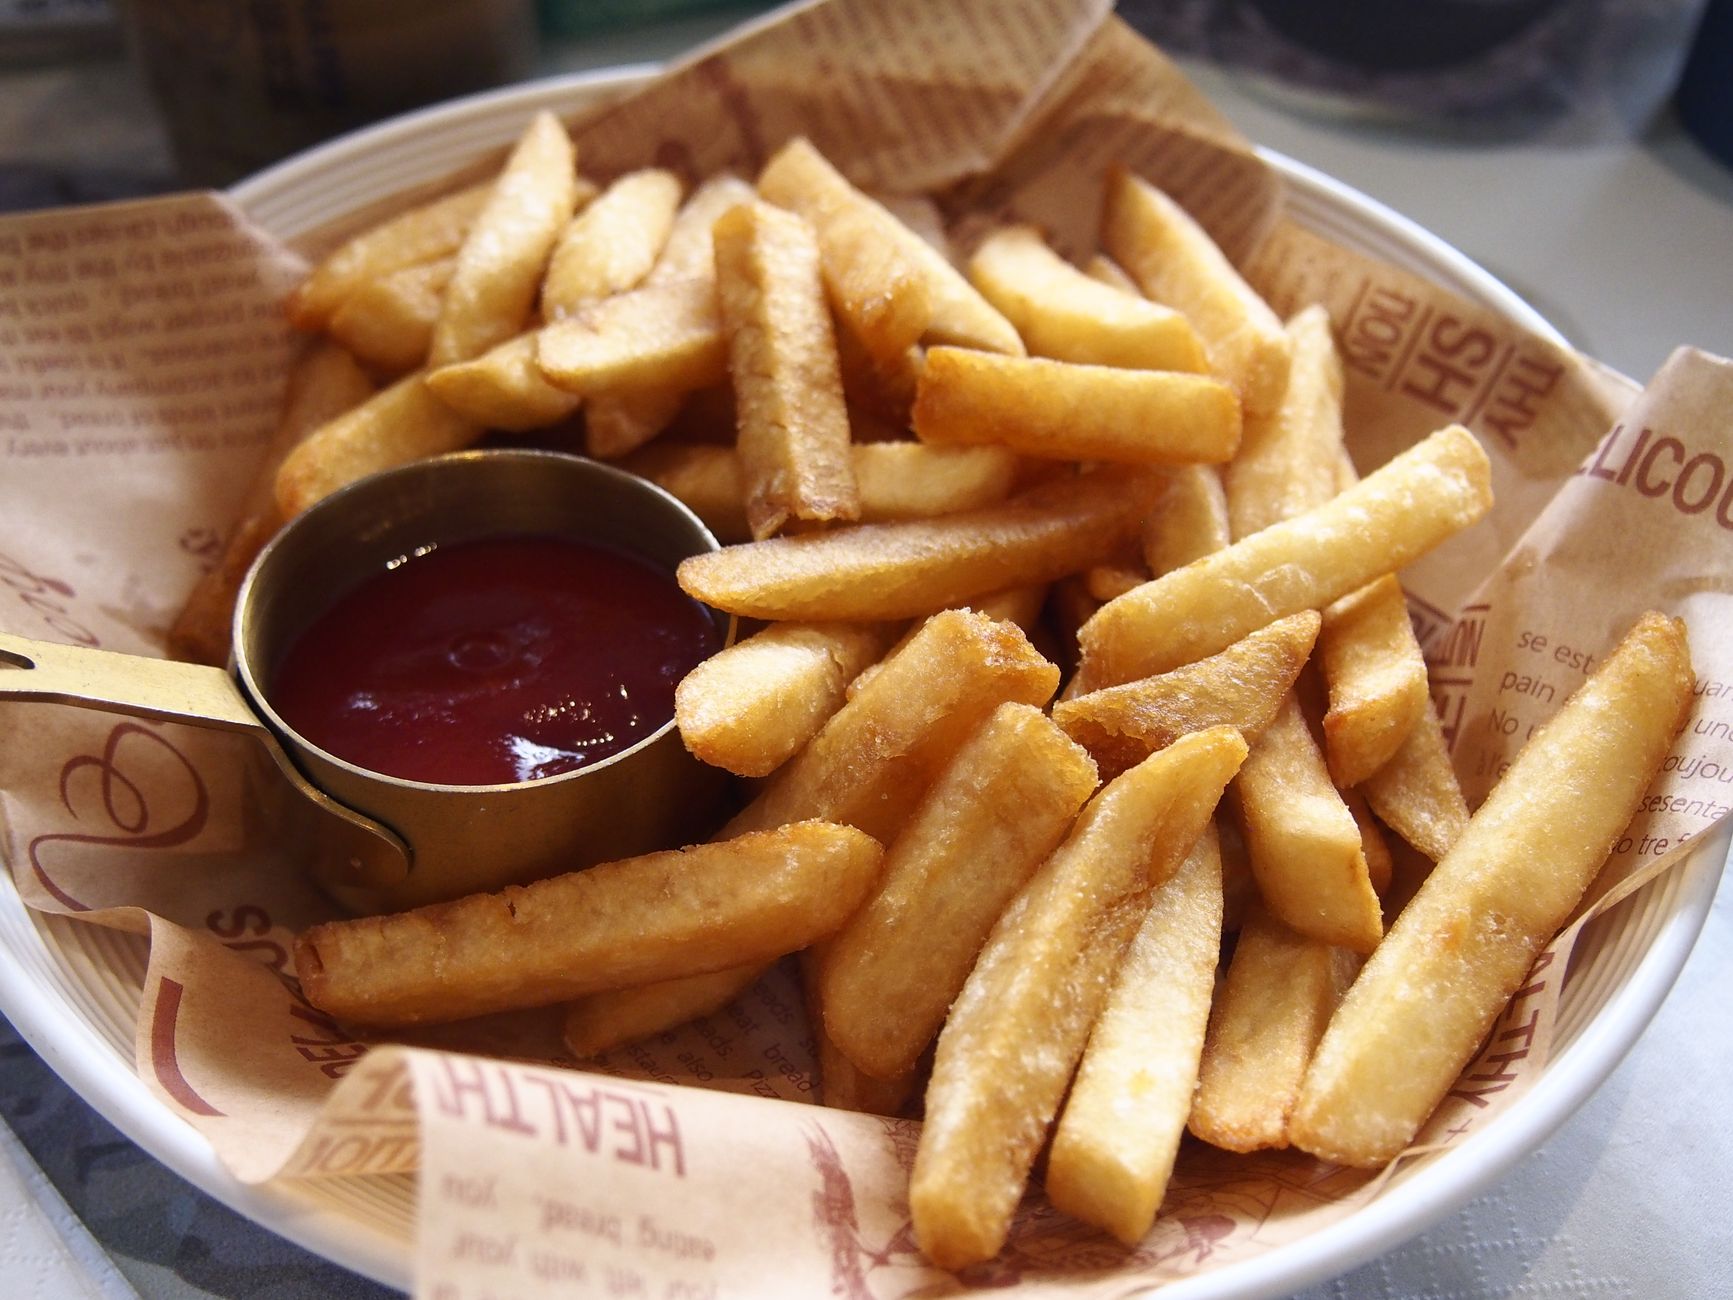
    A plate of golden, crispy French fries served with a side of ketchup

    Frequently Asked Questions

    Why do restaurant fries taste better than homemade ones?

    Most restaurants use a double-fry method at two different temperatures, which most single-fry home methods skip, resulting in a noticeably crispier, better-cooked fry.

    What temperature should the first fry be?

    Around 320°F, meant to cook the potato through without browning it.

    Should I soak potatoes before frying?

    Yes — soaking in cold water for 30 to 60 minutes removes excess starch and helps produce a crisper crust.

    Can I make sweet potato fries the same way?

    Yes, though sweet potatoes have higher natural sugar content and can brown faster, so watching them closely during the second fry is worth it.

    Where can I get fries near Poncha Springs?

    Mabel’s Deli inside Poncha Market offers regular or sweet potato fries for $2.99.

    Can I do the first fry ahead of time?

    Yes — the first fry can be done well ahead and the potatoes held at room temperature or refrigerated, with just the quick second fry done right before serving.

    What potato variety is best for fries?

    Starchy potatoes like Russets are generally preferred, since their lower moisture and sugar content helps them crisp well without burning too quickly.

    Craving fries with your order? See our Mabel’s Deli menu guide for the full menu.

    For more on the double-fry technique, see the guidance at Idaho Potato Commission.

  • Polish Sausage vs. Bratwurst: What’s the Difference

    Polish Sausage vs. Bratwurst: What’s the Difference

    Polish sausage and bratwurst get lumped together constantly as generic “grill sausages,” but they’re genuinely distinct products with different origins, seasonings, and cooking methods. Mabel’s Deli inside Poncha Market serves both a Polish Sausage and a Smoked Brat separately on the menu — a real distinction worth understanding rather than treating them as interchangeable.

    Here’s what actually separates the two, beyond just the name on the menu board.

    Both sausages trace back to genuine, distinct European culinary traditions rather than being interchangeable modern American inventions, which is part of why home cooks who care about getting either one right pay attention to the specific seasoning blend rather than treating “sausage” as a single generic category.

    Origin and Preparation

    Polish sausage, commonly known as kielbasa, is a smoked sausage typically made from pork or a pork-beef blend, offering a robust smoky flavor that comes specifically from the smoking process itself. Bratwurst, by contrast, is traditionally a fresh, uncooked link sausage — typically pork, though veal or beef versions aren’t uncommon — that needs to be cooked before eating, without the smoking step that defines kielbasa.

    Kielbasa’s smoking process also gives it a longer natural shelf life than fresh bratwurst, which is one practical reason it’s traditionally been easier to transport and store over long distances — a real factor in how each sausage tradition developed historically in its region of origin.

    At a grill counter serving both side by side, that practical difference becomes less relevant to the customer, but the flavor and texture distinction remains genuinely worth knowing before ordering, especially for anyone with a specific preference for smoky versus herbal-sweet sausage flavors.

    If you’re unsure which to order, thinking in terms of the flavor profile you’re already drawn to elsewhere is a reasonable shortcut — if you tend to like garlicky, smoky flavors generally, kielbasa is the safer bet; if you lean toward milder, more delicately spiced foods, bratwurst is more likely to suit your taste.

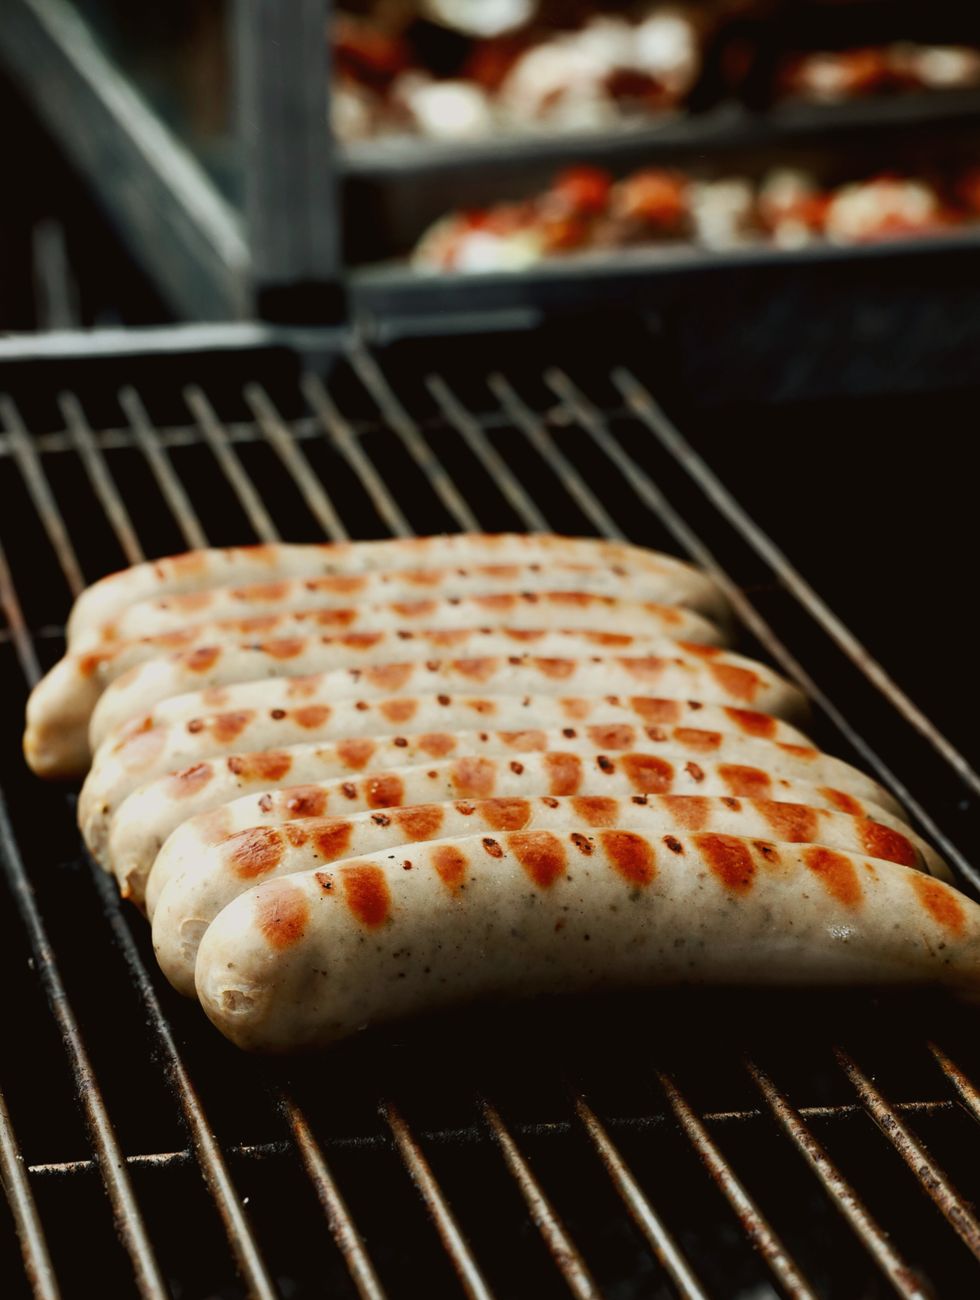
    Delicious array of sausages grilling over charcoal flames

    Seasoning Differences

    Polish sausage is traditionally seasoned with garlic, marjoram, and black pepper, giving it a distinctly savory, herbal profile. Bratwurst leans on a different seasoning family entirely — nutmeg, coriander, and caraway are common, giving it a milder, sweeter, more distinctly German culinary character than kielbasa’s garlic-forward flavor.

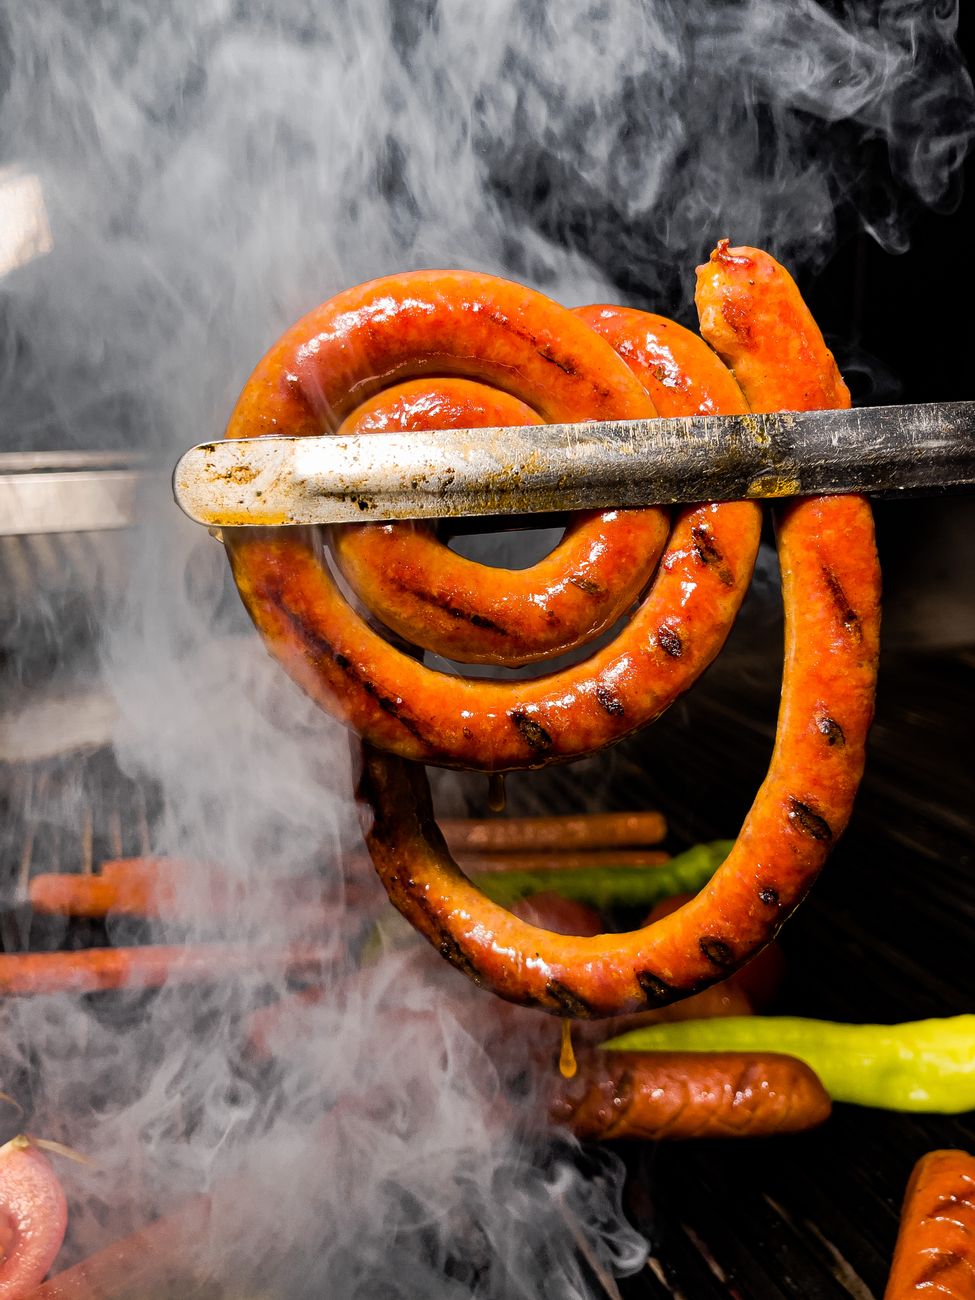
    Close-up of a spiral sausage being grilled, captured in a smoky atmosphere

    Cooking Method Differences

    Because it’s already smoked, Polish sausage is often simply boiled or grilled to heat it through rather than fully cook it from raw. Bratwurst, being a fresh, uncooked sausage, requires being properly cooked through on the grill or in a pan — an important distinction if you’re cooking either one at home, since treating a raw bratwurst like an already-smoked kielbasa risks undercooking it.

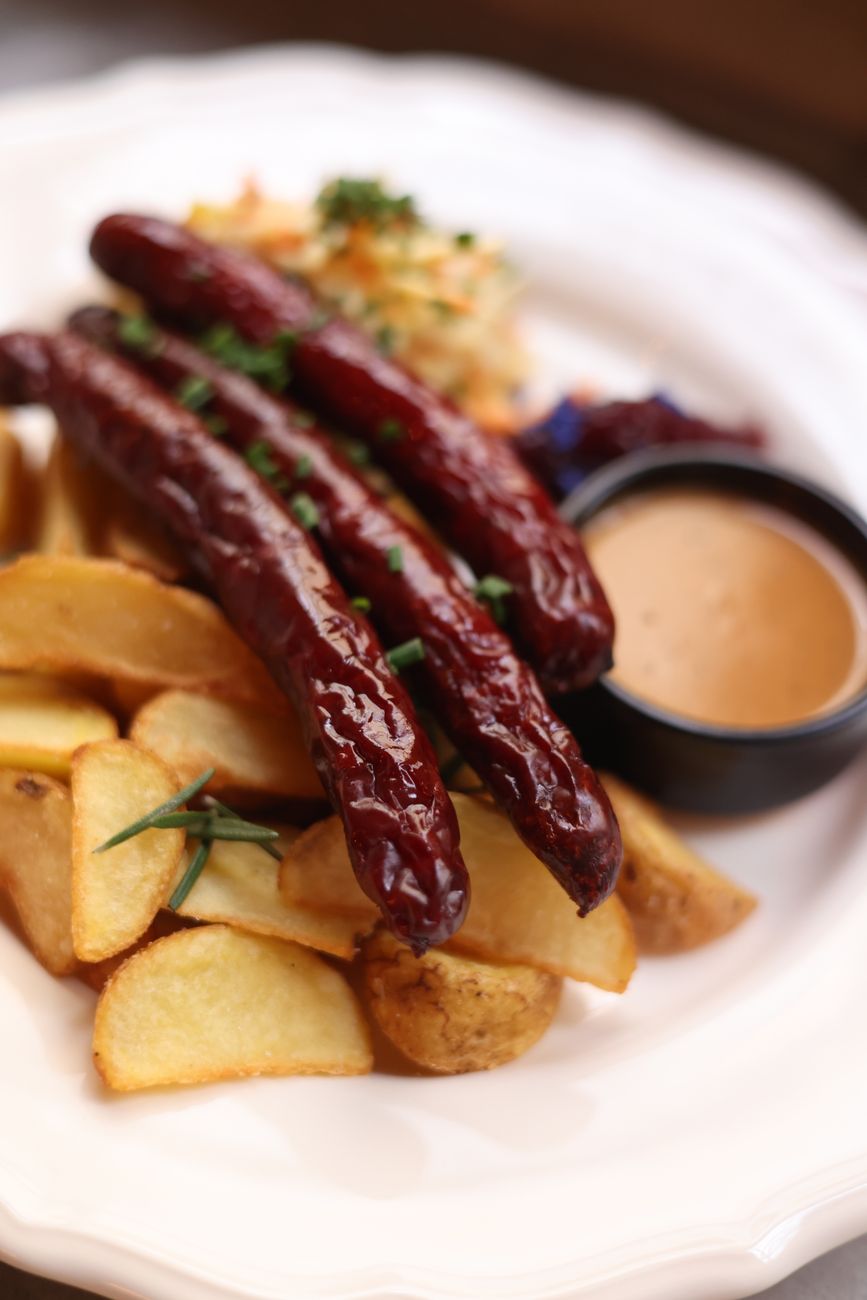
    Tantalizing grilled sausages served with crispy potato wedges

    Nutritional Differences

    Polish sausage generally carries roughly twice the sodium of bratwurst — about 1,540 mg per serving compared to bratwurst’s roughly 848 mg — a real, measurable difference tied directly to the curing and smoking process kielbasa goes through that fresh bratwurst doesn’t.

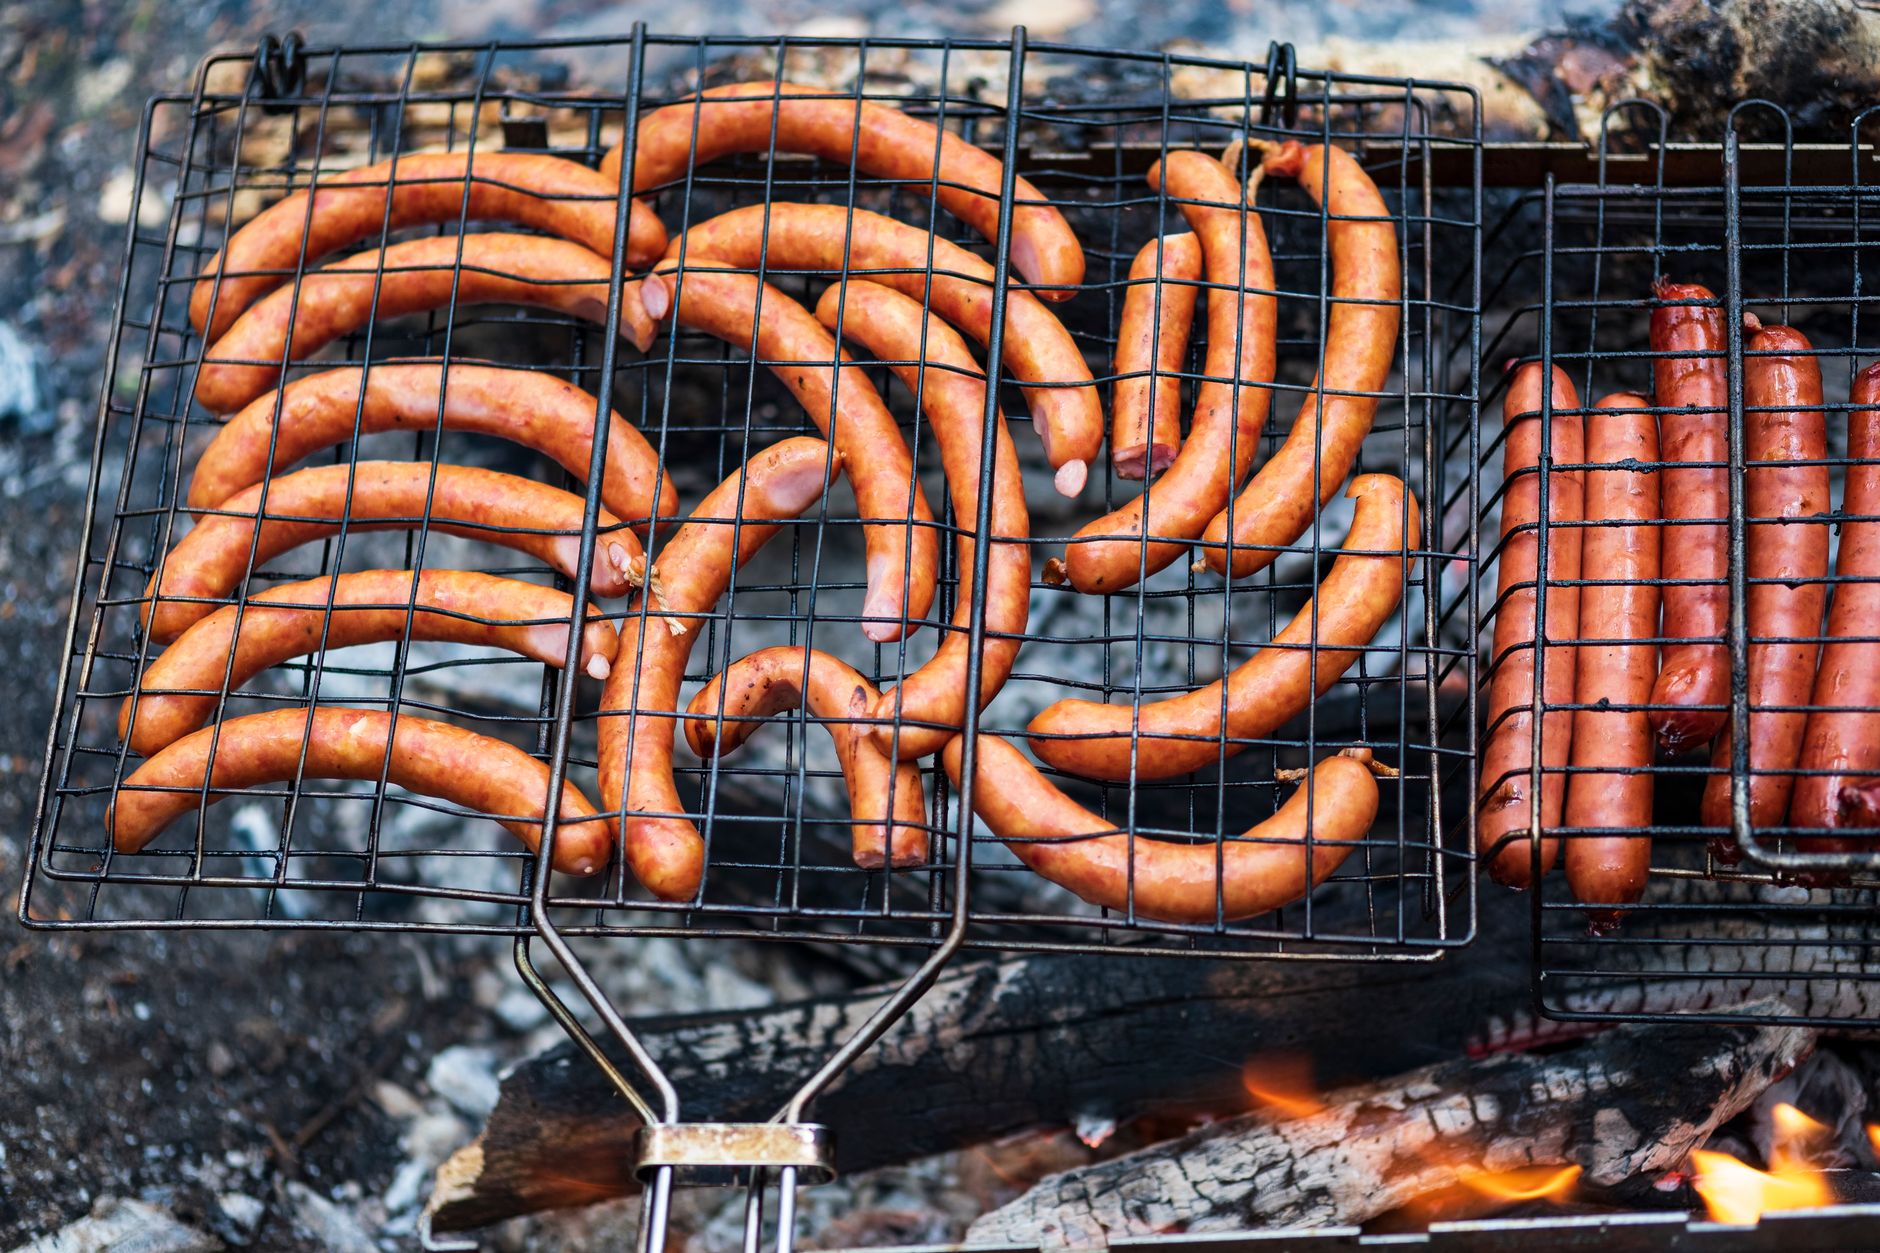
    Close-up of juicy sausages grilling over a fiery barbecue

    Side-by-Side Comparison

    Polish Sausage (Kielbasa)Bratwurst
    PreparationSmokedFresh, uncooked
    SeasoningGarlic, marjoram, pepperNutmeg, coriander, caraway
    Cooking methodBoiled or grilled to reheatGrilled or pan-fried from raw
    Flavor profileRobust, smokyMilder, herbal-sweet
    Sodium (approx.)~1,540 mg~848 mg

    Frequently Asked Questions

    Is Polish sausage the same as kielbasa?

    Yes — “Polish sausage” and “kielbasa” refer to the same smoked sausage.

    Does bratwurst need to be fully cooked?

    Yes — unlike smoked kielbasa, fresh bratwurst is uncooked and must be grilled or pan-fried through before eating.

    Which has more sodium, kielbasa or bratwurst?

    Kielbasa generally carries roughly twice the sodium of bratwurst, tied to its smoking and curing process.

    Can I substitute one for the other in a recipe?

    They can work as substitutes in a pinch, but the flavor and texture differences are noticeable enough that a recipe built around one may not taste the same with the other.

    Does Mabel’s Deli serve both?

    Yes — Mabel’s Deli lists both a Polish Sausage and a Smoked Brat separately on the grill menu.

    Why does kielbasa last longer than bratwurst?

    The smoking process that defines kielbasa also extends its shelf life, historically making it easier to store and transport than fresh, uncooked bratwurst.

    Can I grill kielbasa the same way as bratwurst?

    Yes, though since kielbasa is already smoked, grilling is mainly about reheating and adding char, not fully cooking it through the way raw bratwurst requires.

    Want to try both? See our Mabel’s Deli menu guide for the full grill lineup.

    For more on German sausage traditions, see German Foods North America.

  • How to Make Corn Dogs at Home

    How to Make Corn Dogs at Home

    A corn dog is really just a hot dog on a stick dipped in a thick cornmeal batter and deep-fried to golden perfection, but the actual execution of that simple idea depends heavily on batter consistency, proper drying of the hot dog beforehand, and holding the oil at the right temperature throughout frying. Get any one of those three details wrong, and the batter either slides off in the fryer or turns out greasy and undercooked rather than genuinely crisp.

    It’s also a straightforward menu item at Mabel’s Deli inside Poncha Market, priced at $2.99. Here’s a full recipe and the specific technique details that actually make the difference between a soggy homemade attempt and something genuinely close to what you’d get at a fair or a real deli counter.

    Corn dogs are also one of the more forgiving fried foods to practice at home, since the batter recipe itself is quite tolerant of small variations — most of what separates a great homemade corn dog from a mediocre one comes down to preparation and temperature discipline rather than precise ingredient ratios.

    Ingredients

    • 4 hot dogs, halved and patted completely dry
    • 1 cup cornmeal
    • 1 cup all-purpose flour
    • ¼ cup sugar
    • 1 tablespoon baking powder
    • 1 teaspoon salt
    • 1 cup buttermilk
    • 1 egg
    • 2 tablespoons honey
    • Wooden sticks or skewers
    • Vegetable oil for frying
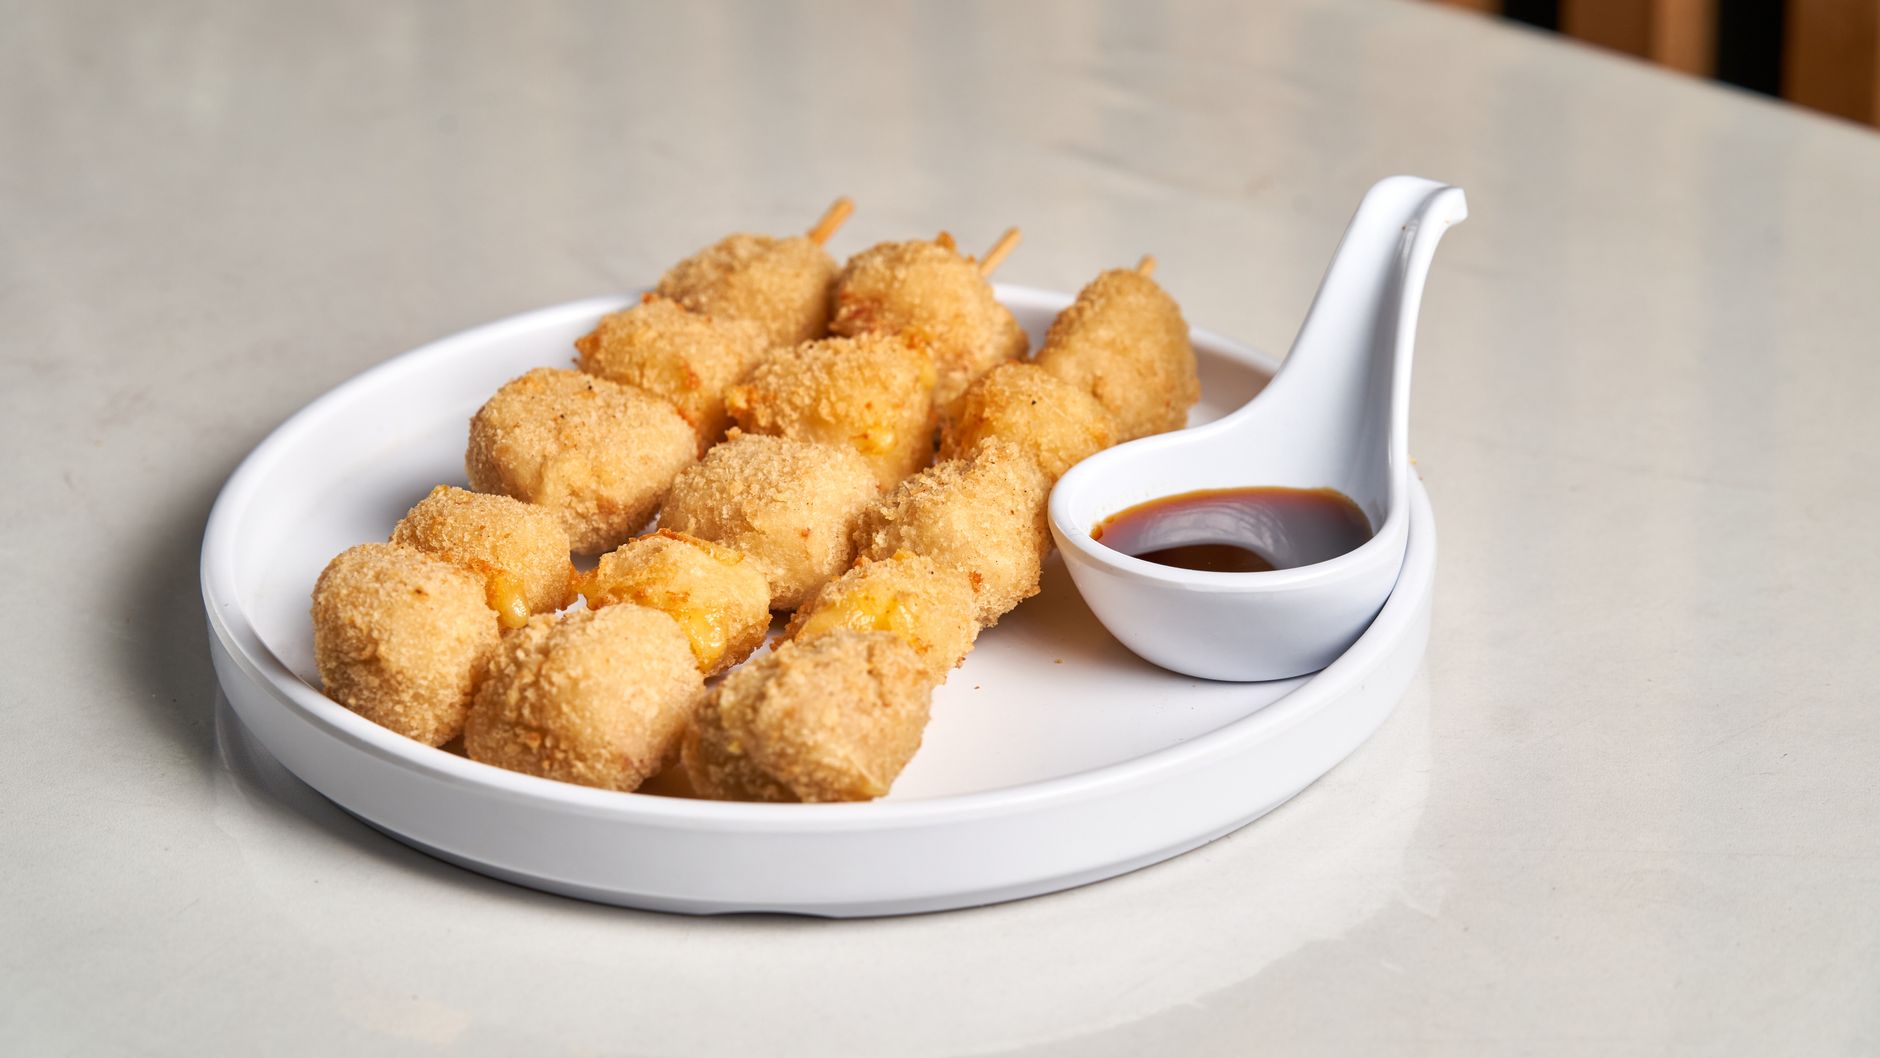
    A plate of crispy cheese corn dogs served with soy dipping sauce

    Step-by-Step Instructions

    1. Insert a wooden stick into each hot dog half, leaving enough exposed to hold onto comfortably, then thoroughly pat the hot dogs dry with paper towels — any surface moisture creates a barrier that keeps the batter from actually sticking during frying.
    2. In a large bowl, whisk together the cornmeal, flour, sugar, baking powder, and salt until evenly combined.
    3. In a separate measuring cup, whisk together the buttermilk, egg, and honey, then pour the wet ingredients into the dry ingredients and stir until just combined into a thick, smooth batter.
    4. Heat about 4 inches of vegetable oil in a large, heavy pot to 350°F, using a deep-fry thermometer to monitor and maintain the temperature throughout frying.
    5. Dip each hot dog into the batter, turning to coat evenly and letting any excess drip off before lowering it carefully into the hot oil.
    6. Fry for about 3 minutes, turning occasionally, until deep golden brown on all sides.
    7. Drain on paper towels briefly before serving with ketchup, mustard, or your preferred dipping sauce.
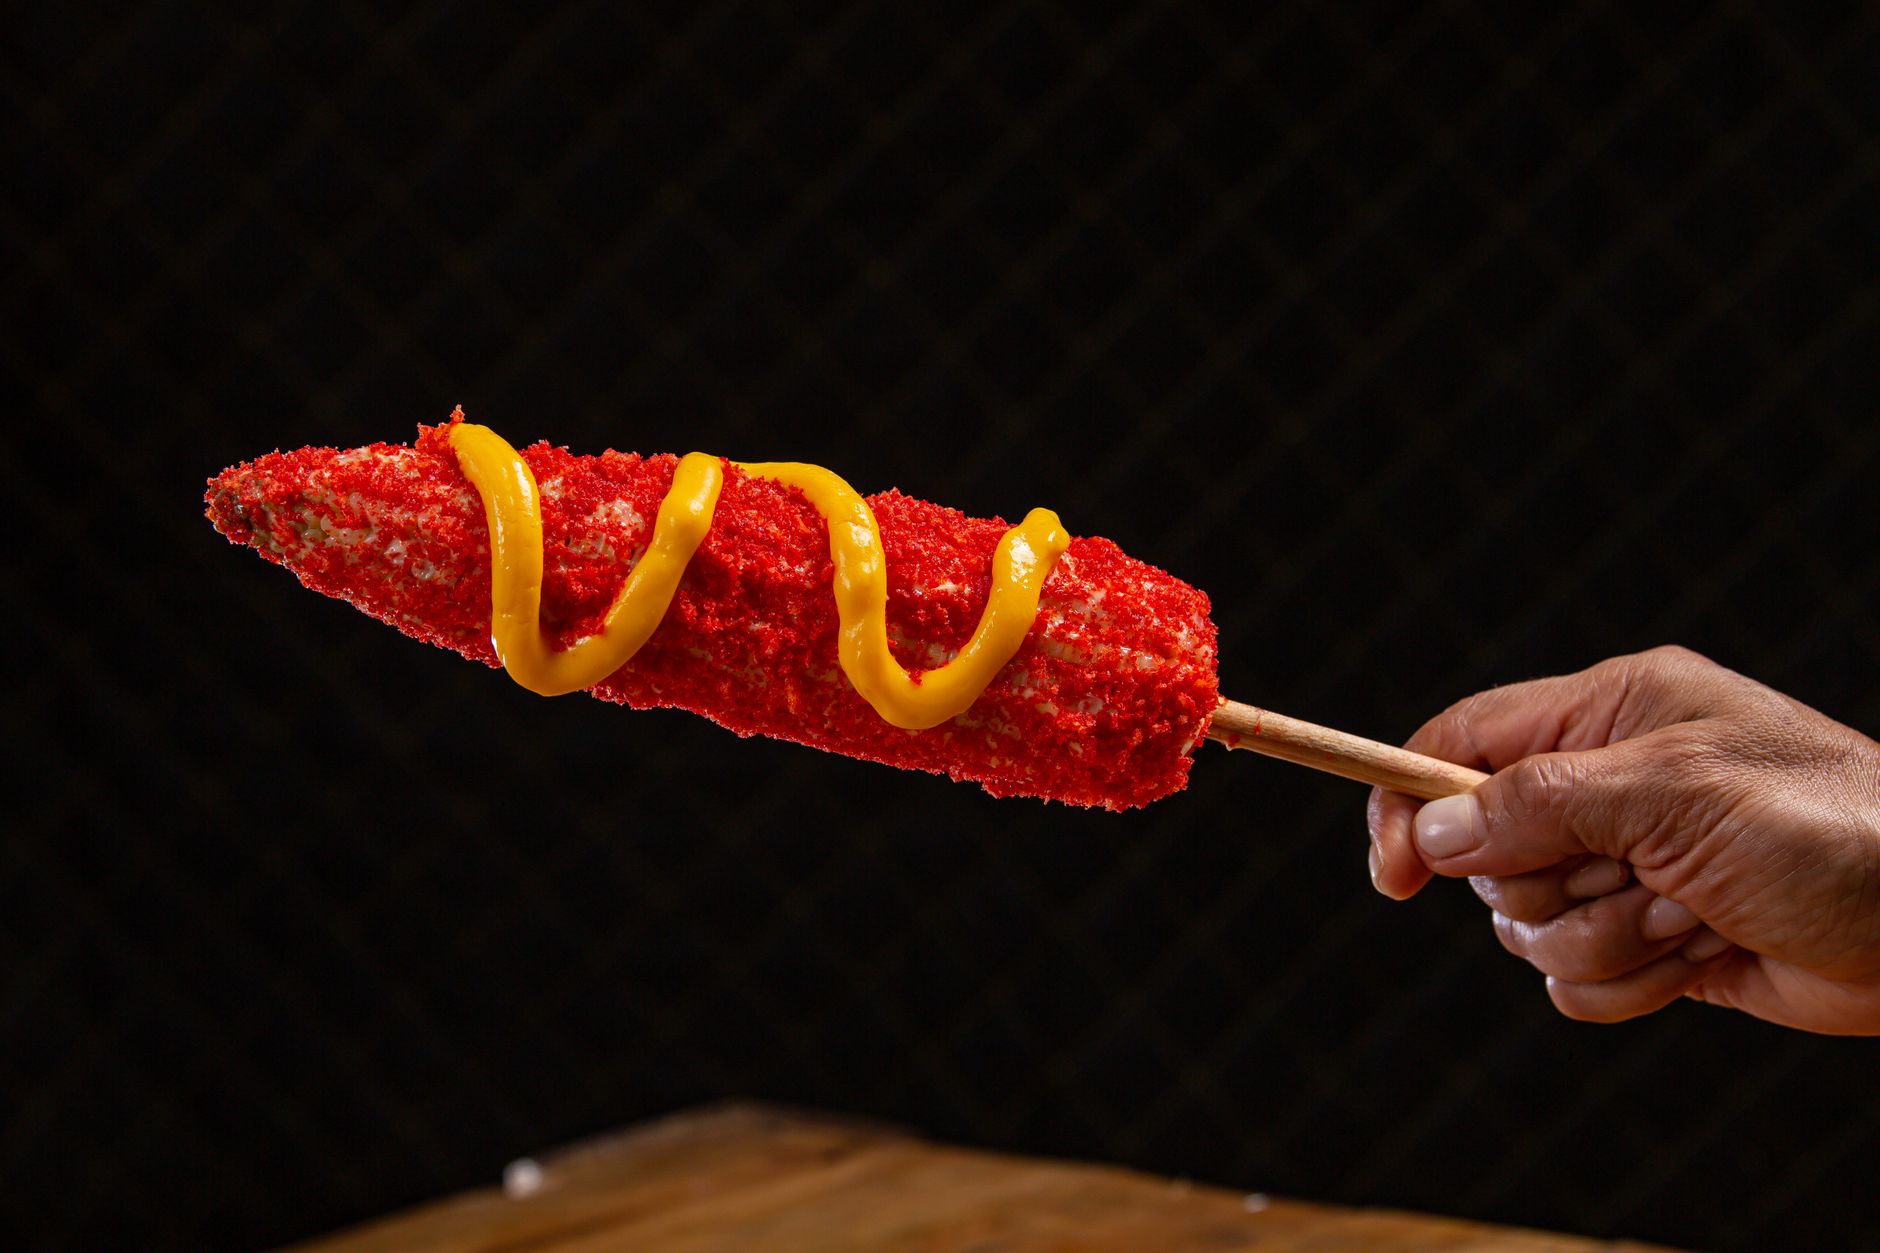
    Close-up of a spicy corn dog topped with cheese held in hand

    Why Drying the Hot Dogs Matters So Much

    This is the single most commonly skipped step, and it’s also the most consequential one. Any leftover liquid clinging to the surface of the hot dog creates a barrier that prevents the batter from adhering properly, which is exactly why so many homemade corn dog attempts end up with the batter sliding off or peeling away in the fryer rather than forming a clean, even coating.

    A light dusting of plain flour on the dried hot dog before dipping it in batter gives the batter an additional surface to grip, functioning similarly to how flour helps batter adhere in traditional fried chicken preparation — a small extra step that further reduces the risk of slippage in the fryer.

    Crispy corn dogs served with dip and garnish on a wooden platter

    Temperature Control Is Everything

    Oil that’s too cool leaves you with a greasy, undercooked corn dog since the batter absorbs oil rather than crisping quickly; oil that’s too hot burns the outside before the inside has a chance to cook through properly. A dedicated deep-fry or candy thermometer, rather than guessing, is genuinely worth the small investment if you plan to make these more than once.

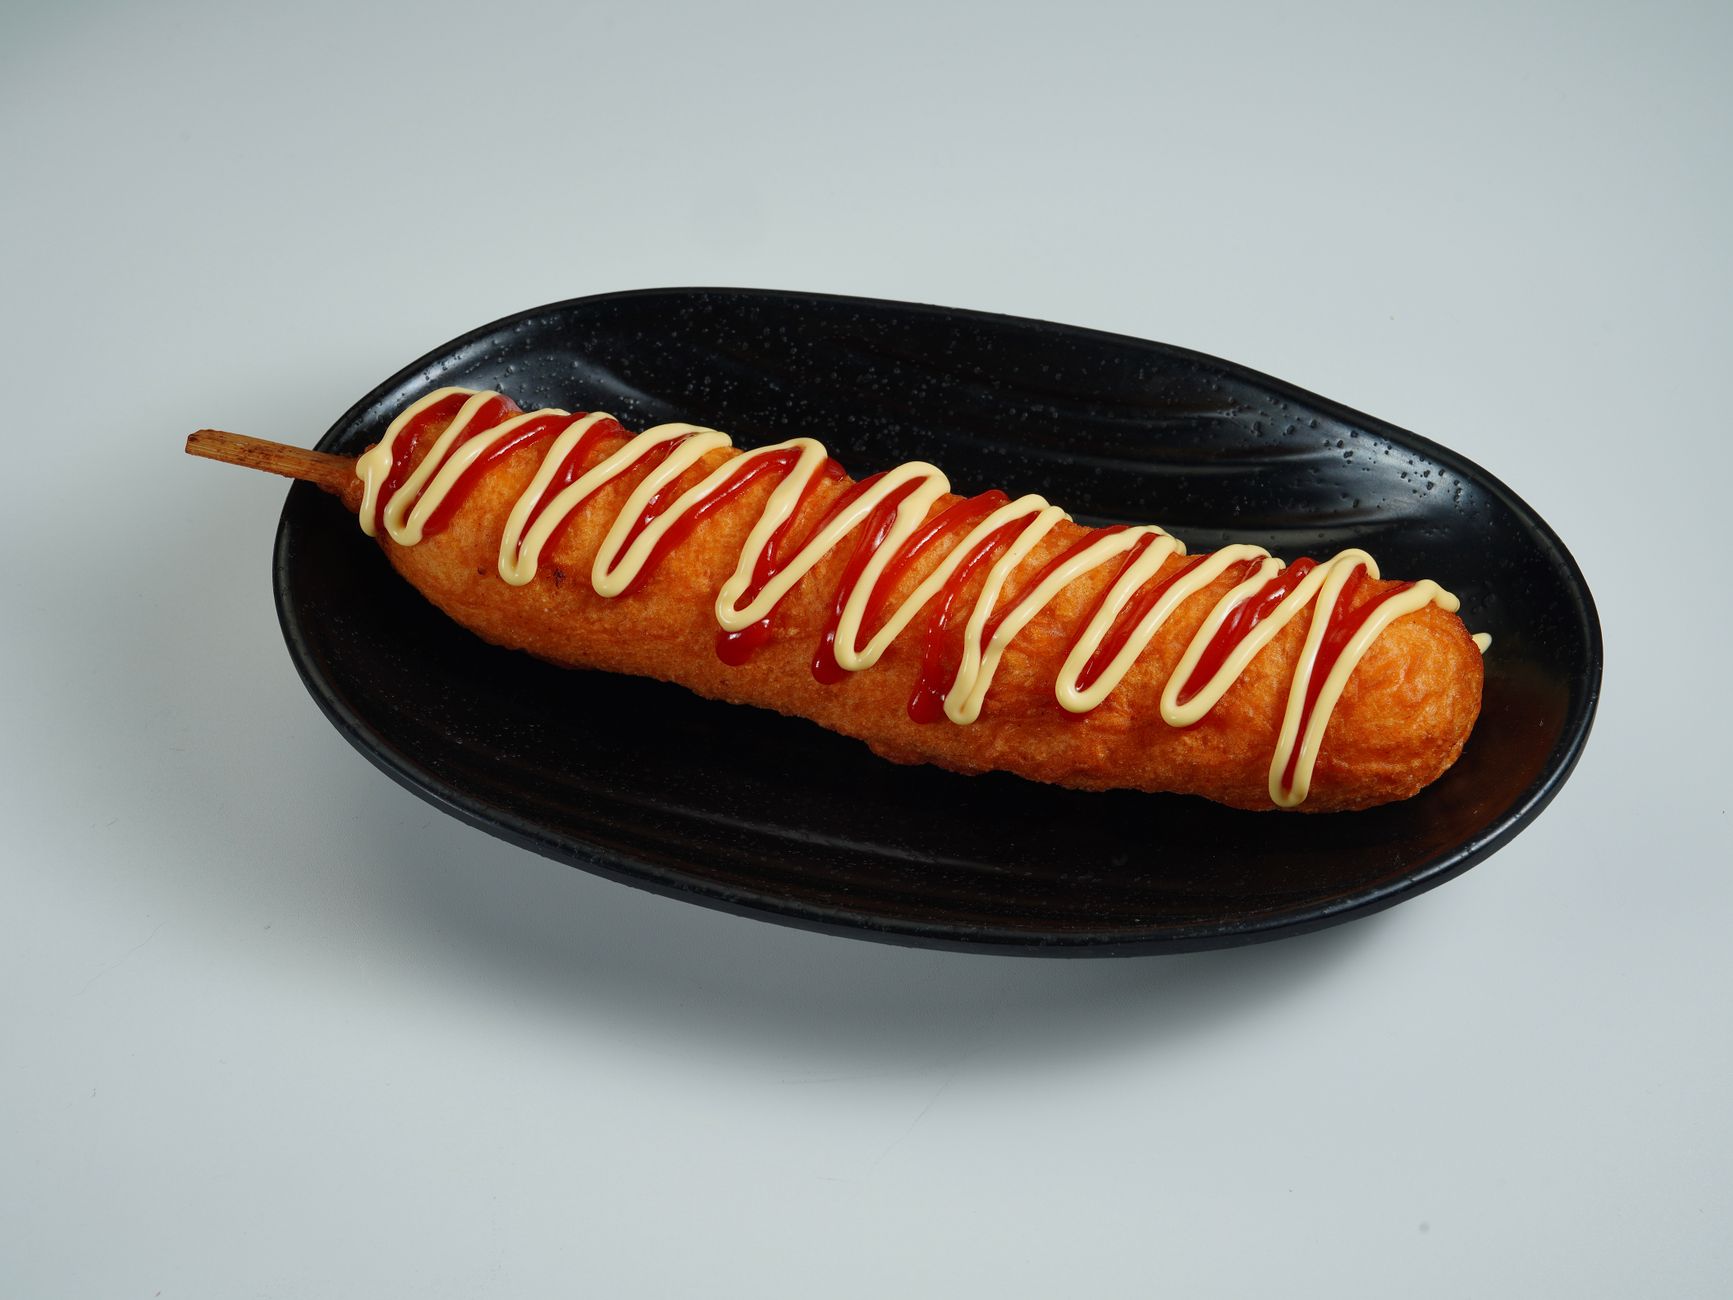
    A crispy corn dog drizzled with ketchup and mustard

    Frequently Asked Questions

    Why does my corn dog batter fall off in the fryer?

    Usually because the hot dog wasn’t dried thoroughly enough beforehand; any surface moisture prevents the batter from adhering properly during frying.

    What oil temperature is best for corn dogs?

    350°F, monitored with a deep-fry or candy thermometer rather than estimated, to ensure even cooking without excess grease absorption.

    Can I bake corn dogs instead of frying them?

    Yes, though the texture will be noticeably different — less crisp than the deep-fried version, closer to a corn muffin coating.

    How long does it take to make homemade corn dogs?

    Well under 30 minutes total from start to finish, including batter preparation and frying time.

    Where can I get a corn dog near Poncha Springs?

    Mabel’s Deli inside Poncha Market serves one for $2.99.

    Should I flour the hot dog before dipping it in batter?

    A light dusting of plain flour after drying helps the batter grip better, reducing the chance of it sliding off during frying.

    Can I use a different sausage instead of a hot dog?

    Yes — the same batter and frying method works with bratwurst or other sausages, adjusting frying time slightly for thicker links.

    Craving one on the road? See our Mabel’s Deli menu guide for the full grill lineup.

    For more frying technique and temperature guidance, see ThermoWorks.