6250 US Hwy 285, Poncha Springs, CO 81242

Open Daily · Summer 7:30AM–8PM

(719) 539-6089

Facebook Instagram

Category: Recipes & Food Guides

Real recipes, food history, and ingredient guides covering sides, condiments, breakfast, and more.

  • The History of the Hot Dog

    The History of the Hot Dog

    Few foods on a gas station grill carry a longer, stranger history than the hot dog. It’s also a straightforward menu item at Mabel’s Deli inside Poncha Market, priced at $3.99. Here’s where it actually came from.

    The story runs from ancient Babylon through two competing German cities to a Chicago World’s Fair, and it’s genuinely more contested than most people assume for something this ordinary today.

    That contested history is part of what makes the hot dog such an interesting case study in food history generally — a dish so completely normalized today that most people never think to question where it actually came from, despite the genuine, centuries-long international dispute behind it.

    Ancient Origins

    The first known reference to sausages appears in Babylonian texts roughly 3,500 years old, and sausages were popular with the ancient Greeks and Romans as well — meaning people have been eating hot-dog-like foods for most of recorded human history, long before anything resembling the modern hot dog existed.

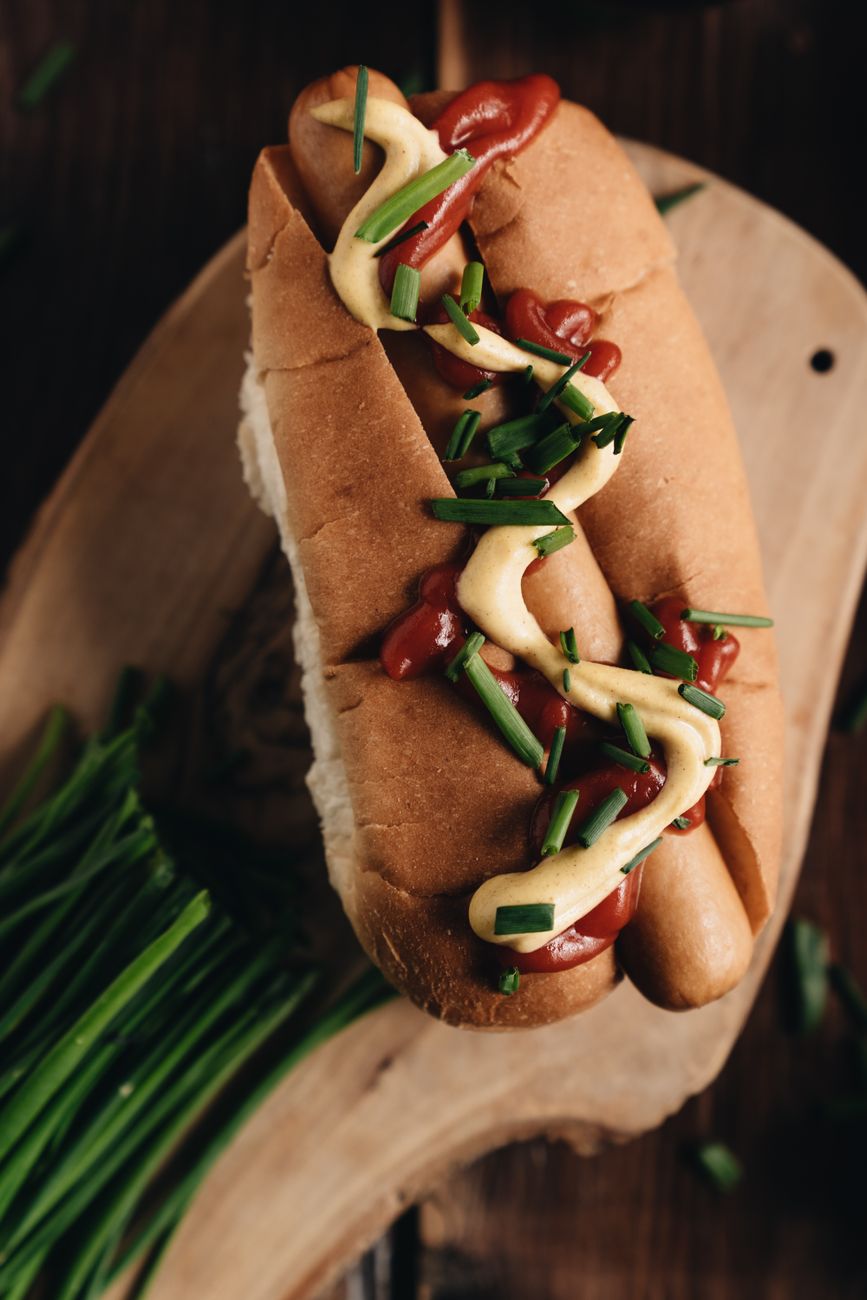
    Two delicious hot dogs topped with ketchup and mustard

    Two German Cities, One Rivalry

    Frankfurt, Germany, claims the frankfurter was invented there over 500 years ago, in 1484. Vienna, Austria, makes a competing claim to the sausage’s invention, which is exactly why the hot dog carries two separate names tied to its origin cities — frankfurter and wiener — both still in common use today.
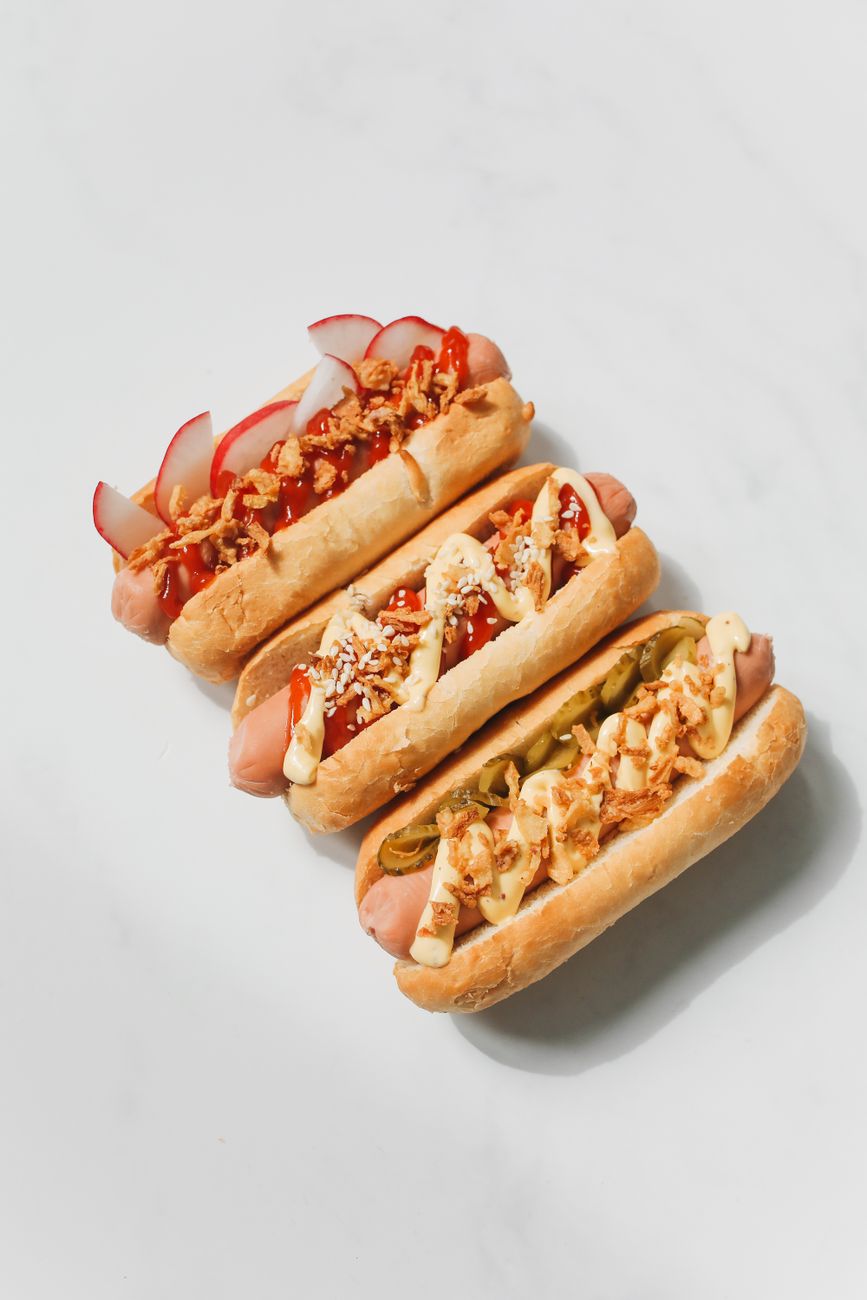
    Three gourmet hot dogs with creative toppings on a white background

    Arrival in America

    German immigrants brought the sausage to New York in the 1860s, where street vendors originally sold them as “dachshund sausages.” The hot dog didn’t become the American classic it is today until 1893, when it was sold at the Columbian Exposition in Chicago — a huge hit with crowds who appreciated how affordable, delicious, and easy to eat it was.

    That combination of qualities — cheap, fast, and satisfying — is really the same reason the hot dog has stuck around as a road trip and convenience-store staple for well over a century since. It solved a genuinely practical problem for busy, budget-conscious eaters in 1893, and that same appeal hasn’t gone away.

    Regional hot dog styles have since developed their own distinct identities across the country — Chicago-style, Coney Island-style, and others — each with a specific, locally defended set of toppings, extending the same regional food-pride pattern seen with sandwiches like the Reuben or the Philly cheesesteak.

    That regional variation is worth remembering the next time someone insists there’s only one “correct” way to top a hot dog — the honest answer is that regional tradition, not universal consensus, decides what belongs on top, the same way it does for so many other classic American foods.

    Delicious gourmet hot dogs topped with vegetables and herbs

    Where Did the Name “Hot Dog” Come From?

    The phrase “hot dog” first appeared in print in 1884, and by 1892 it was in wide use across the country. A popular myth credits the name to a 1901 cartoon by sports cartoonist Tad Dorgan, but linguist Ben Zimmer has specifically debunked this as a persistent myth with no actual documented truth behind it — the name was already established well before that cartoon supposedly coined it.

    Two hot dogs with ketchup and mustard on a board

    Frequently Asked Questions

    Which city invented the hot dog: Frankfurt or Vienna?

    Both claim credit, which is exactly why the sausage carries two names — frankfurter from Frankfurt and wiener from Vienna.

    When did hot dogs become popular in America?

    They became a true American classic at the 1893 Columbian Exposition in Chicago, decades after German immigrants first introduced them to New York in the 1860s.

    Did a cartoon really coin the term “hot dog”?

    No — despite a popular myth crediting a 1901 cartoon, the term was already in wide use by 1892, well before that story claims.

    How old is the sausage as a food generally?

    Genuinely ancient — the earliest known reference dates back roughly 3,500 years to Babylonian texts.

    Where can I get a hot dog near Poncha Springs?

    Mabel’s Deli inside Poncha Market serves one for $3.99.

    Why is the hot dog so associated with convenience?

    It was popularized at the 1893 Chicago World’s Fair specifically because it was cheap, fast, and easy to eat — qualities that still explain its popularity at gas stations and delis today.

    Is “frankfurter” the same as “hot dog”?

    Yes, generally — frankfurter and wiener both refer to the same sausage, tied to Frankfurt and Vienna’s competing origin claims.

    Craving one now? See our Mabel’s Deli menu guide for the full grill lineup.

    For a deeper dive into hot dog history, see the National Hot Dog and Sausage Council.
  • Bison Meat 101: What Makes Bison Brats Different from Beef

    Bison Meat 101: What Makes Bison Brats Different from Beef

    Bison shows up on more menus than it used to, and Mabel’s Deli inside Poncha Market serves a Jalapeno Cheddar Bison Brat for $8.59 — a real point of difference from a standard beef bratwurst. Here’s what actually separates bison from beef, beyond just being a novelty meat.

    The differences are genuinely measurable, not just a marketing distinction, and they show up in both nutrition and cooking behavior.

    Bison also has a distinct history in American food culture beyond just being a leaner alternative to beef — it’s the same animal that once roamed the Great Plains in massive herds, and the modern bison meat industry represents a genuine conservation and agricultural comeback story alongside its culinary appeal.

    The Nutritional Difference

    Bison is naturally leaner than beef. A 3.5-ounce serving of bison contains roughly 2.4 grams of fat compared to about 9 grams for the same serving of beef, and bison carries just 0.9 grams of saturated fat per 100 grams versus beef’s 5.58 grams. Bison also edges out beef slightly on protein — about 28 grams per 3.5-ounce serving compared to roughly 26 grams for beef.

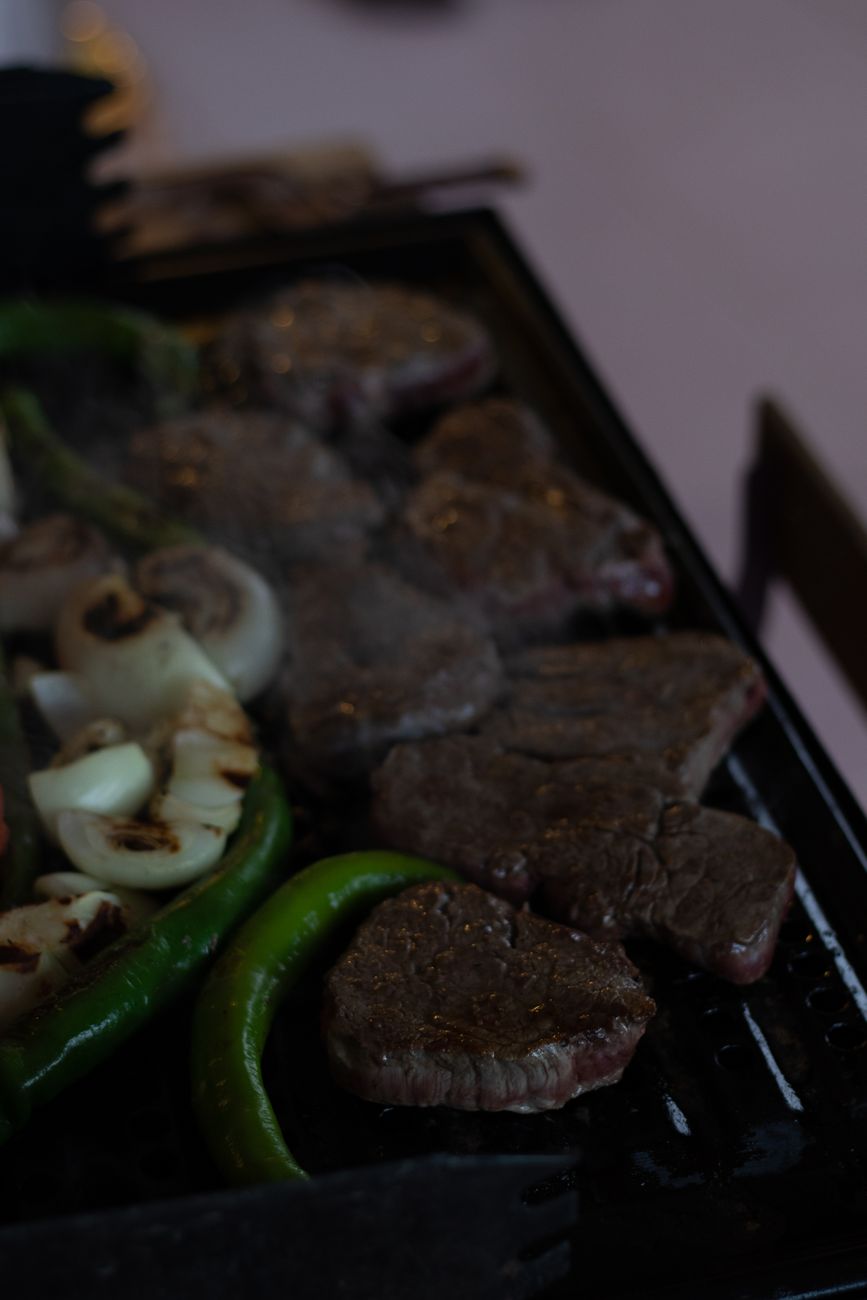
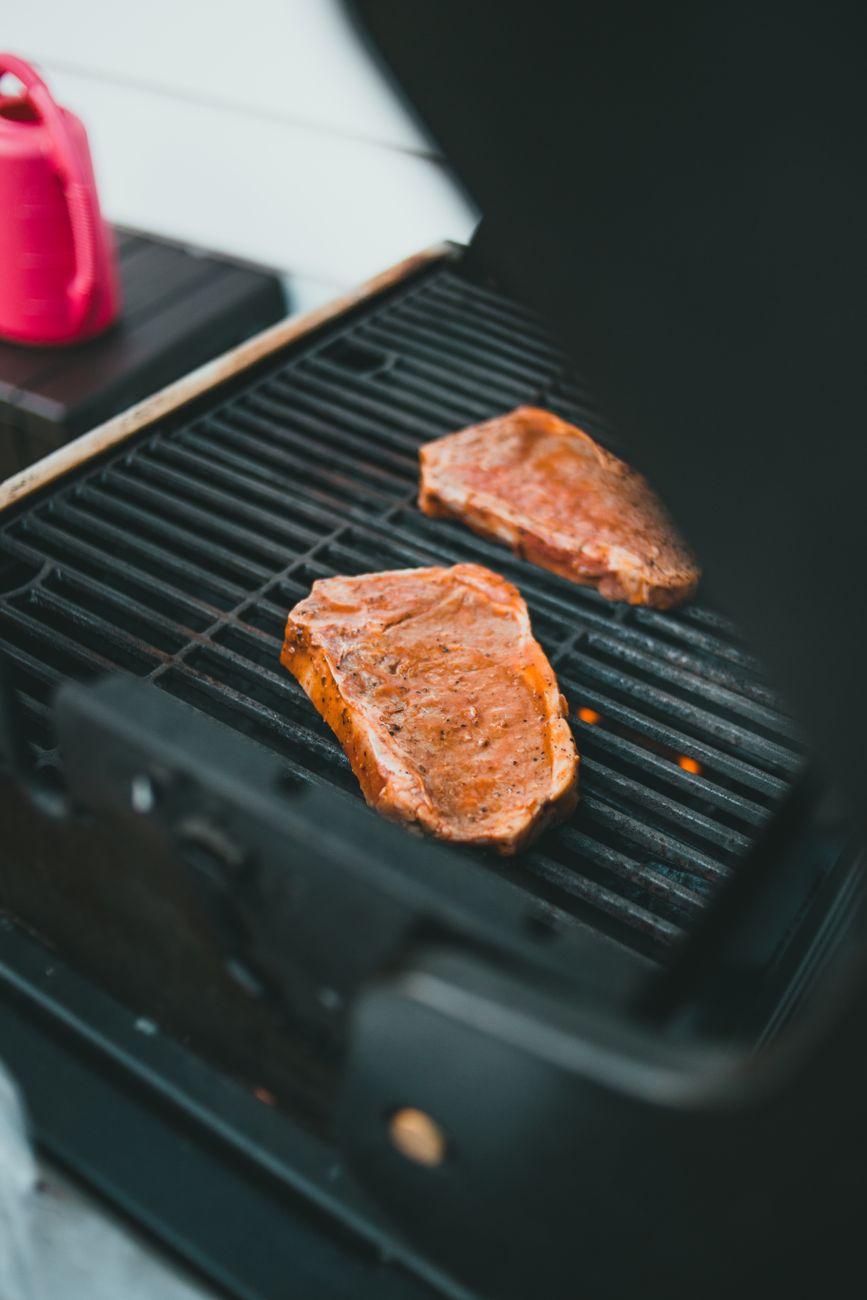
    Juicy steaks and vegetables sizzling on an outdoor barbecue grill

    Micronutrients and Overall Profile

    Beyond the basic macros, bison is a strong source of iron, zinc, and B vitamins, and it contains higher levels of omega-3 fatty acids and conjugated linoleic acid (CLA) than conventional grain-fed beef — genuine nutritional advantages that go beyond the simple lean-versus-fatty comparison.

    Much of this comes down to how bison are typically raised, with a larger share of bison operations relying on grass-fed, pasture-based systems compared to conventional beef, which affects the resulting fat composition in the meat.

    That distinction in raising practices also connects to a broader trend in how consumers evaluate meat choices generally — grass-fed and pasture-raised systems tend to appeal to shoppers already paying closer attention to sourcing, which is part of why bison has found a genuine niche audience beyond just novelty appeal.

    For anyone trying bison for the first time through a prepared item like a bratwurst rather than a plain steak or burger, it’s a genuinely low-risk way to sample the meat, since the seasoning and fat content in a sausage help smooth over the leanness that can catch first-time bison eaters off guard in a plainer cut.

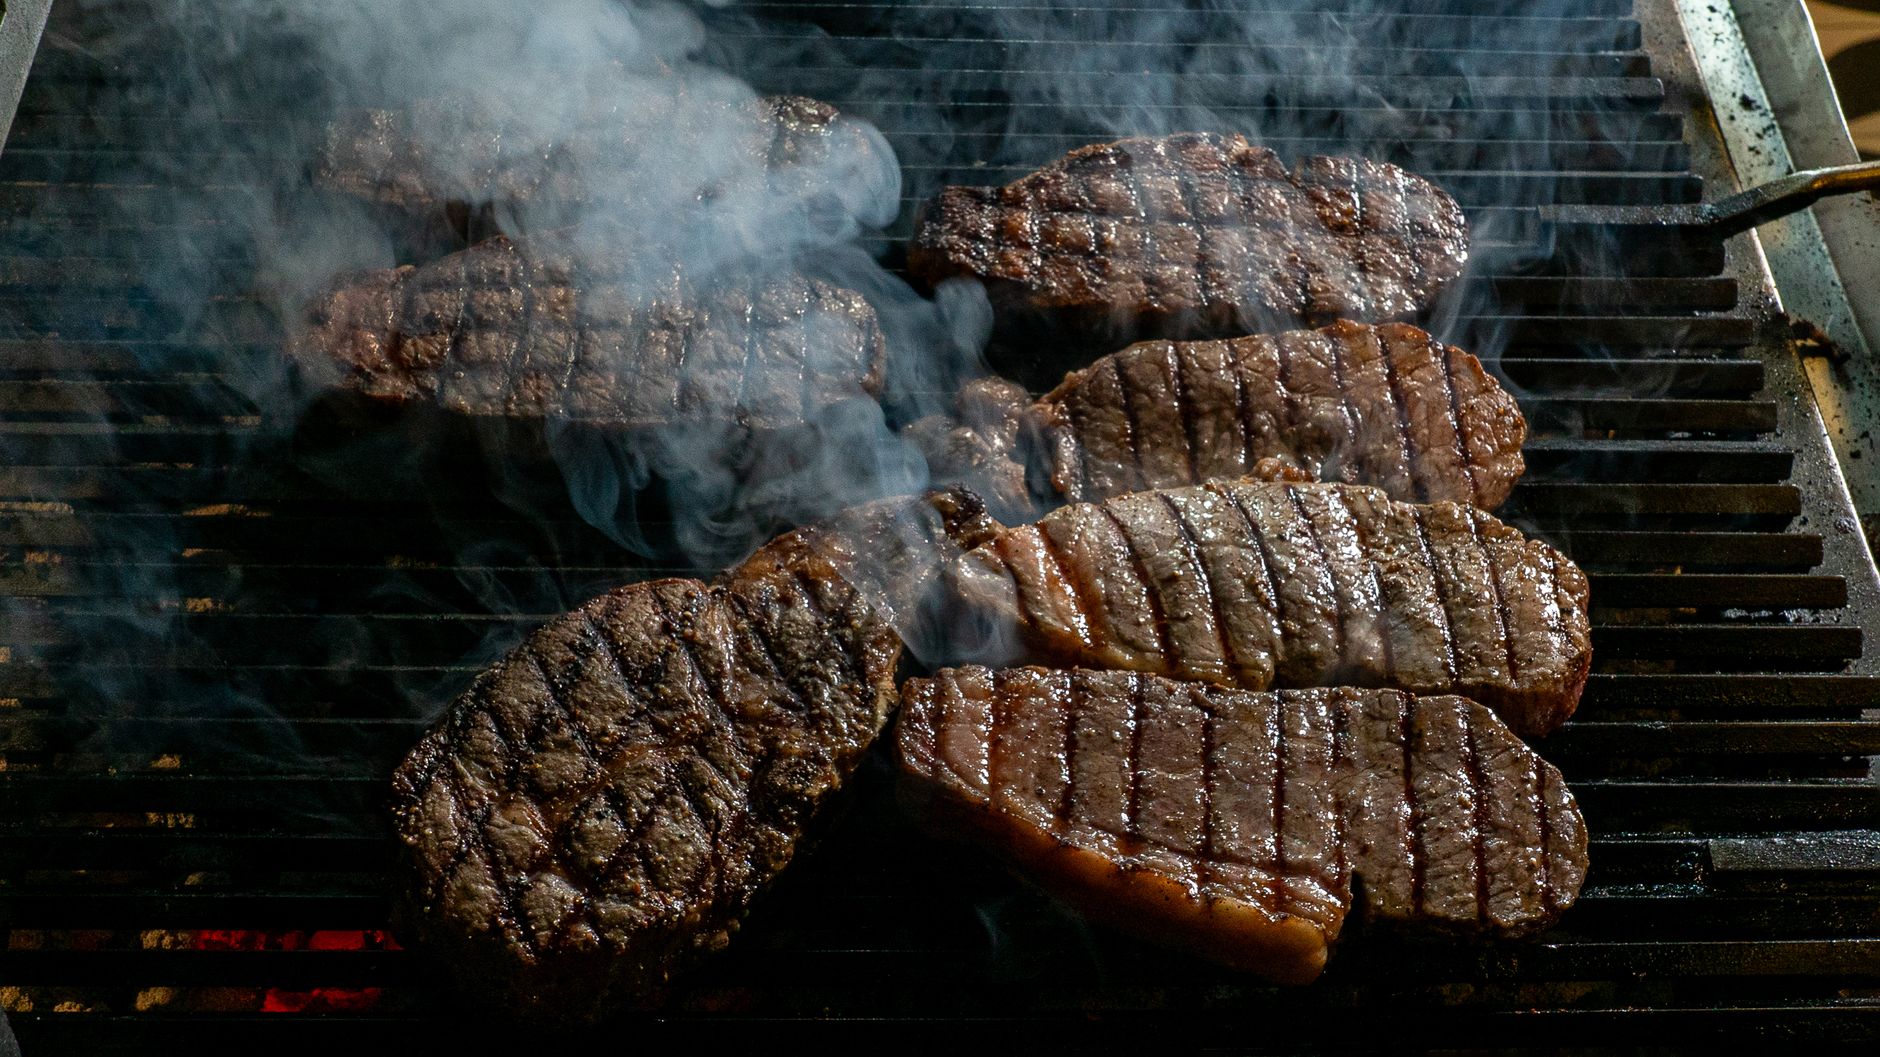
    Juicy beef steaks being grilled with smoke rising, perfect for barbecue

    What This Means for a Bison Brat Specifically

    Processed products like bratwurst inevitably carry more fat than a plain cut of meat, since the sausage-making process typically incorporates additional fat for texture and flavor regardless of the base meat. Even so, a bison bratwurst generally maintains a leaner profile than an equivalent beef version, while still delivering a genuinely rich, savory flavor rather than tasting noticeably different from beef.

    A close-up view of various sausages and bread grilling on a barbecue

    Why Bison Tastes the Way It Does

    Bison’s leanness affects cooking more than flavor directly — with less fat marbled through the meat, bison can dry out faster than beef if overcooked, which is worth knowing if you’re cooking it at home rather than ordering a bratwurst that’s already been properly prepared. Cooking bison to a slightly lower internal temperature than you would beef, and avoiding high, prolonged direct heat, helps preserve its natural moisture.

    Deliciously grilled sausages on a barbecue, perfect for summer cookouts

    Frequently Asked Questions

    Is bison healthier than beef?

    In several measurable ways, yes — it’s leaner, has less saturated fat, and carries slightly more protein and iron per serving.

    Does bison taste different from beef?

    It’s often described as similar but slightly richer or sweeter; the leanness affects texture and cooking more than it changes the core flavor.

    Why does bison dry out faster when cooking?

    Because it has less fat marbled through the meat than beef, which means less natural moisture to buffer against overcooking.

    Is a bison brat still fatty?

    Processed sausages generally add fat during preparation regardless of the base meat, but a bison brat still tends to run leaner overall than a comparable beef version.

    Where can I get a bison brat near Poncha Springs?

    Mabel’s Deli inside Poncha Market serves a Jalapeno Cheddar Bison Brat for $8.59.

    Is bison typically grass-fed?

    A larger share of bison operations use grass-fed, pasture-based systems compared to conventional beef, which affects the resulting fat composition.

    How should I cook bison to avoid drying it out?

    Cook it to a slightly lower internal temperature than beef and avoid prolonged high heat, since bison’s leanness means less natural moisture buffer.

    Curious to try one? See our Mabel’s Deli menu guide for the Jalapeno Cheddar Bison Brat and other grill items.

    For more on bison nutrition, see Healthline.

  • How to Make Homemade Chili: A Beginner’s Guide

    How to Make Homemade Chili: A Beginner’s Guide

    Chili is one of the most forgiving dishes to learn to cook from scratch — genuinely hard to ruin, easy to scale, and endlessly adjustable to taste. It’s also a simple, real menu item at Mabel’s Deli inside Poncha Market, served by the cup for $3.99.

    Here’s a beginner-friendly recipe and process for making a solid pot of chili at home.

    Unlike more technique-dependent dishes, chili rewards patience more than precision — a longer simmer generally improves the result more than exact ingredient ratios do, which makes it a genuinely forgiving place to start if you’re newer to cooking from scratch.

    It’s also one of the few dishes where making a double batch takes barely more effort than a single one, which is part of why chili has such a strong reputation as a make-ahead, feed-a-crowd meal rather than something cooked fresh for one person at a time.

    Basic Ingredients

    • 1 lb. ground beef
    • 1 onion, diced
    • 1 bell pepper, diced
    • 2 cloves garlic, minced
    • 1 can diced tomatoes
    • 1 can tomato sauce
    • 1–2 cans kidney or pinto beans, drained
    • 1 cup beef broth
    • Chili powder, cumin, oregano, salt, cayenne, and black pepper to taste

    Step-by-Step Instructions

    1. Heat oil in a large pot or Dutch oven over medium-high heat, and sauté the onion and bell pepper until softened, about 4 minutes.
    2. Add garlic and cook for another minute until fragrant.
    3. Add the ground beef, cooking until no longer pink, breaking it into small pieces with a wooden spoon.
    4. Stir in the chili powder, cumin, oregano, salt, cayenne, and black pepper, cooking for about a minute until the spices become fragrant.
    5. Add the diced tomatoes, tomato sauce, beans, and beef broth, scraping the bottom of the pot to loosen any browned bits.
    6. Simmer uncovered for 25–30 minutes, until the chili thickens to your preferred consistency.
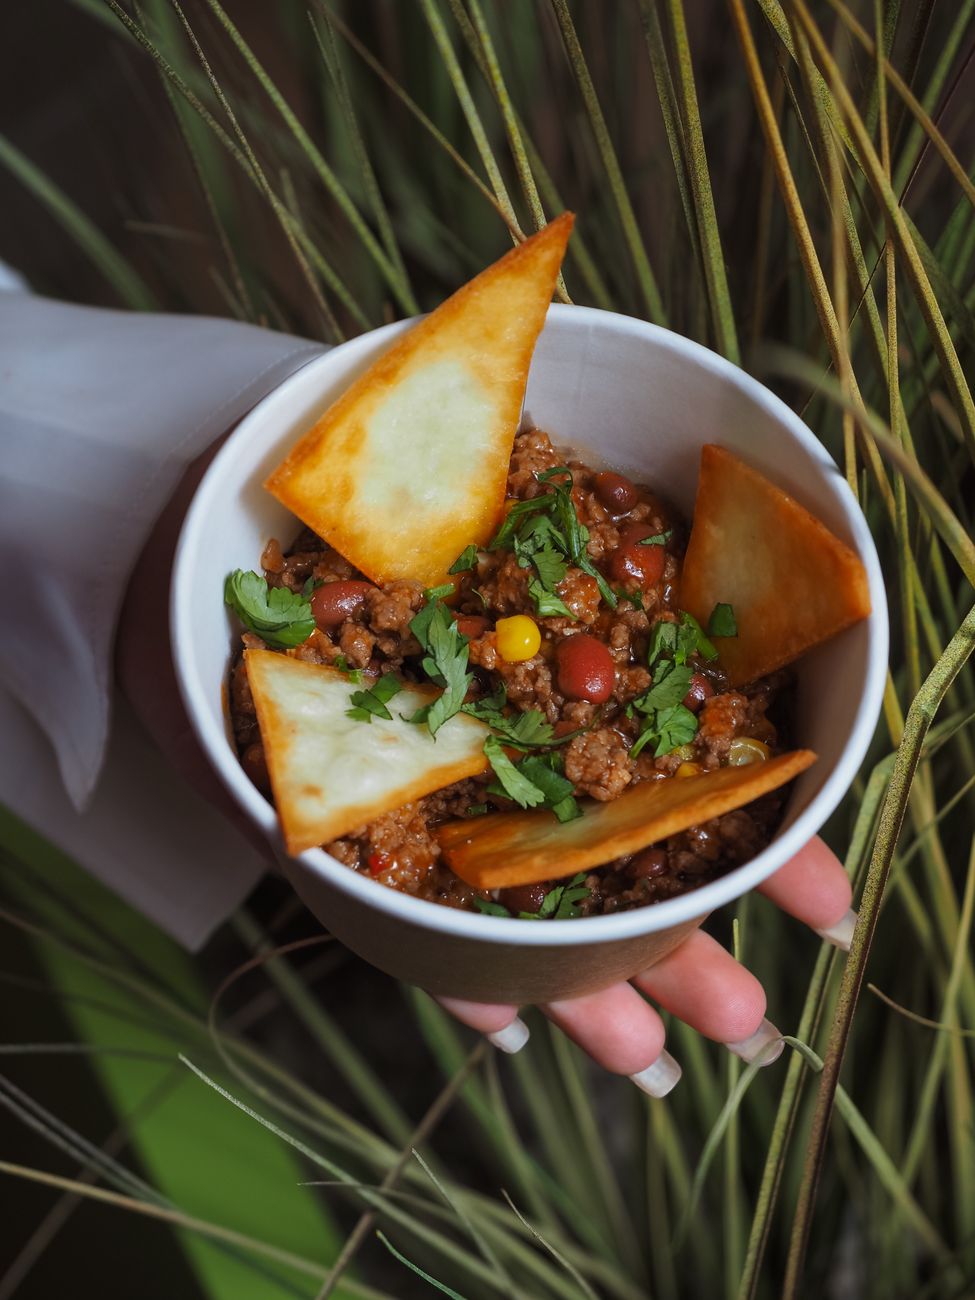
    A bowl of chili con carne topped with crispy tortilla chips

    Choosing Your Beans

    Red kidney beans, black beans, and pinto beans are all common choices, and there’s no single correct answer — it comes down to preference and what texture you want. Some cooks skip beans entirely for a more Texas-style chili, which is a legitimate variation rather than a mistake.

    Regional chili traditions vary considerably across the country, and none of them is objectively “correct” — a bean-free Texas chili and a bean-heavy Midwestern version are both legitimate takes on the same basic dish, just built around different regional expectations.

    Colorado’s own chili traditions often lean toward incorporating green chile directly into the pot, blending the state’s signature chile flavor into a dish that, elsewhere, is built more purely around tomato and beef.

    Whichever regional style you’re aiming for, tasting and adjusting seasoning gradually throughout the cooking process, rather than all at once at the start, generally produces a more balanced final result than guessing at the full spice quantity upfront.

    Chili is also one of the more approachable dishes for building your own signature version over time — small adjustments from one batch to the next, based on what you liked or didn’t about the last one, tend to compound into a genuinely personal recipe faster than with more rigid, precisely measured dishes.

    Keeping brief notes after each batch — what you changed, what worked, what you’d do differently — is a simple habit that speeds up this process considerably compared to trying to remember adjustments from memory the next time you make it.

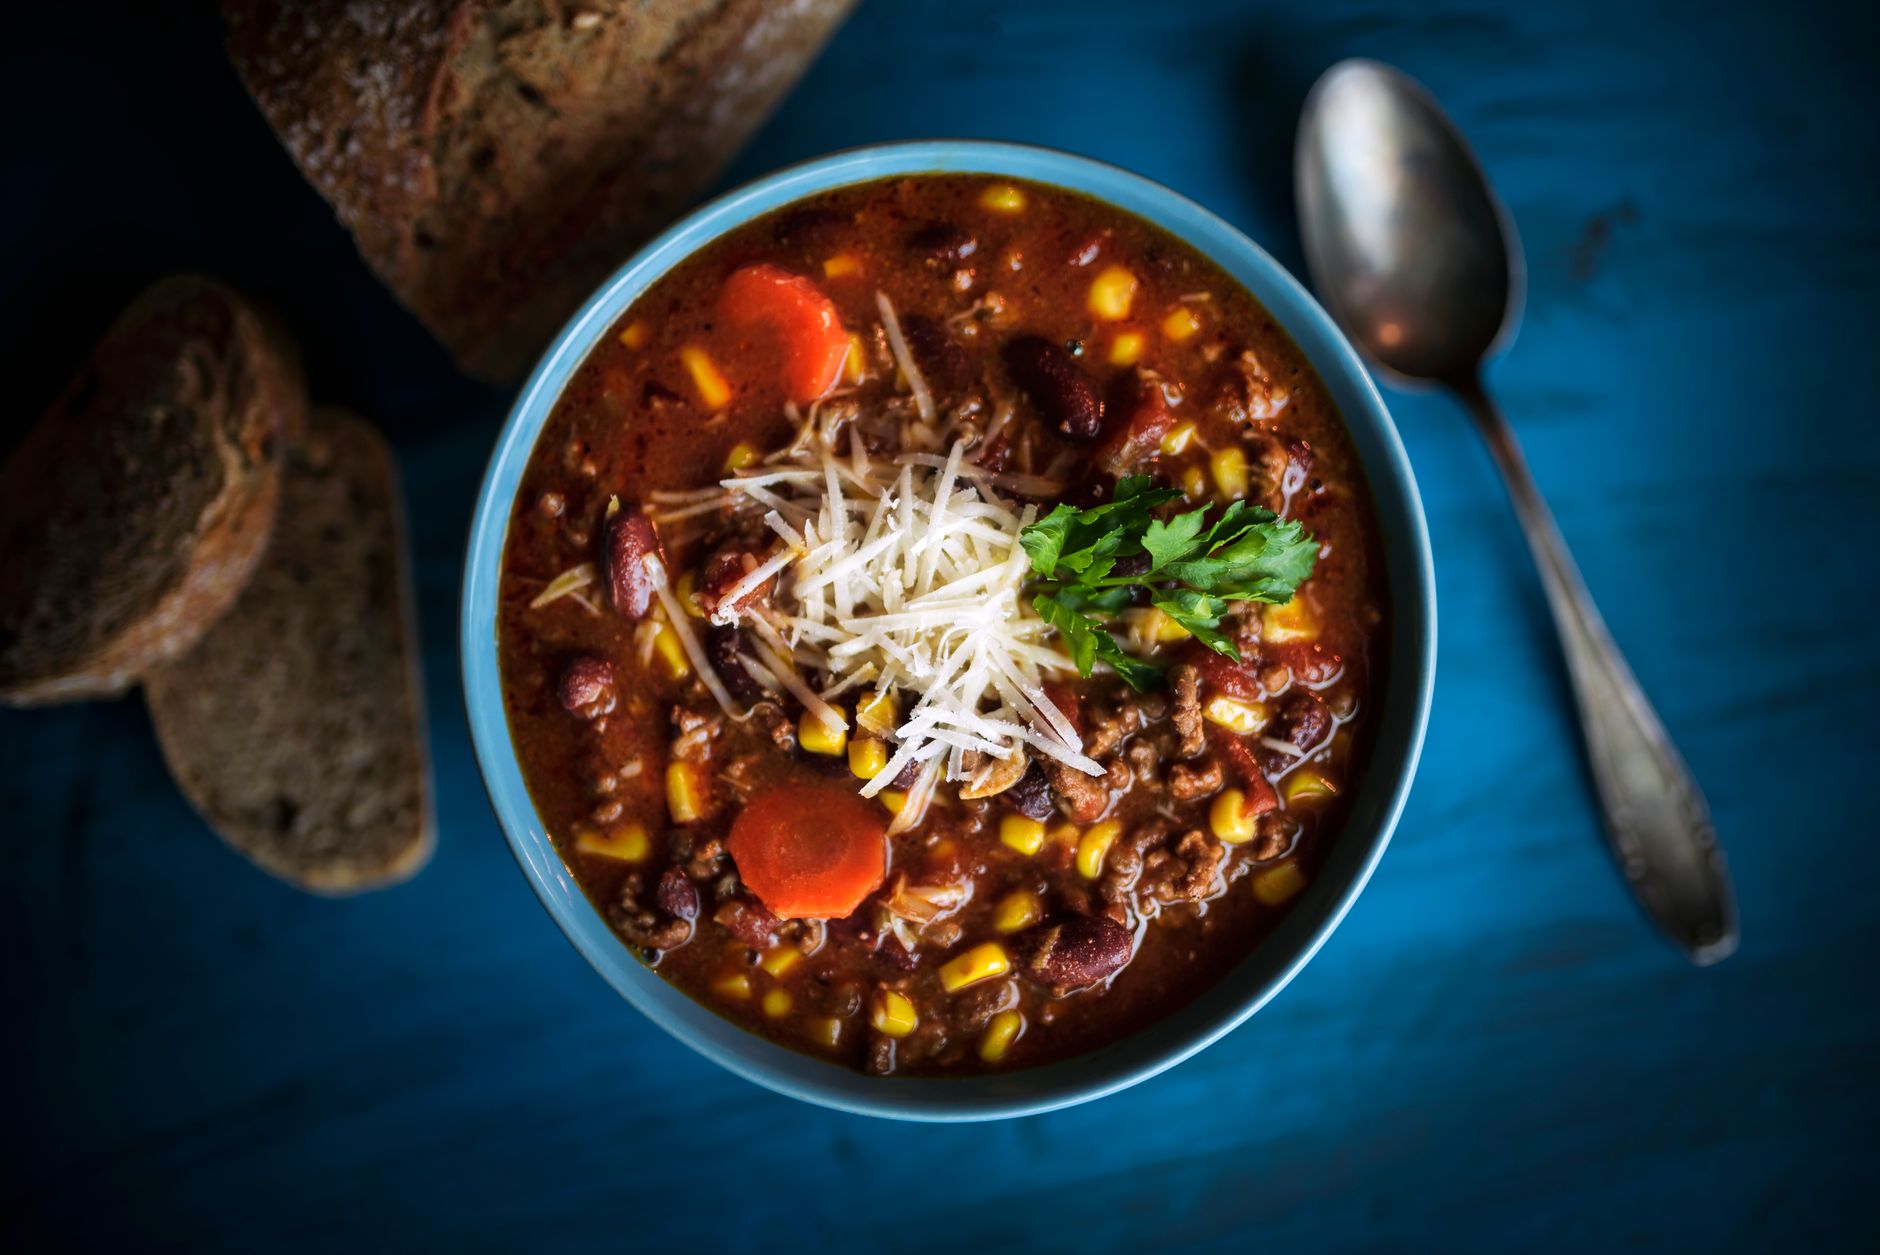
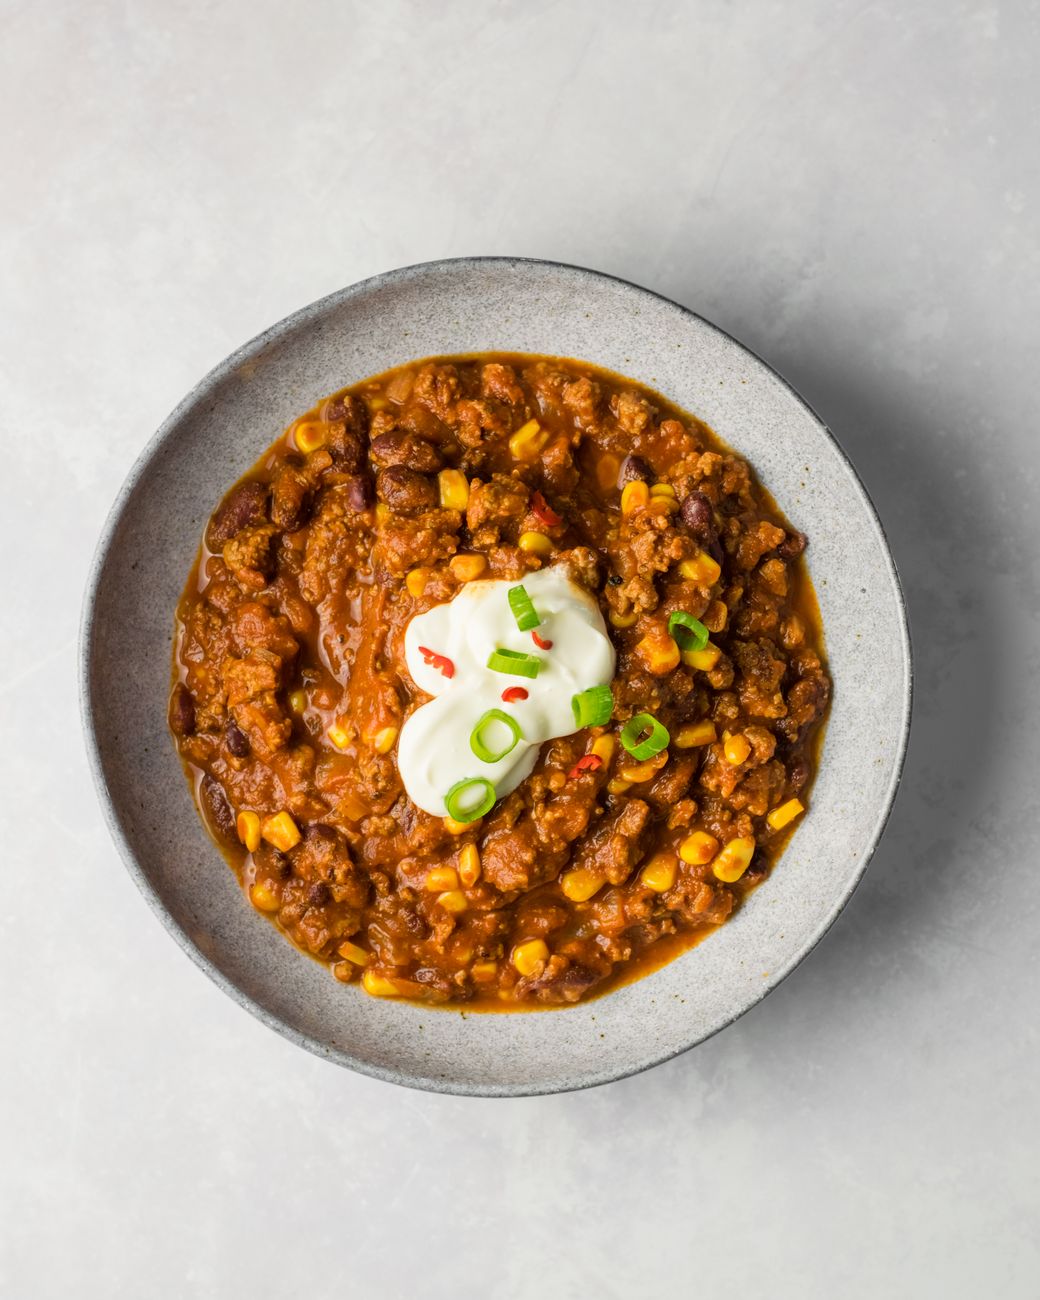
    Delicious chili con carne with beans, corn, and a sour cream garnish

    Toppings Worth Trying

    • Shredded cheese, which melts into the hot chili
    • Sour cream, for a cooling contrast to the spice
    • Diced onion or scallions for a fresh, sharp bite
    • Crushed tortilla chips or cornbread for texture and crunch
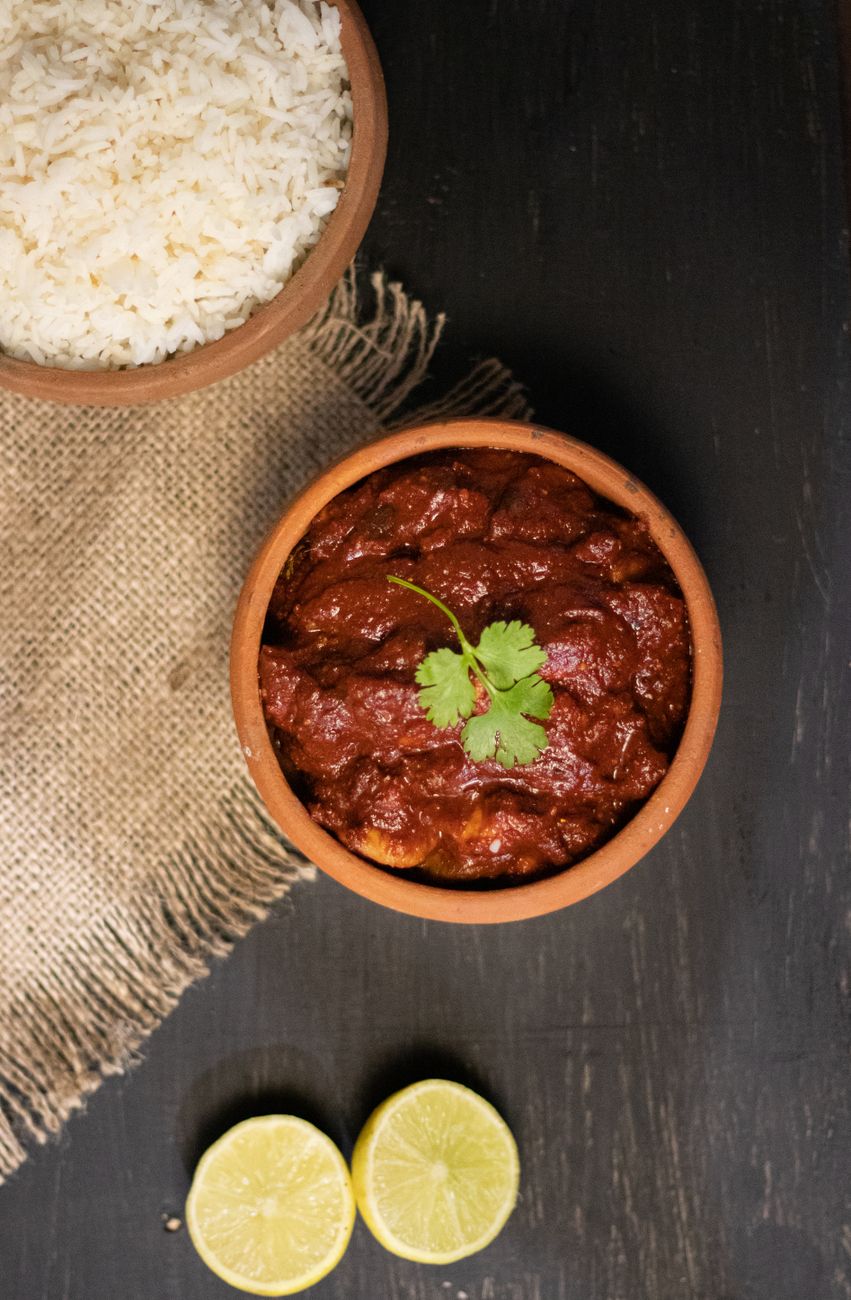
    A top view of chili con carne served with rice and lime wedges

    Make-Ahead and Storage

    Chili is a genuinely good make-ahead dish — the flavor often improves after a day in the refrigerator as the spices continue to meld. It also freezes well for up to several months, making a double batch a reasonable strategy if you’re already committing the time to make it once.

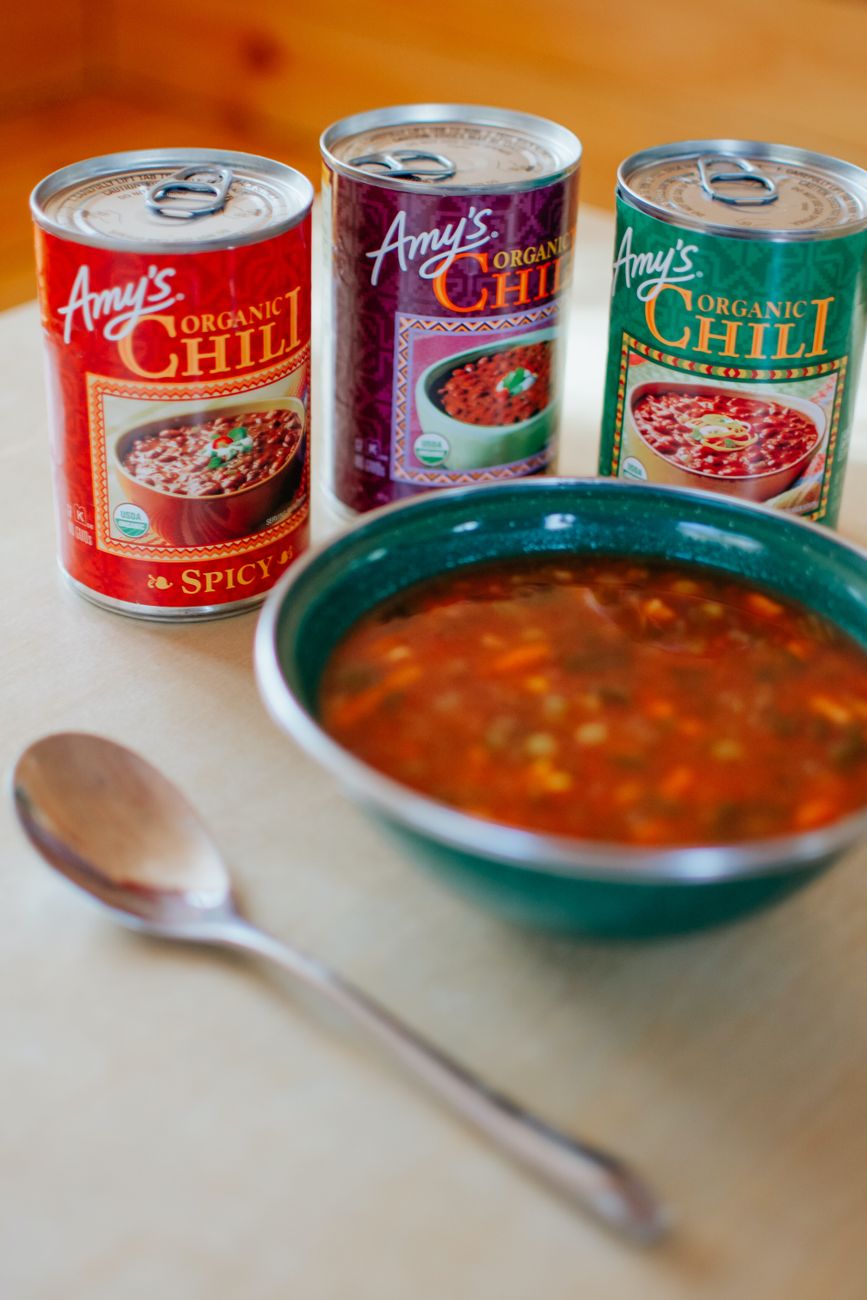
    A vertical shot of organic chili served in a ceramic bowl

    Frequently Asked Questions

    How long should chili simmer?

    About 25 to 30 minutes for a basic batch, though longer simmering generally deepens the flavor further.

    What beans are best for chili?

    Kidney, black, and pinto beans are all common choices; the right one comes down to personal preference rather than a strict rule.

    Does chili taste better the next day?

    Many cooks find it does, since the spices have more time to meld together after resting in the refrigerator overnight.

    Can I freeze homemade chili?

    Yes — it freezes well for several months, making a double batch a practical choice.

    Where can I get a cup of chili near Poncha Springs?

    Mabel’s Deli inside Poncha Market serves a cup of chili for $3.99.

    Is Texas chili different from other chili styles?

    Yes — Texas-style chili traditionally skips beans entirely, a legitimate regional variation rather than an incomplete recipe.

    Can I make chili in a slow cooker instead?

    Yes — brown the meat and aromatics first, then transfer everything to a slow cooker and cook on low for several hours for an even more hands-off approach.

    Can I add green chile to a classic beef chili recipe?

    Yes — it’s a common Colorado variation that blends the state’s signature chile flavor into a more traditional tomato-and-beef base.

    Should I add all the spices at once or adjust as I go?

    Adjusting gradually throughout cooking generally produces better-balanced results than guessing the full amount upfront.

    Want to try it before making your own? See our Mabel’s Deli menu guide for the cup of chili and other menu items.

    For more general food science and cooking guidance, see the International Food Information Council.
  • Homemade Fruit and Vegetable Smoothie Recipes

    Homemade Fruit and Vegetable Smoothie Recipes

    A good smoothie is one of the easiest ways to add real fruits and vegetables to a busy day, without needing much time or equipment beyond a blender. Mabel’s Deli inside Poncha Market keeps organic, vegan fruit and vegetable shooters in the cooler — a small, ready-made version of exactly this idea.

    Here are a few simple homemade recipes you can make at home, along with what actually makes a smoothie work texturally.

    The appeal of a smoothie over a plain glass of juice comes down to fiber — blending keeps the whole fruit or vegetable intact rather than extracting just the liquid, which means more nutrients and a more filling result for roughly the same effort.

    Smoothies are also genuinely flexible in a way few other quick breakfasts or snacks are — the same basic technique works for a purely fruit-based drink, a vegetable-forward green smoothie, or something in between, all using the same blender and roughly the same amount of time.

    Classic Fruit Smoothie

    • 1 banana
    • 1 cup mixed berries (fresh or frozen)
    • ½ cup yogurt or milk of choice
    • 1 tablespoon honey (optional)
    • ½ cup ice

    Blend all ingredients until smooth, adding more liquid if needed to reach your preferred consistency.

    This base recipe is meant as a starting template rather than a strict formula — swapping berries for mango, or yogurt for milk, changes the flavor without changing the basic technique, which is exactly why it’s worth learning as a flexible pattern rather than memorizing one fixed recipe.

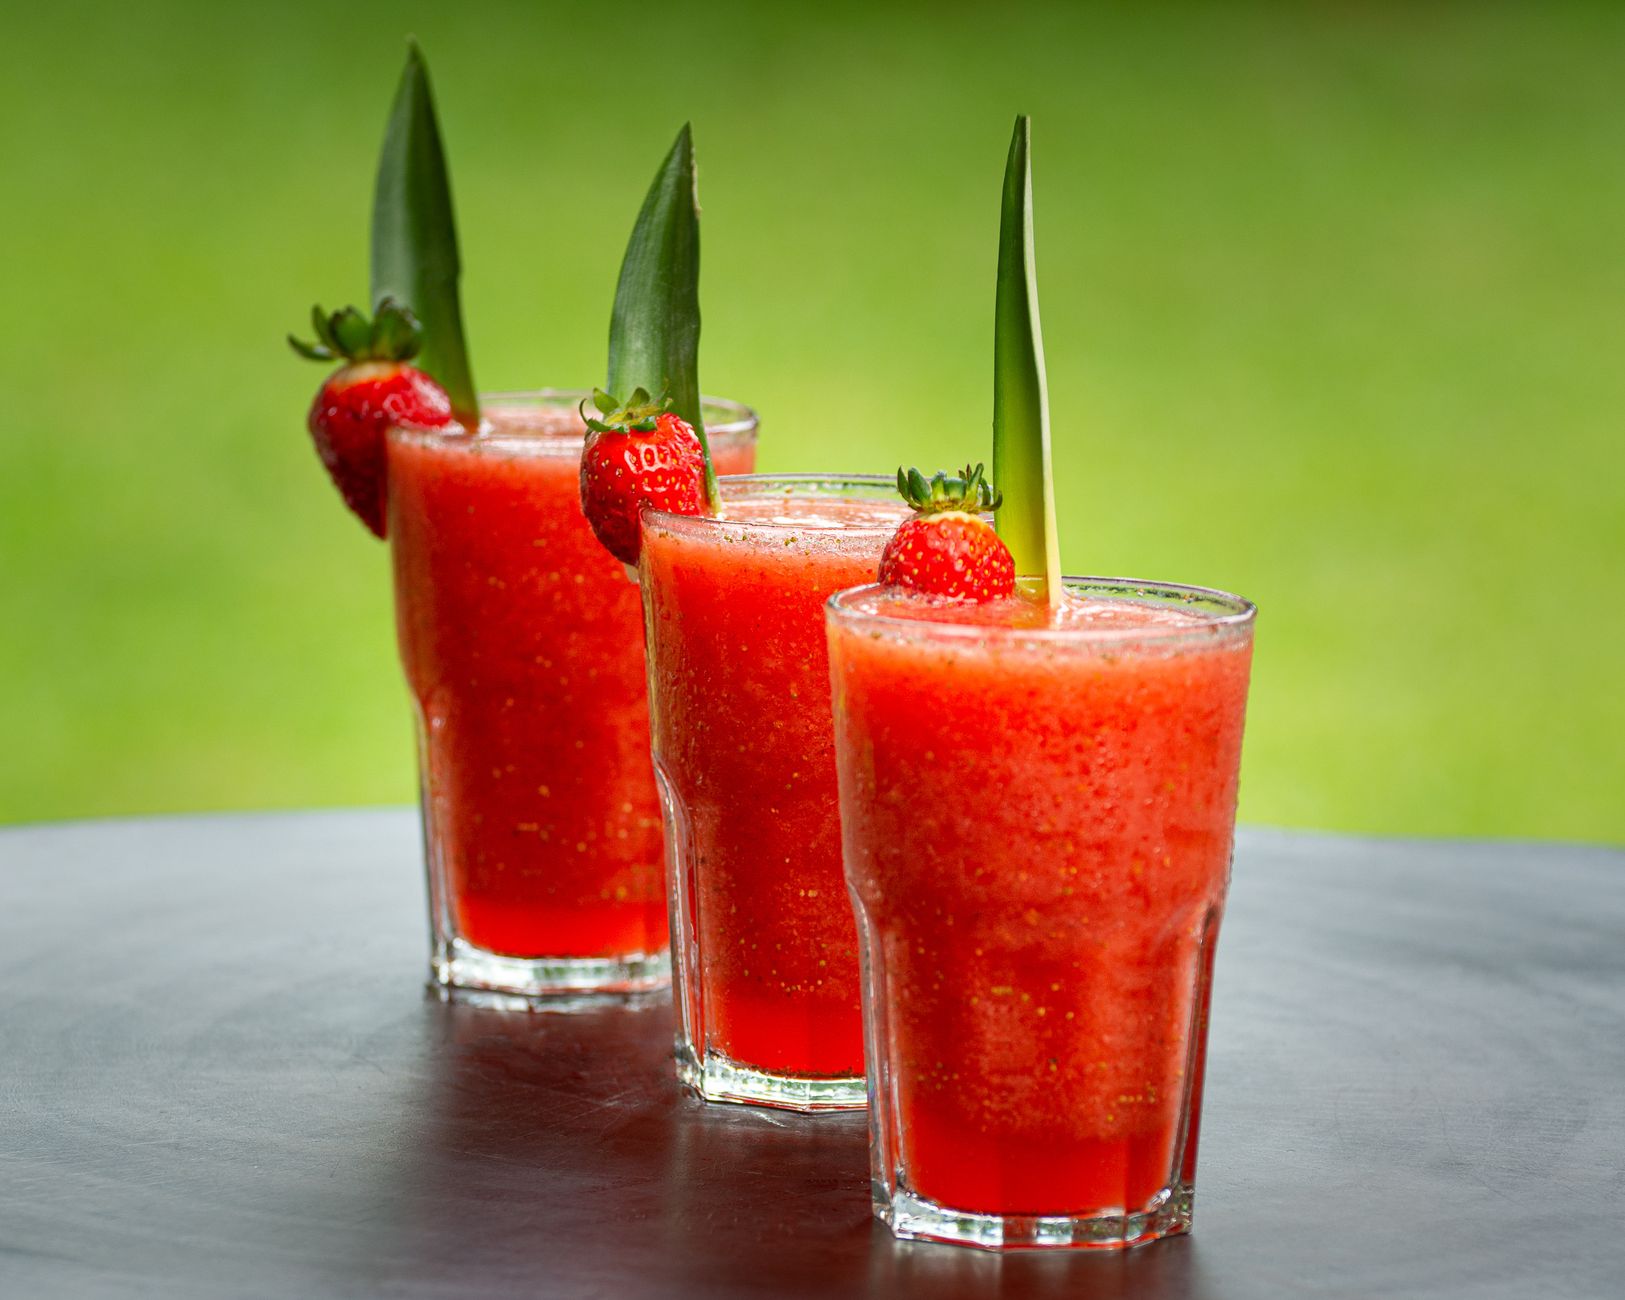
    Vibrant strawberry smoothies garnished with pineapple leaves

    Green Vegetable Smoothie

    • 1 cup spinach
    • ½ cucumber, peeled
    • 1 green apple, cored
    • ½ lemon, juiced
    • 1 cup water or coconut water

    Blend until fully smooth; the apple and lemon balance the more vegetal flavor of the spinach and cucumber, making this a good starting recipe for anyone new to green smoothies.

    Spinach in particular is a good entry-level green for smoothies since it has a genuinely mild flavor compared to more assertive greens like kale, making it easier to mask with fruit for anyone still developing a taste for vegetable-forward drinks.

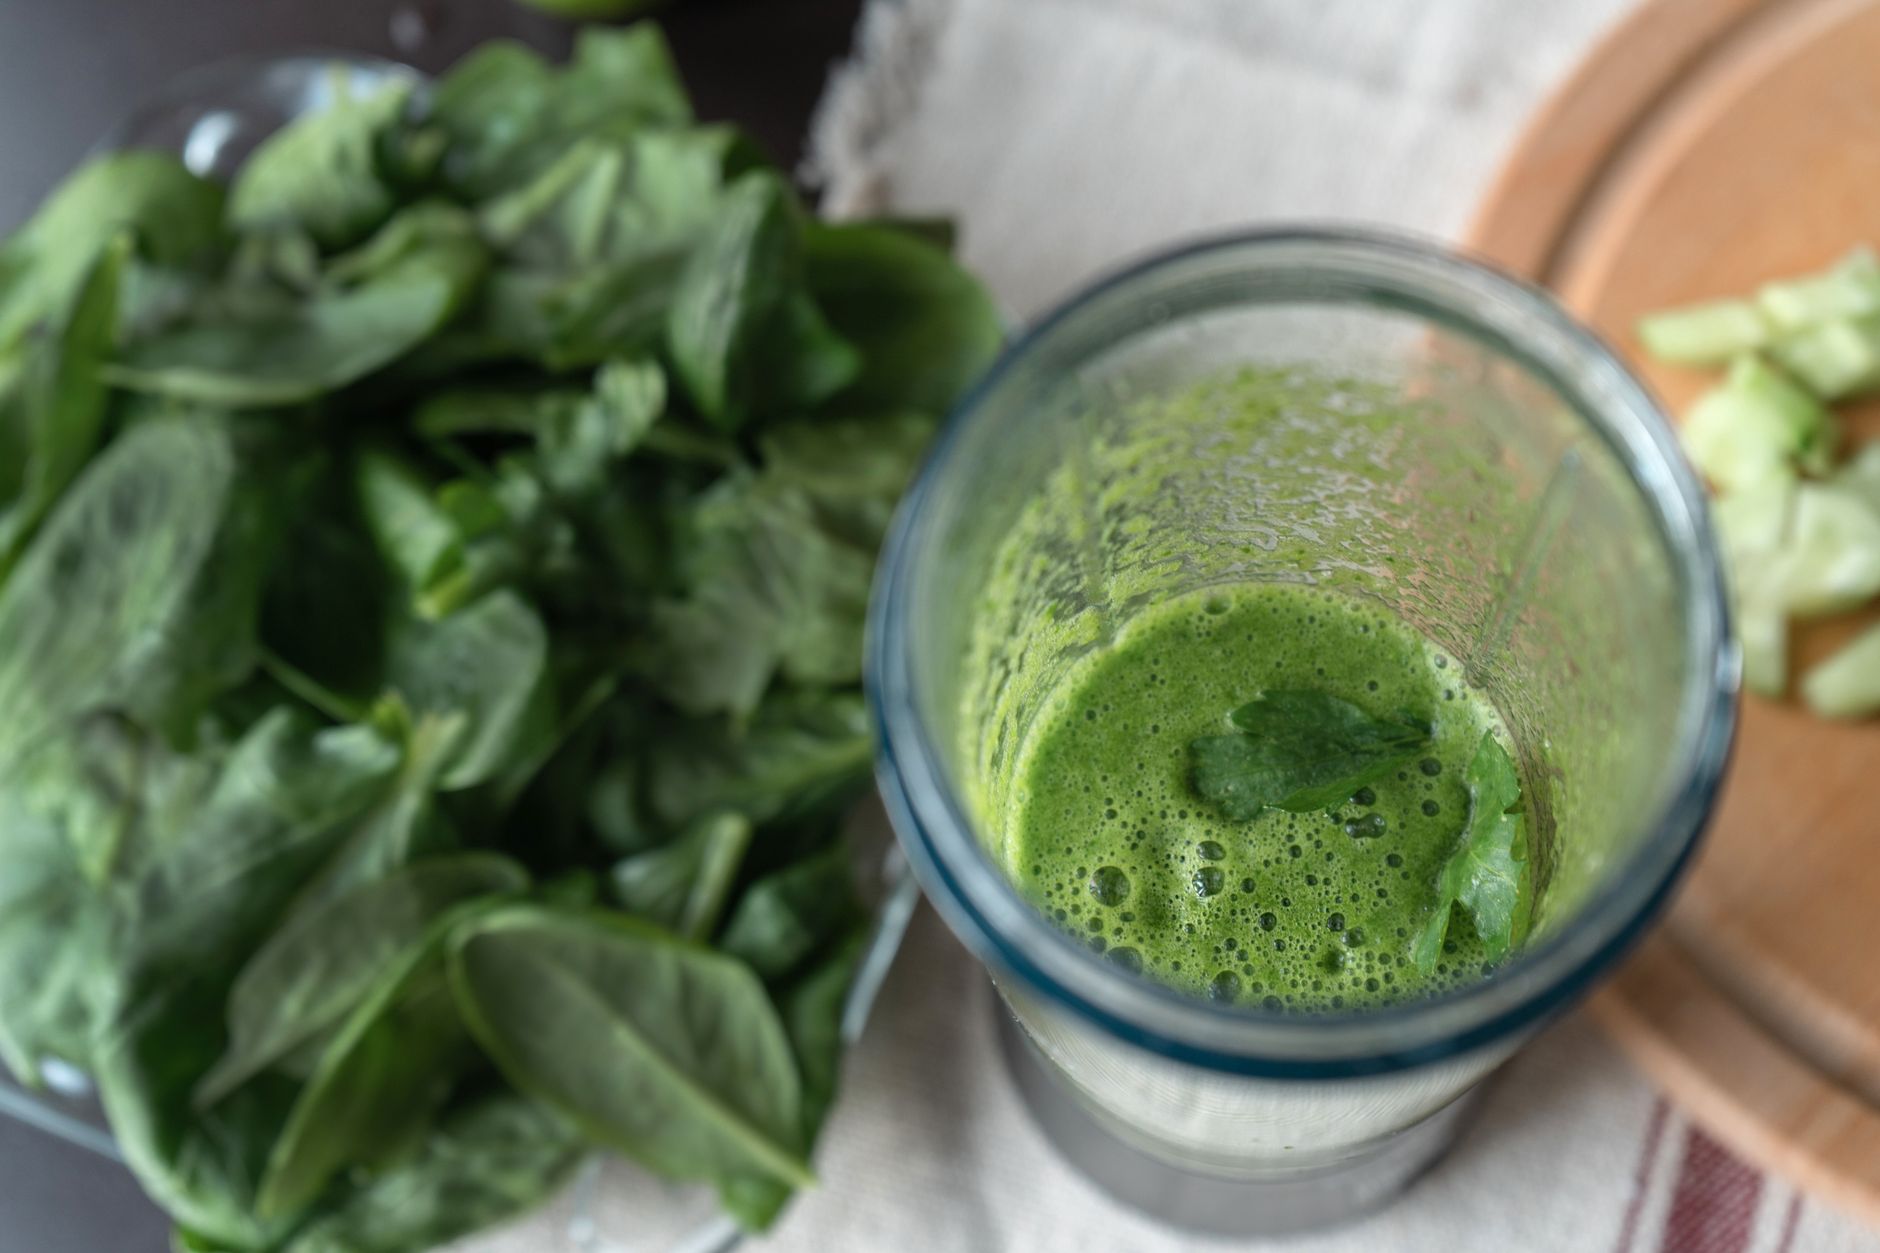
    A refreshing green smoothie made with fresh spinach and cucumber

    Tropical Mango Smoothie

    • 1 cup frozen mango chunks
    • ½ cup pineapple
    • ½ cup orange juice
    • ½ cup yogurt

    Blend until smooth; using frozen fruit gives this version a naturally thick, cold texture without needing added ice.

    Tropical fruit combinations like this one tend to be especially forgiving for beginners, since mango and pineapple both carry enough natural sweetness and body that the smoothie rarely needs added sugar the way a more tart berry combination sometimes does.

    These three recipes are really just starting templates — once you’re comfortable with the basic ratio of fruit, liquid, and optional dairy or ice, substituting in whatever’s fresh or on hand becomes a lot more intuitive than following a fixed recipe every time.

    Keeping a rough go-to ratio in mind — roughly two cups of fruit or vegetables to one cup of liquid, adjusted to taste — is often more useful long-term than memorizing any single specific recipe exactly.

    Three vibrant fruit smoothies with fresh fruits on a wooden table

    Tips for a Better Smoothie

    • Use frozen fruit instead of ice when possible — it thickens the smoothie without watering down the flavor.
    • Add greens like spinach to fruit-forward smoothies for extra nutrition without changing the flavor much, since the fruit generally masks the vegetal taste.
    • A splash of citrus juice brightens most fruit combinations and helps balance sweetness.
    • Blend liquids first, then soft ingredients, then frozen fruit or ice last — this order is easier on most blender motors than dumping everything in at once.
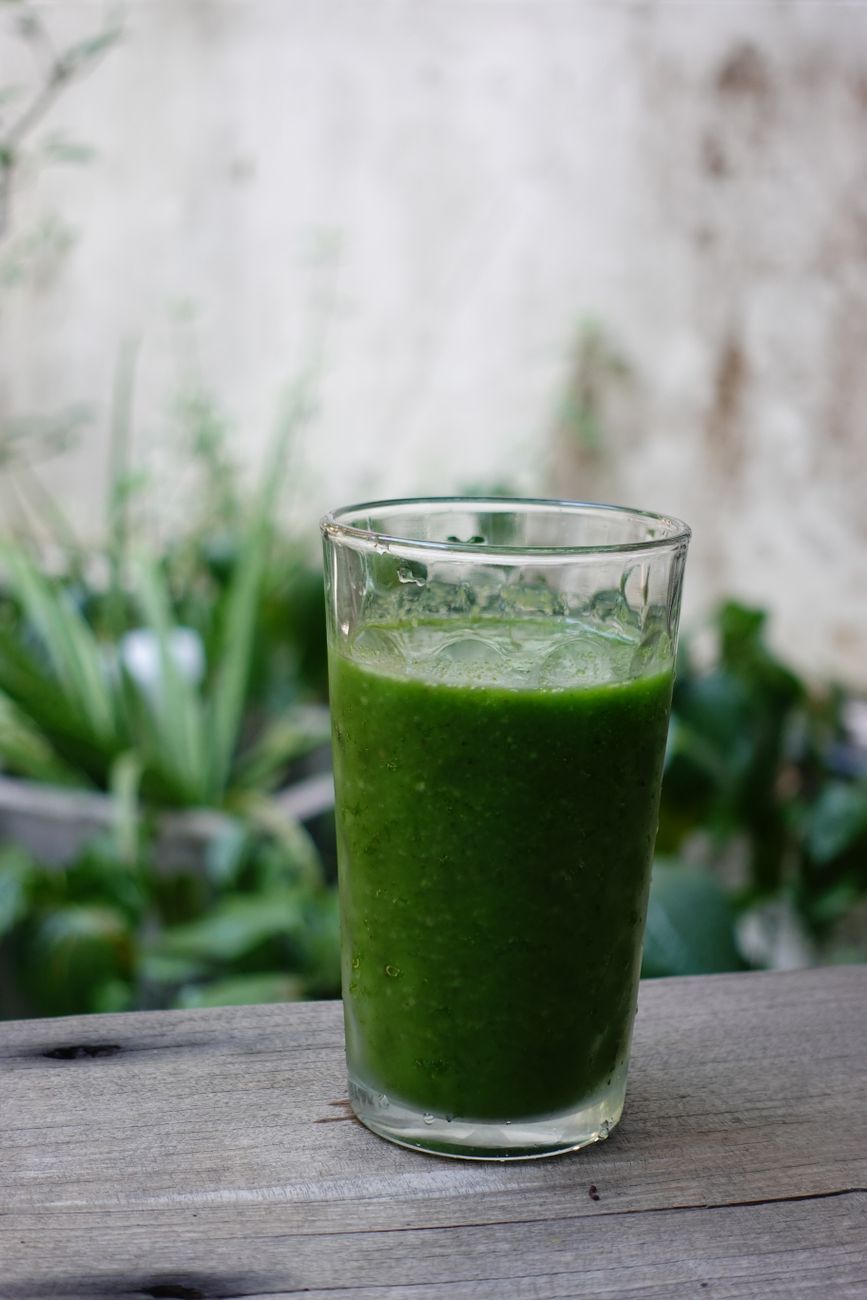
    A vibrant green vegetable smoothie in a clear glass

    Consistency is also worth experimenting with. A thinner smoothie works better through a straw for a quick drink on the go, while a thicker, spoonable consistency feels more like a light meal — both are valid depending on what you actually want out of it.

    Frequently Asked Questions

    What’s the difference between a smoothie and juice?

    A smoothie blends the whole fruit or vegetable, keeping the fiber; juice typically extracts only the liquid, leaving the fiber behind.

    Can I make smoothies without a high-powered blender?

    Yes, though softer fruits blend more easily in a standard blender than very fibrous vegetables or ice.

    How do I make a smoothie thicker without ice?

    Use frozen fruit instead of fresh, which thickens the texture without diluting the flavor the way ice can.

    Are vegetable smoothies good for kids?

    Many kids accept green smoothies well when fruit like apple or banana balances the vegetable flavor, as in the green smoothie recipe above.

    Does Mabel’s Deli sell ready-made smoothies?

    Organic, vegan fruit and vegetable shooters are kept in the cooler at Poncha Market as a ready-made option.

    What greens work best in a smoothie for beginners?

    Spinach is a good starting point, since it has a mild flavor that’s easy to mask with fruit, unlike more assertive greens like kale.

    Can I make a smoothie ahead of time?

    Yes, though texture and freshness are best within a day; store in the refrigerator and shake or stir before drinking if it separates.

    What order should I add ingredients to a blender?

    Liquids first, then soft ingredients, then frozen fruit or ice last — this order is generally easier on the blender motor than adding everything at once.

    Do I need to add sugar to fruit smoothies?

    Often not — naturally sweet fruits like mango, banana, and pineapple usually provide enough sweetness on their own without added sugar or honey.

    Want a ready-made option? Check the cooler at Poncha Market for fruit and vegetable shooters on your next stop.

    For nutritional guidance on fruits, vegetables, and smoothies, see the Harvard T.H. Chan School of Public Health.

  • How to Make Tamales at Home: A Beginner’s Guide

    How to Make Tamales at Home: A Beginner’s Guide

    Tamales take real technique to master, but they’re genuinely achievable in a home kitchen with the right approach. They’re also a real menu item at Mabel’s Deli inside Poncha Market, served as a Tamale Supreme with egg and green or red chili, or by the order in sets of pork or beef.

    Here’s a beginner-friendly path through the process, from masa dough to steaming.

    The biggest hurdle for most first-time tamale makers isn’t the flavor — it’s the dough consistency and the folding technique, both of which take a bit of practice to get comfortable with. This guide focuses on getting those two fundamentals right.

    Tamales are also traditionally a group project in many households, with multiple people assembling them assembly-line style rather than one person doing the whole batch alone. If you’re attempting them for the first time, recruiting a helper for the assembly step alone can make the process considerably less daunting.

    That communal aspect is a genuine part of the tradition, not just a practical shortcut — tamale-making gatherings, sometimes called tamaladas, are a real social occasion in many households, especially around the winter holidays, where the labor-intensive process becomes a shared event rather than a chore.

    If you’re making tamales alone for the first time rather than as part of a group gathering, it’s worth setting aside a genuinely relaxed afternoon rather than trying to squeeze the process into a rushed weeknight — the assembly step alone takes real time even for an experienced cook.

    Don’t let the total time commitment discourage a first attempt, though. Most of that time is passive steaming rather than active hands-on work, so a first tamale-making afternoon is more about patience than intense labor from start to finish.

    What You’ll Need

    • Dried corn husks, soaked in water for at least an hour before using
    • Masa harina (dried corn flour) or prepared masa
    • Lard or vegetable shortening, softened
    • Broth or stock
    • Baking powder
    • Salt
    • Your choice of filling (pork, beef, chicken, or a vegetarian option with cheese and chile)
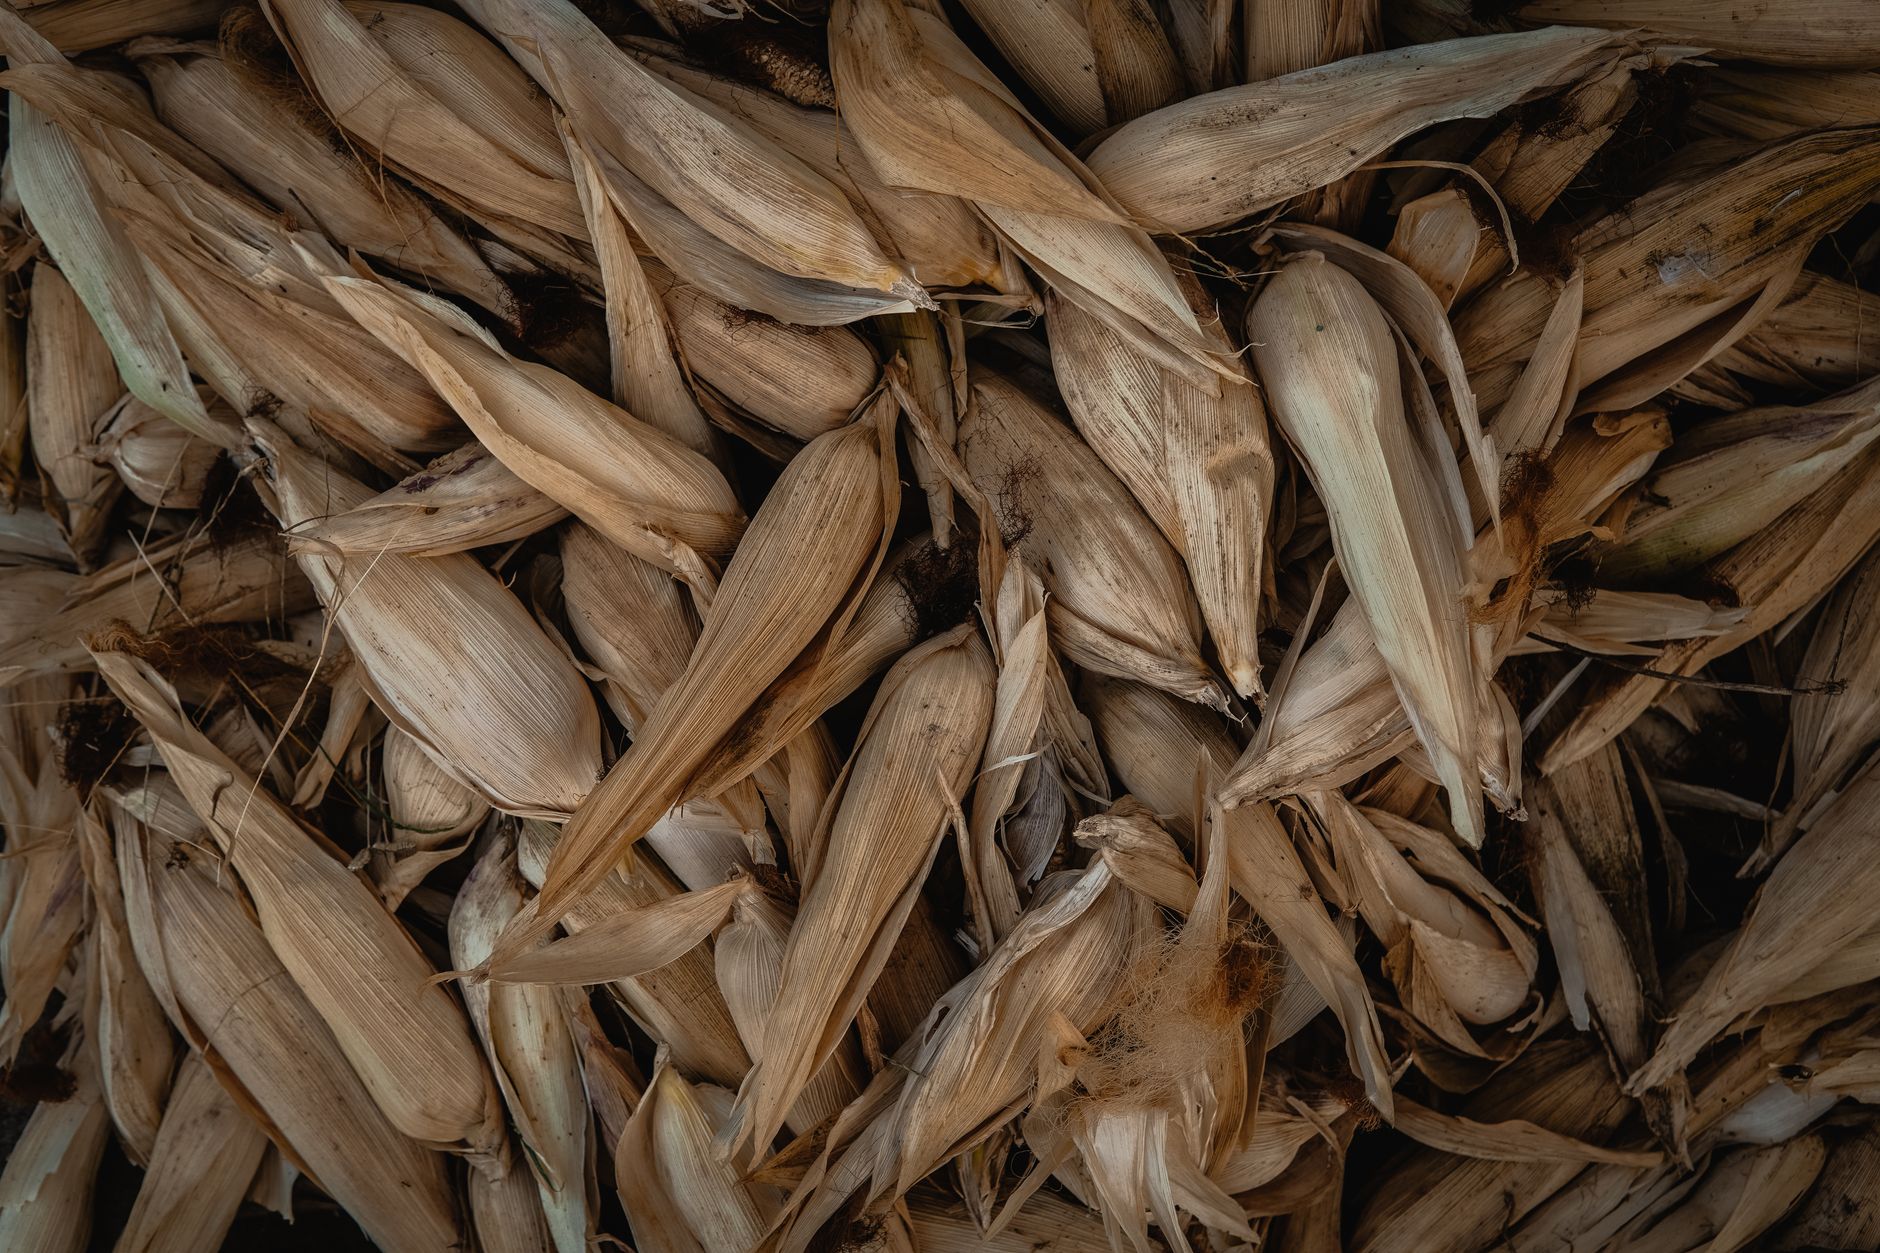
    A close-up view of a pile of dried corn husks with earthy tones

    Step 1: Prepare the Masa Dough

    1. Soften the lard first, whisking it until smooth and airy — this is a genuinely important early step that affects the final texture.
    2. In a separate bowl, mix the masa harina with baking powder and salt.
    3. Work the softened lard into the dry mixture with your hands until it resembles coarse breadcrumbs.
    4. Gradually add broth, beating continuously, until the dough reaches the consistency of a thick cake batter — light, smooth, and free of lumps.
    5. Season slightly on the salty side; the flavor mellows once the tamales are steamed.
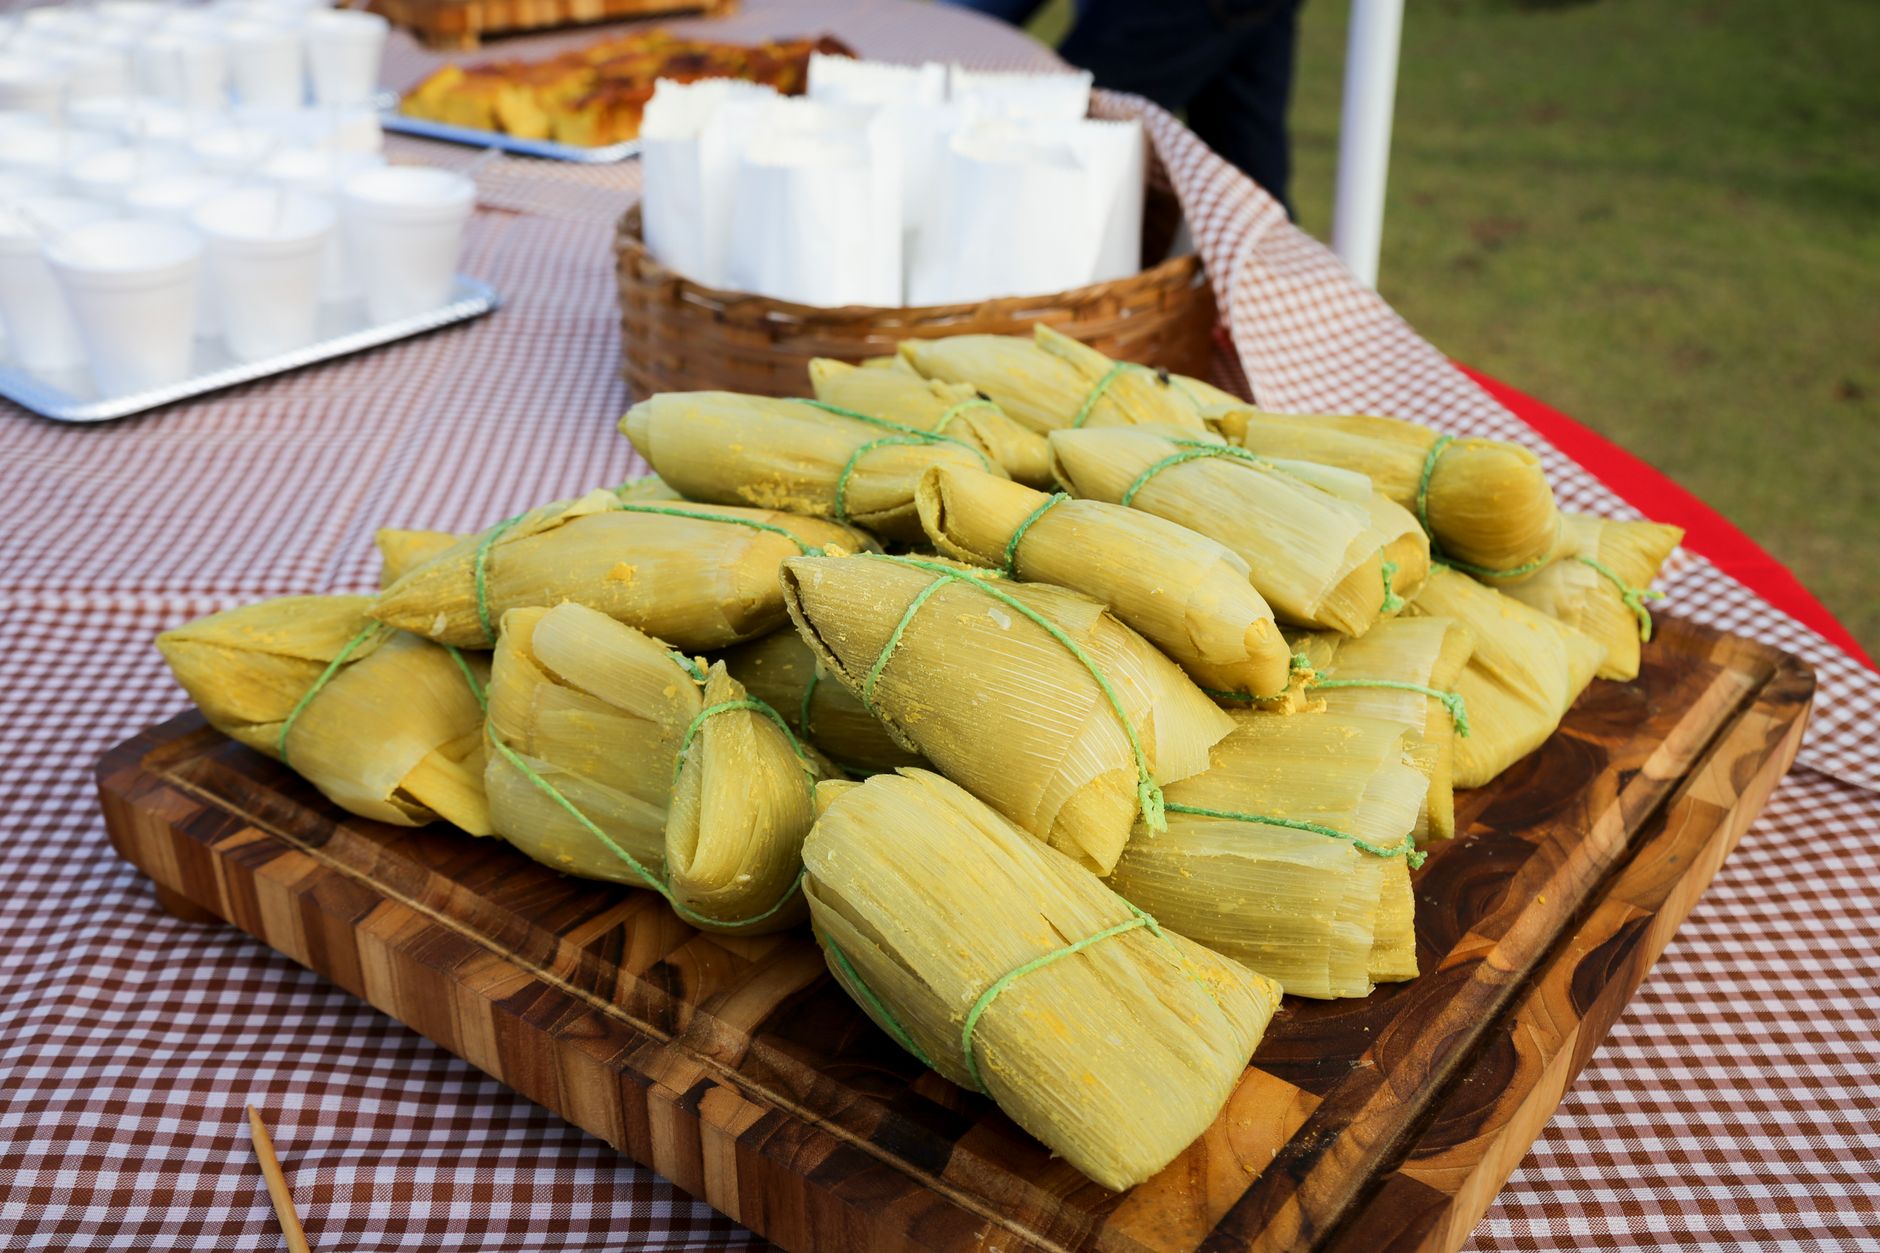
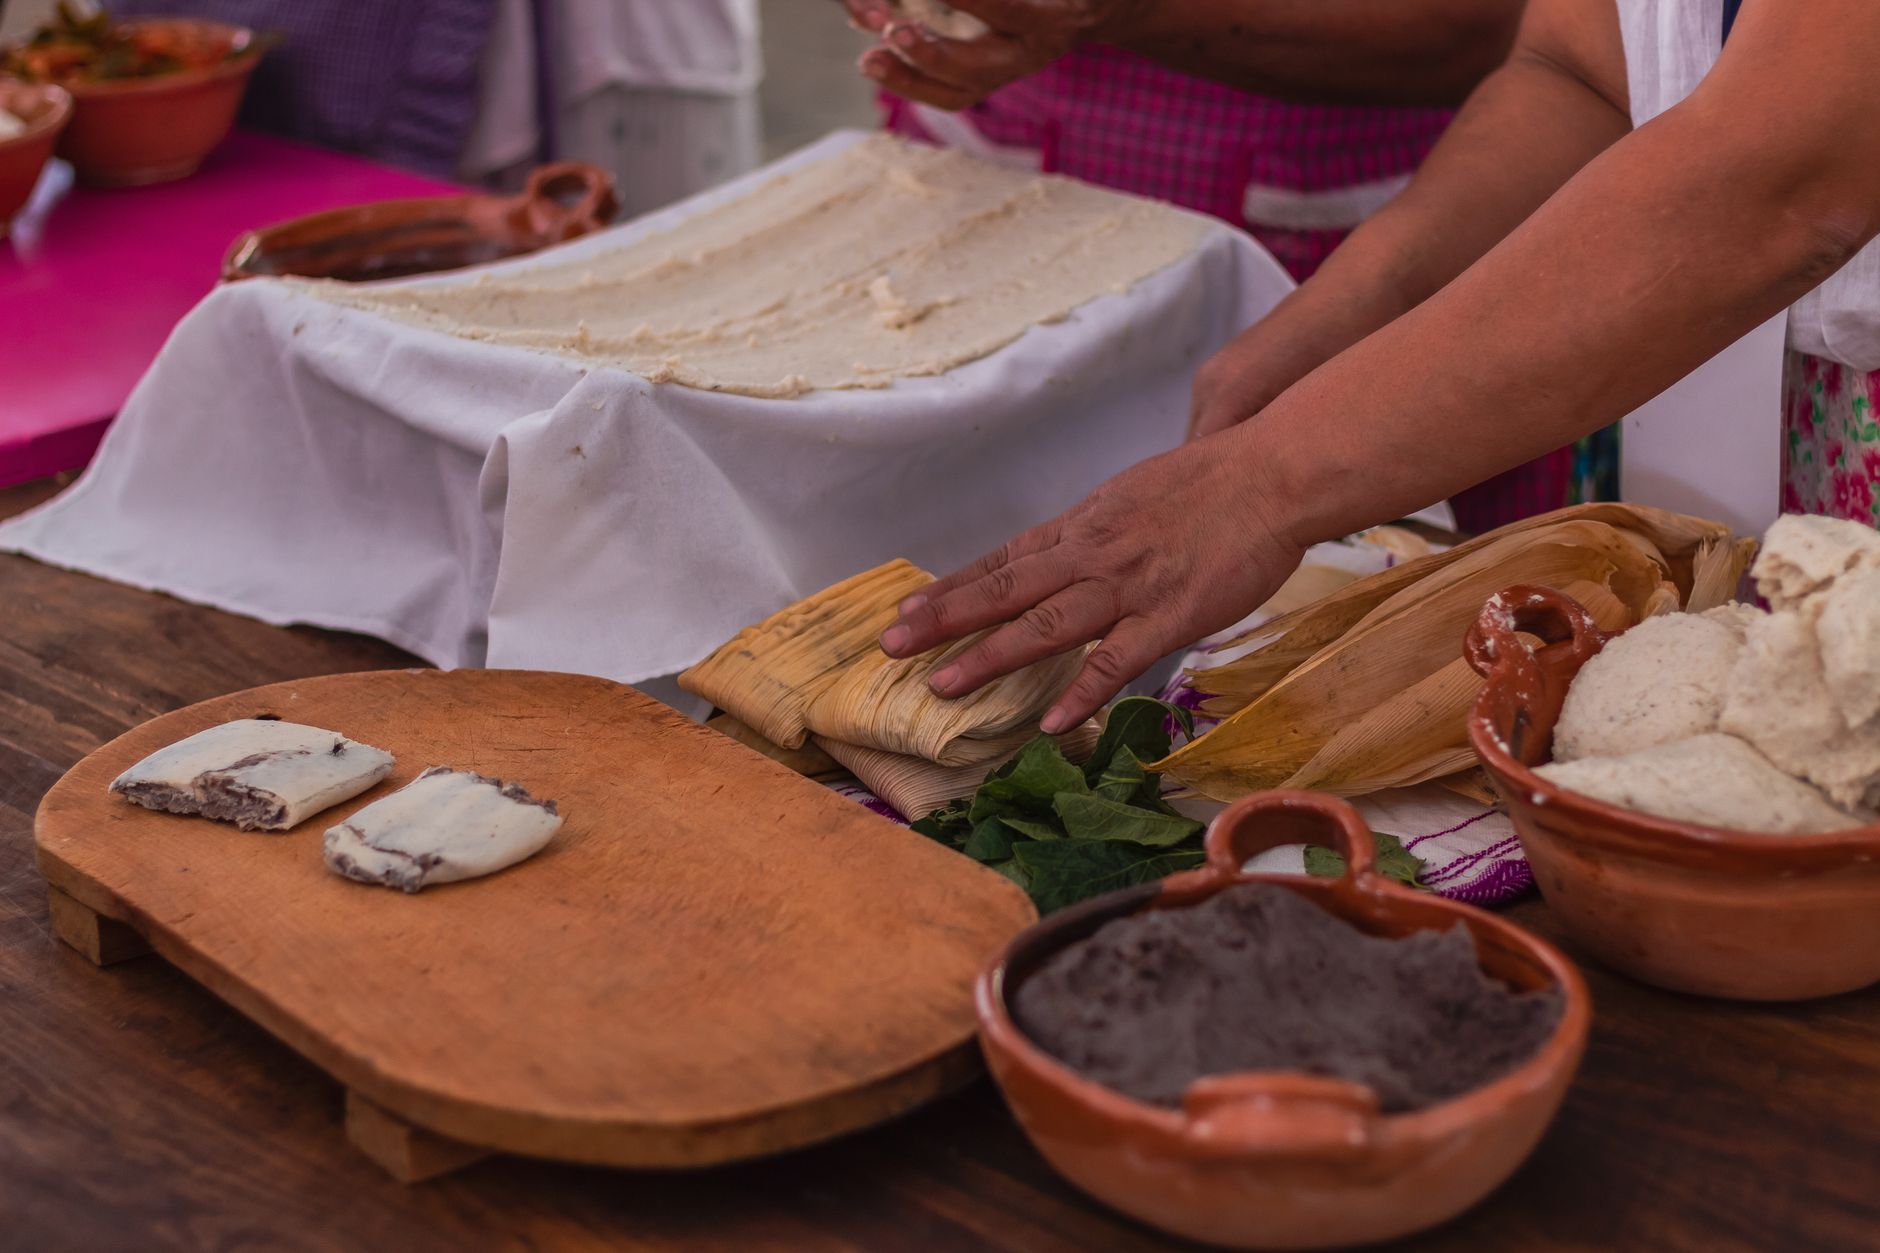
    Close-up of hands preparing traditional Mexican tamales with dough and husks

    Step 2: Assemble the Tamales

    1. Spread a layer of masa dough onto the smooth side of a softened corn husk, leaving room at the edges.
    2. Add a spoonful of your chosen filling down the center.
    3. Fold the sides of the husk in over the filling, then fold up the bottom, leaving the top open.
    4. Repeat until all the masa and filling are used.
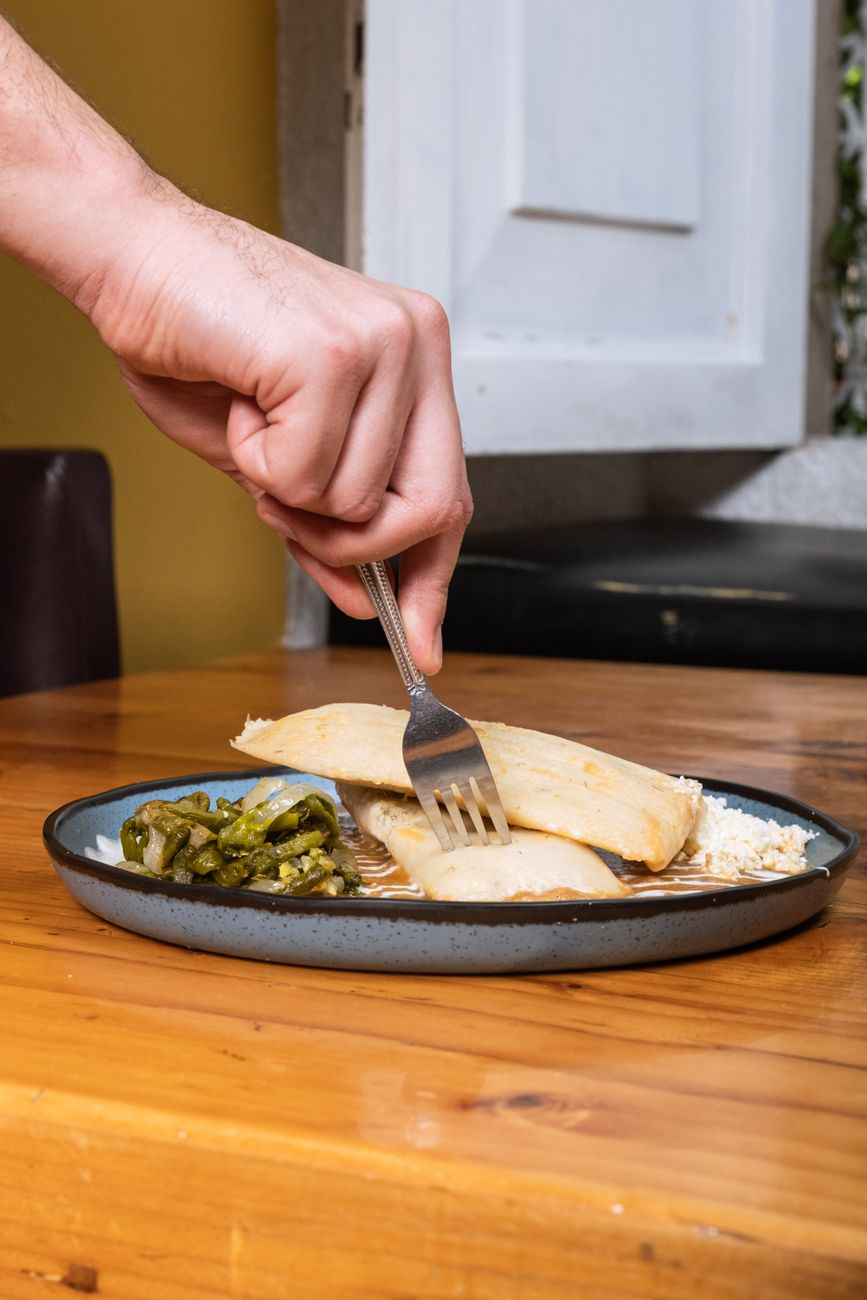
    A hand holds a fork, cutting into a tamale served with vegetables

    Step 3: Steam the Tamales

    Stand the assembled tamales upright, open-end up, in a steamer basket set over simmering water, without letting the water touch the tamales directly. Cover and steam for about an hour, checking water levels periodically, until the masa pulls cleanly away from the husk — the clearest sign they’re fully cooked.

    Resist the urge to unwrap a tamale too early to check on it — the dough continues firming up during the full steaming time, and an early peek often makes an unfinished tamale look more done than it actually is.

    If you’re unsure whether a batch is done, test one from the center of the pot rather than the edges — steam circulation isn’t perfectly even, and tamales closest to the pot’s walls sometimes cook slightly faster than ones packed toward the middle.

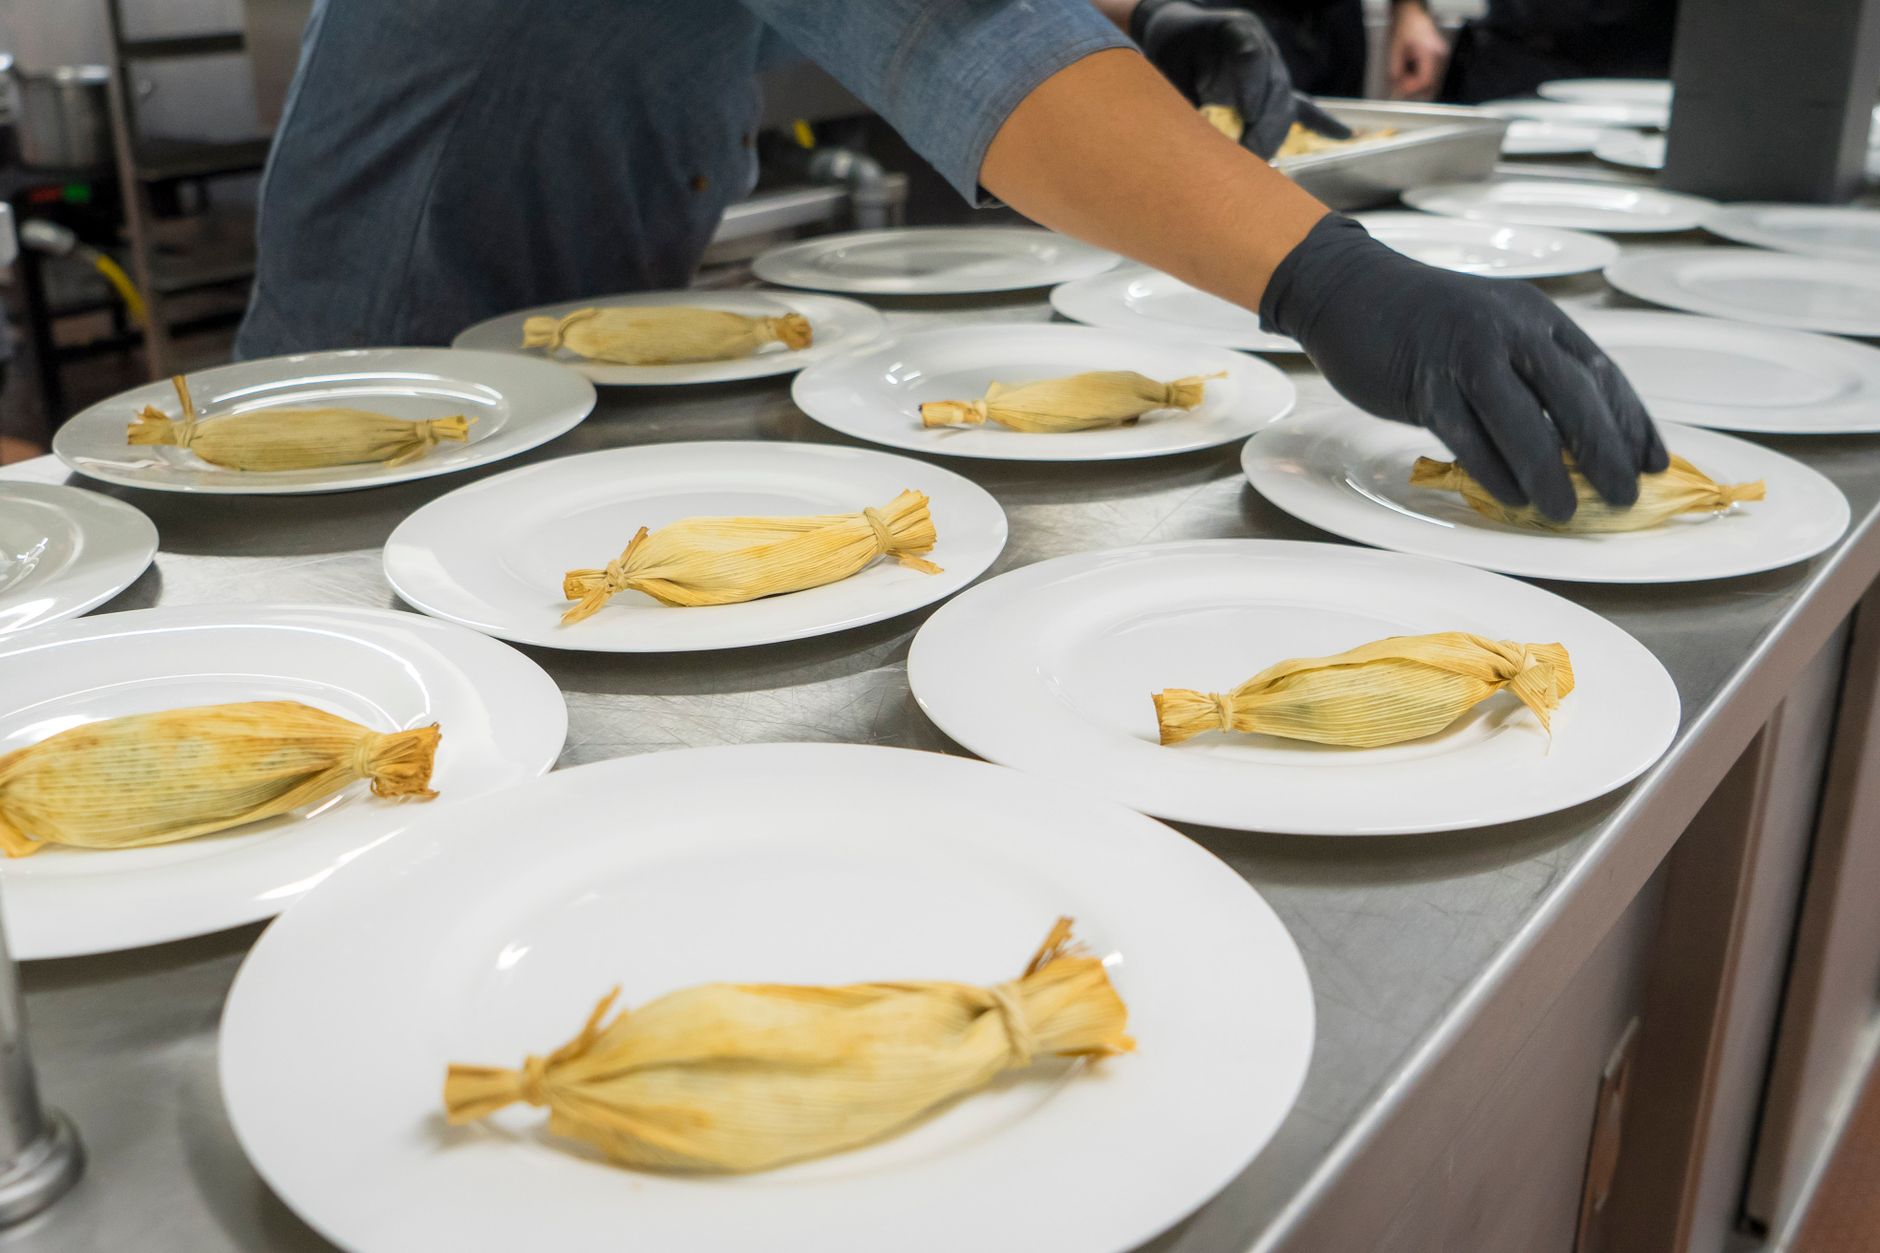
    A chef placing tamales on plates in a professional kitchen setting

    Common Beginner Mistakes

    • Not soaking the corn husks long enough, which makes them brittle and prone to tearing during folding.
    • Under-seasoning the masa, since the flavor mellows considerably during steaming.
    • Overfilling, which makes tamales difficult to fold neatly and more likely to leak filling during cooking.
    • Letting the steamer run dry, which can scorch the bottom layer of tamales.
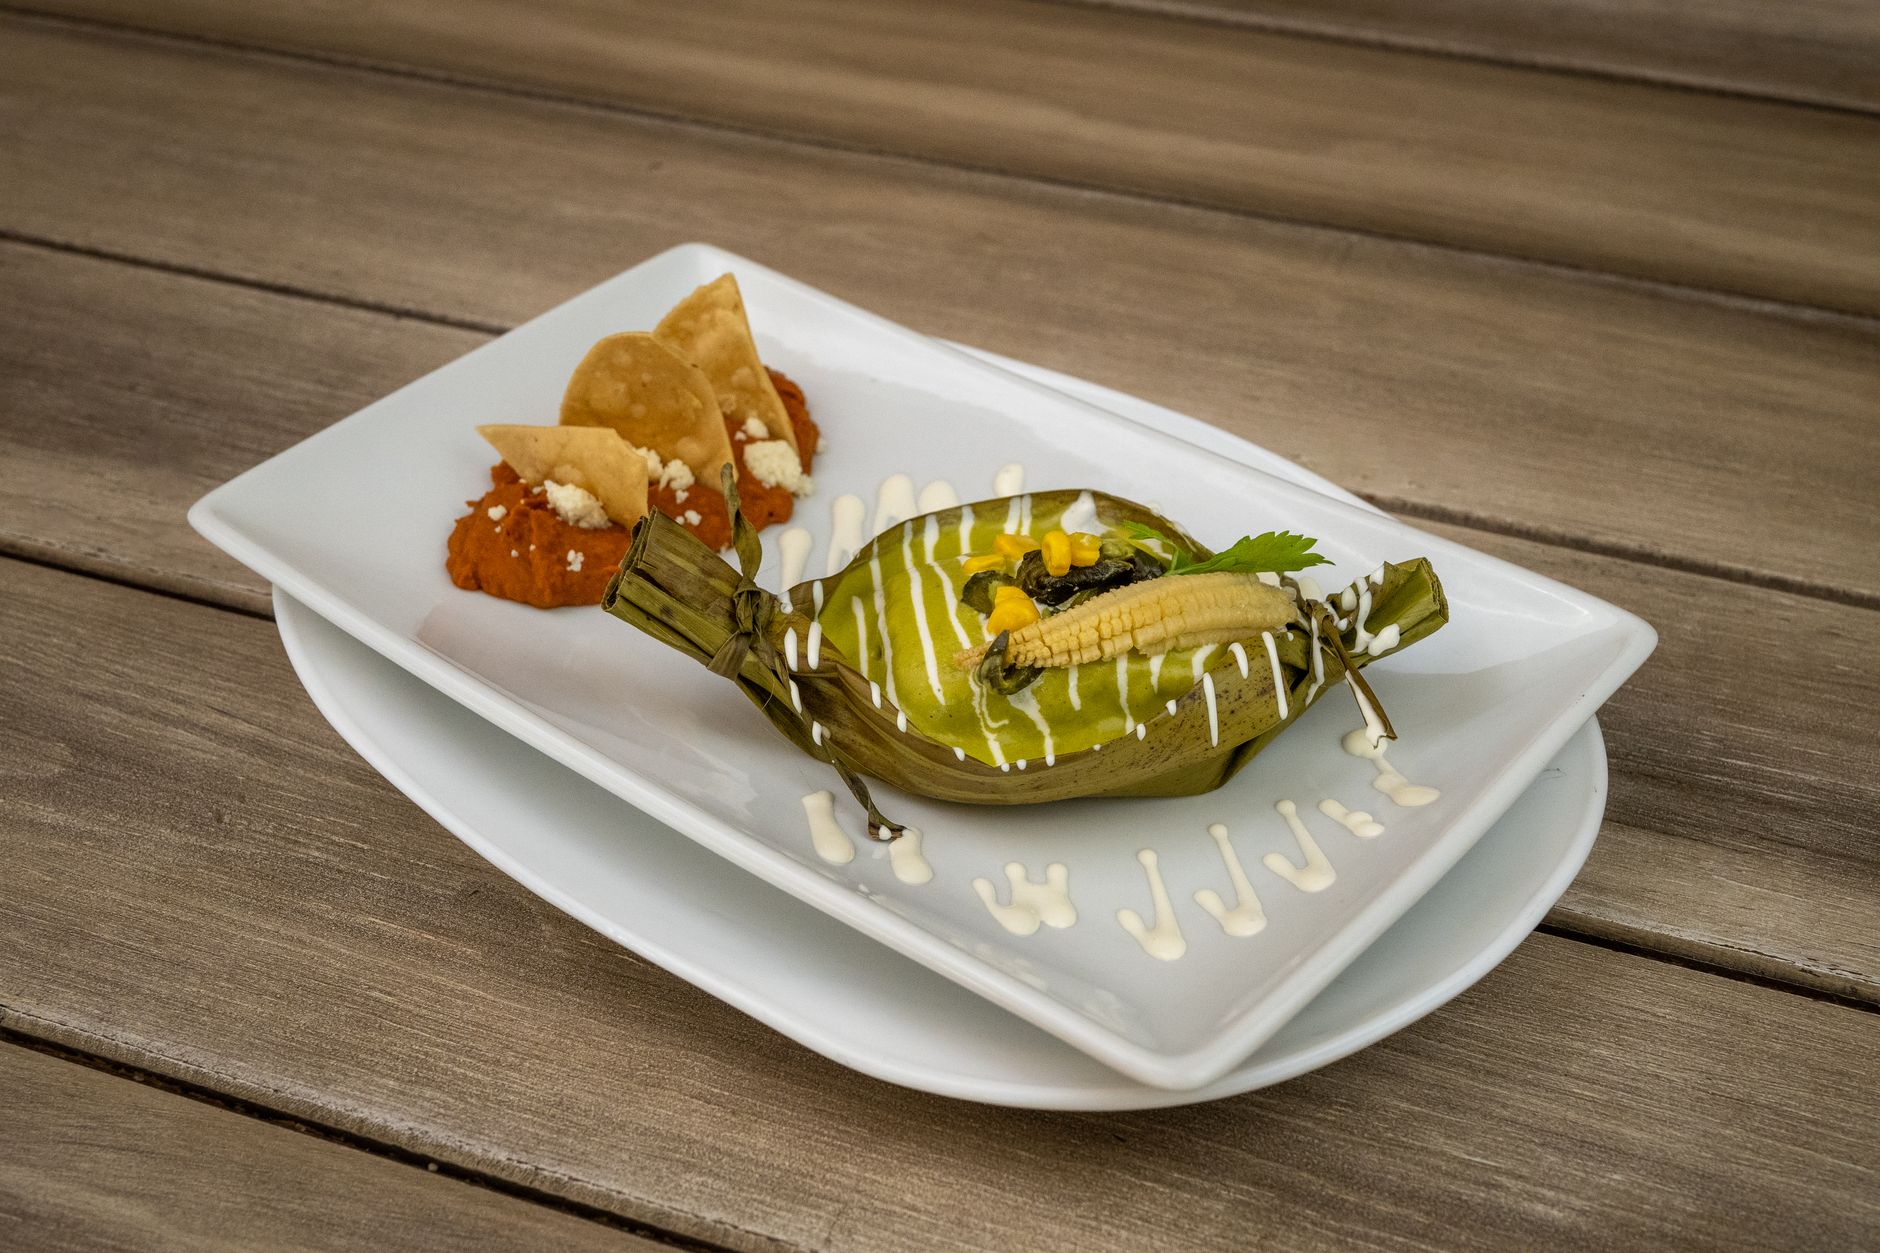
    A delicious plated Mexican tamale served at a restaurant

    Frequently Asked Questions

    How long do I steam tamales?

    Roughly an hour, until the masa pulls cleanly away from the corn husk when unwrapped.

    Can I freeze tamales?

    Yes — steamed tamales freeze well; reheat by steaming again or microwaving wrapped in a damp paper towel.

    Why is my masa dough too dense?

    Usually not enough broth was added, or the lard wasn’t fully softened and incorporated before mixing.

    Do I eat the corn husk?

    No — the husk is a cooking wrapper, unwrapped and discarded before eating the tamale inside.

    Where can I get tamales near Poncha Springs?

    Mabel’s Deli inside Poncha Market serves a Tamale Supreme and tamales by the order, pork or beef.

    Can I make tamales without a steamer basket?

    Yes — a metal colander set inside a large pot with a lid works as a reasonable substitute, as long as the tamales stay above the water line.

    How many tamales does one batch of masa make?

    It varies by size, but a standard batch typically yields between two and three dozen tamales, which is part of why assembly is often shared among multiple people.

    What is a tamalada?

    A tamale-making gathering, traditionally held around the Christmas and New Year holidays, where family and friends assemble large batches together rather than one person working alone.

    Do all tamales cook at the same rate in one pot?

    Not perfectly — steam circulation varies slightly, so testing one from the center of the pot rather than the edges gives a more reliable sense of doneness for the whole batch.

    Want to try one first? See our Mabel’s Deli menu guide for the Tamale Supreme and other menu items.

    For more on tamale traditions and technique, see the Smithsonian Institution.

  • How to Make a Smothered Breakfast Burrito at Home

    How to Make a Smothered Breakfast Burrito at Home

    A good smothered breakfast burrito is one of the most satisfying road trip breakfasts there is — eggs, crispy potatoes, and green chile wrapped in a warm tortilla, then drowned in more green chile sauce and melted cheese. It’s also a real menu item at Mabel’s Deli inside Poncha Market, available smothered with green or red chili for $9.59.

    Here’s how to make one at home, along with the sauce that makes it “smothered” rather than just a regular breakfast burrito.

    This is a genuinely forgiving recipe to scale — the basic components (eggs, potatoes, chile, cheese, tortilla) can flex based on what you have on hand, which is part of why it’s become such a staple breakfast across the Southwest and Colorado’s high country alike.

    Part of what makes this dish so beloved in the region is how well it travels — unlike many hot breakfasts, a wrapped burrito holds together and stays warm long enough to eat on the road, which is exactly why it’s such a natural fit for a gas station deli menu in the first place.

    The green chile itself deserves real credit for the dish’s popularity too. It’s not just a spicy garnish here — it’s a defining, load-bearing flavor that shapes the whole burrito, which is part of why this style is so specifically tied to the Southwest and Colorado’s high country rather than being a generic breakfast wrap found everywhere.

    What Makes a Burrito “Smothered”

    A regular breakfast burrito is wrapped and eaten as-is. A smothered version is unwrapped or left open-faced on a plate, then topped with warm green chile sauce and more melted cheese, usually finished under a broiler until bubbling. The distinction matters — a smothered burrito is closer to a knife-and-fork dish than a handheld one.

    Because of that, smothered versions generally make more sense as a sit-down breakfast than a to-go order, while the unsmothered version travels considerably better if you’re eating on the move.

    If you’re genuinely torn between the two, a reasonable compromise is ordering the sauce on the side rather than poured over the top — you get the flavor of the smothered version with the portability of a standard wrapped burrito.

    Whichever version you make, resist the temptation to rush the eggs — overcooked, rubbery scrambled eggs are one of the most common ways a homemade breakfast burrito falls short of the version you’d get at a real deli counter, where cooks are used to timing eggs precisely for a hot, fast breakfast rush.

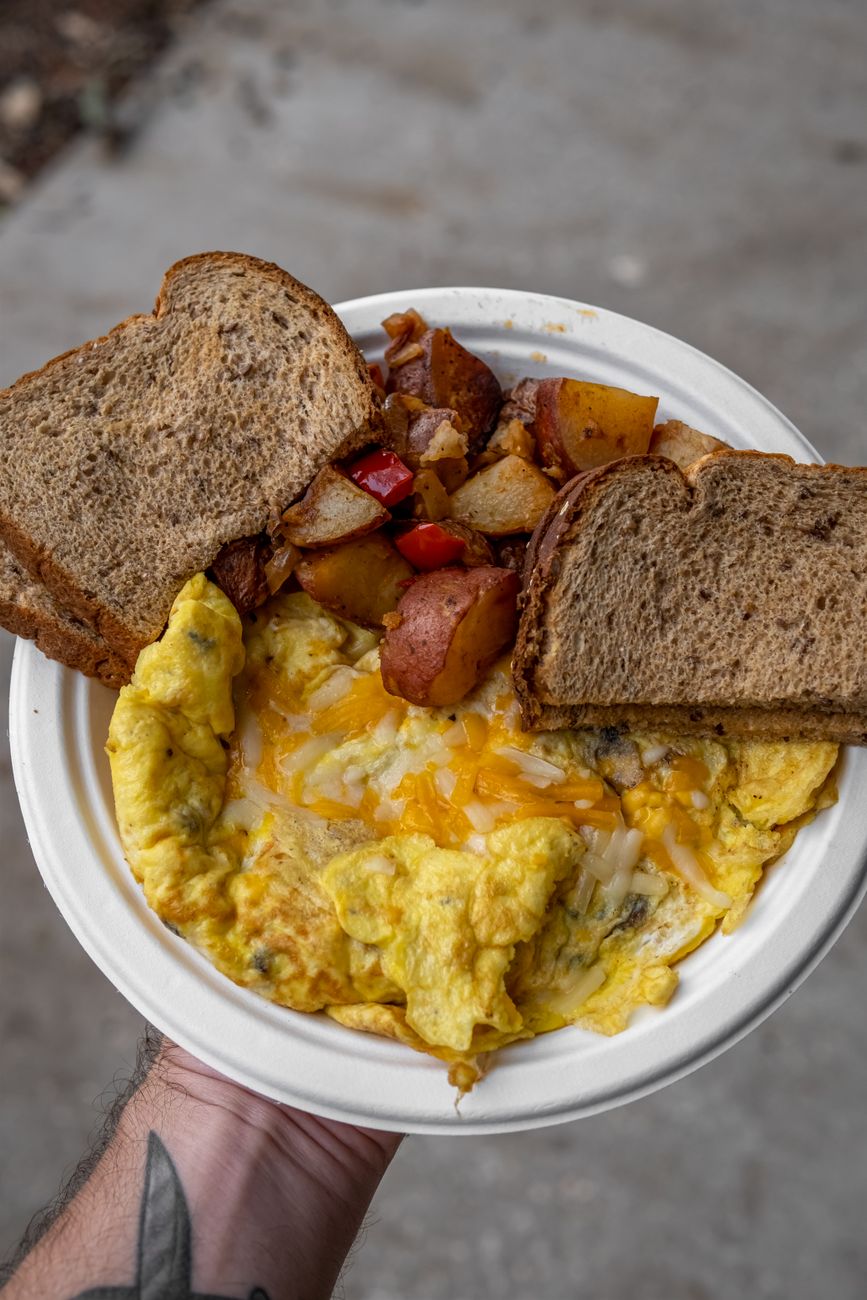
    A hearty breakfast plate with scrambled eggs, toast, and potatoes

    Ingredients

    • 4 large eggs, scrambled
    • 1 cup diced potatoes, cooked until crispy
    • ½ cup roasted, chopped green chile (fresh or canned)
    • 2 large flour tortillas
    • 1 cup shredded cheese, divided
    • 2 cups green chile sauce (see below)
    • Optional: cooked bacon, sausage, or chorizo

    Green Chile Sauce

    • Heat oil in a saucepan; sauté diced onion and garlic until soft.
    • Sprinkle in flour and cook for a minute, stirring constantly.
    • Add chopped green chile and broth, and bring to a boil, then reduce and simmer until thickened.
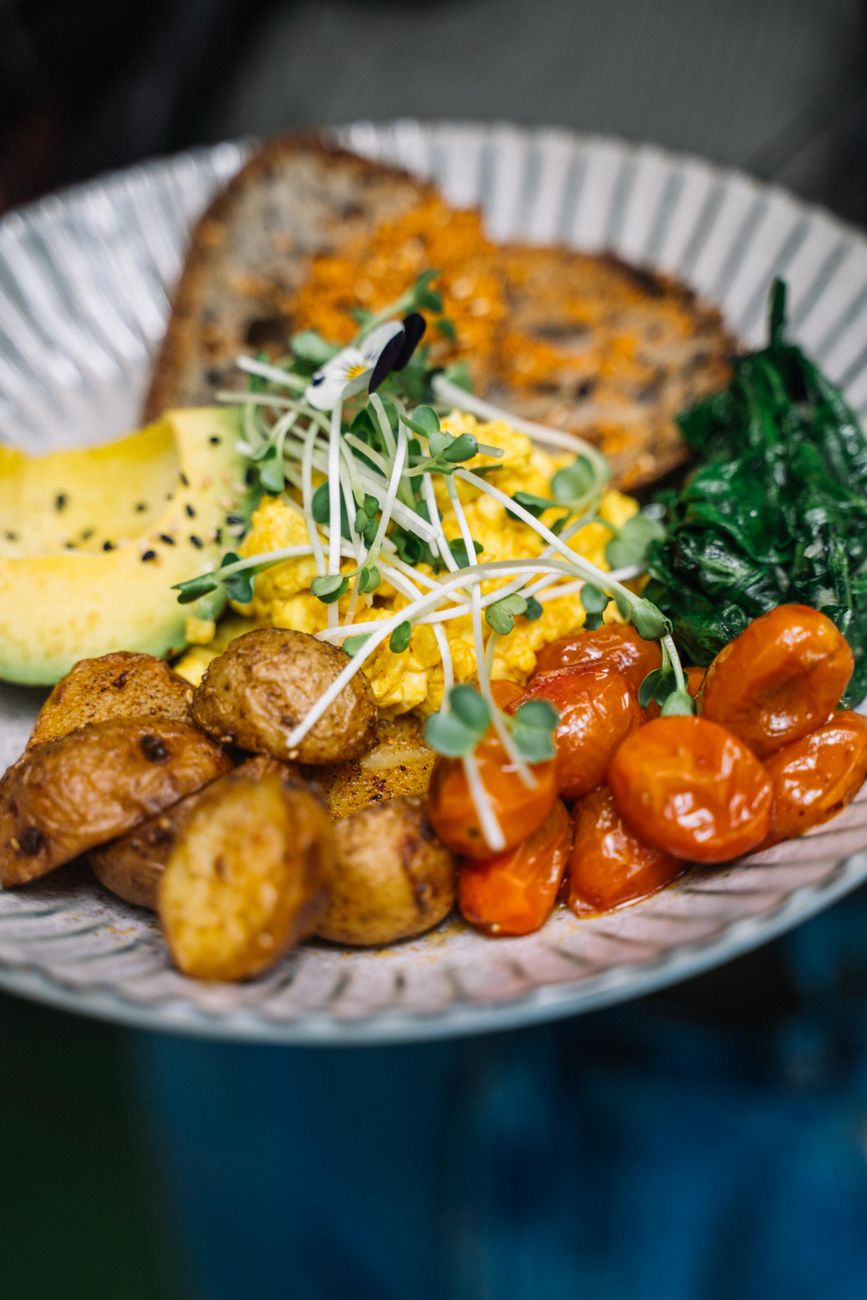
    A colorful breakfast plate with eggs, potatoes, tomatoes, spinach, and toast

    Assembly Instructions

    1. Warm the tortillas briefly so they fold without cracking.
    2. Fill each tortilla with scrambled eggs, crispy potatoes, chopped green chile, and half the cheese, plus any meat if using.
    3. Roll tightly and place seam-side down on an oven-safe plate or dish.
    4. Ladle warm green chile sauce generously over the top.
    5. Top with the remaining cheese and broil for 2–3 minutes, until the cheese is melted and bubbling.
    6. Serve immediately with a fork and knife.
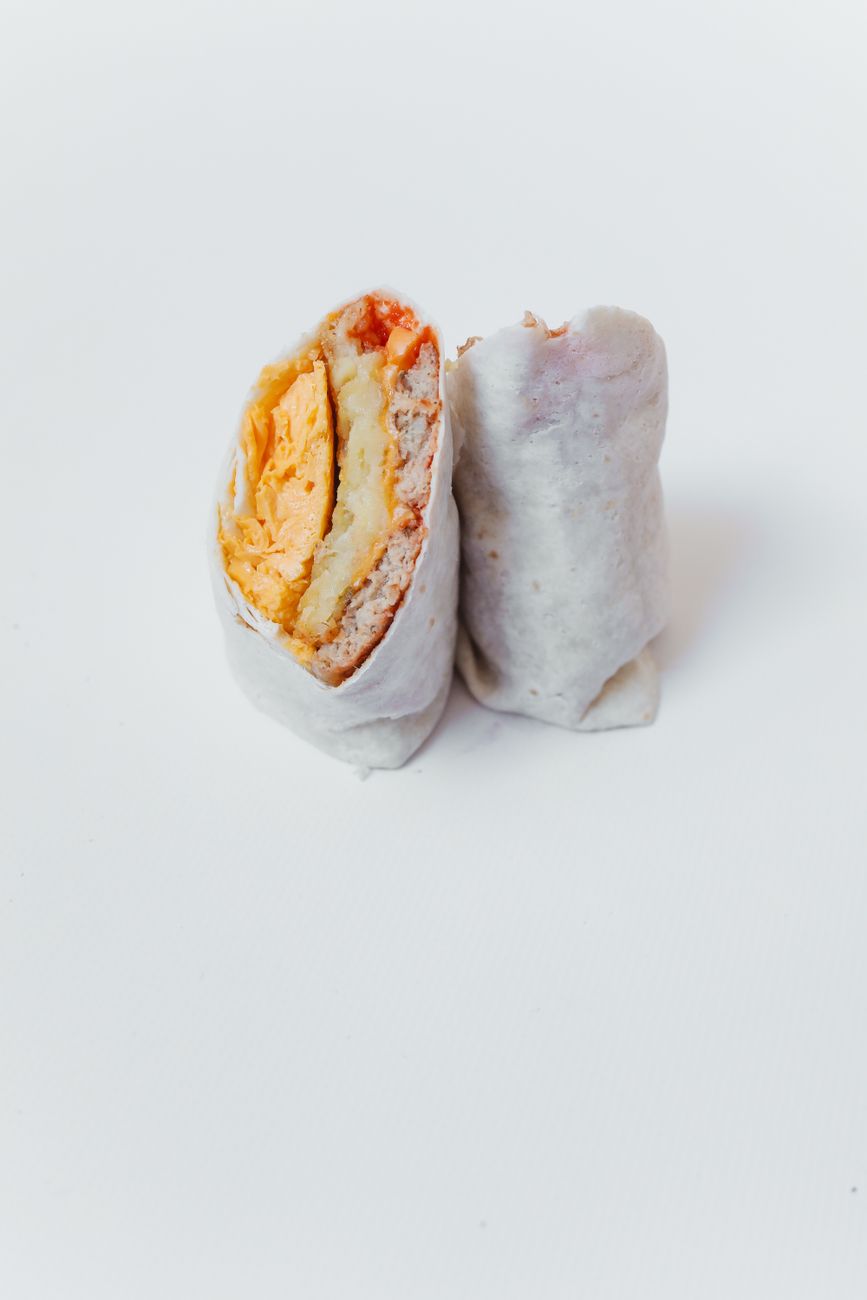
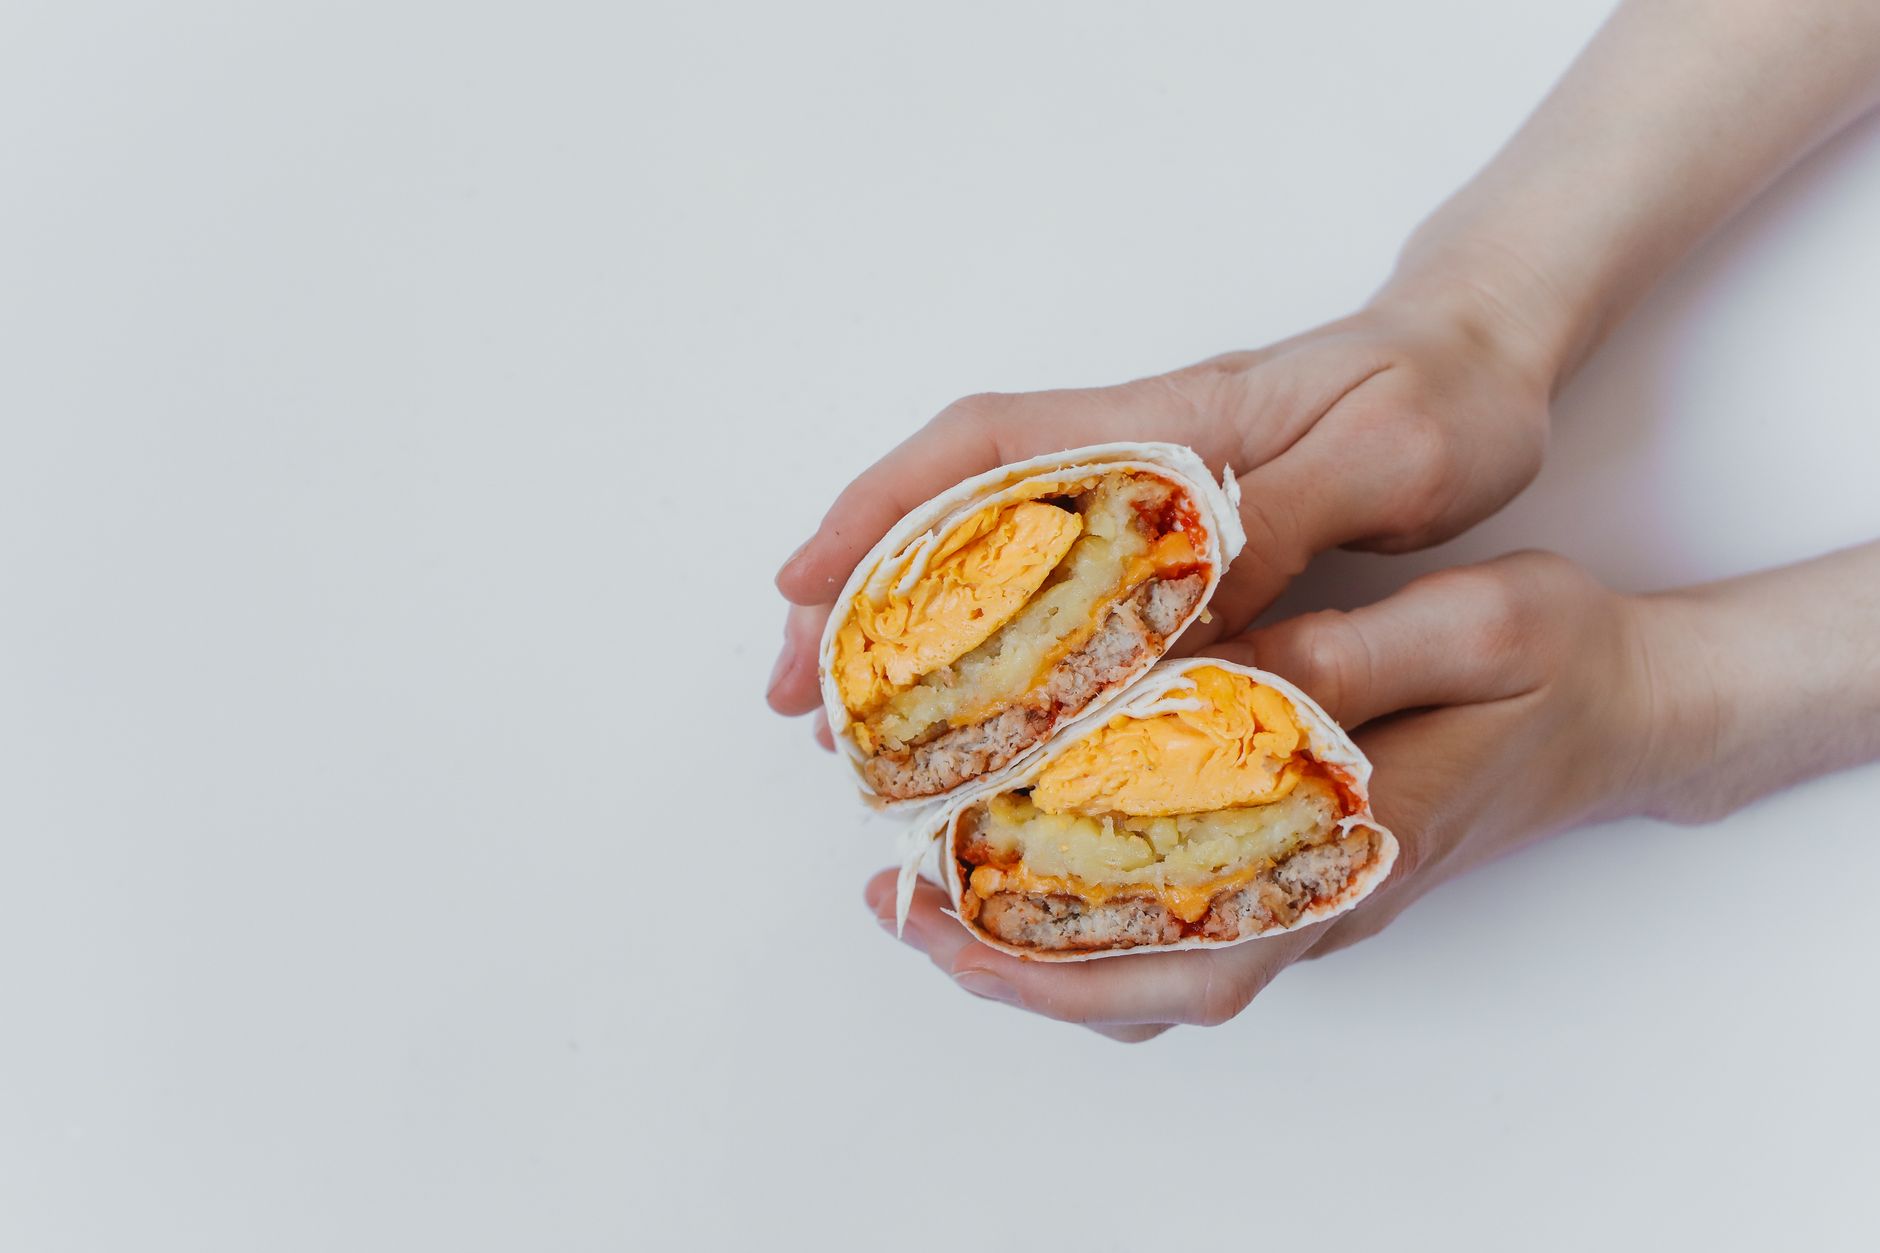
    Two halves of a breakfast burrito filled with scrambled eggs and potatoes

    Make-Ahead and Storage Tips

    Unsmothered breakfast burritos freeze well — wrap tightly in foil individually and store for up to two months, then thaw and add the sauce and cheese fresh when you’re ready to eat. This makes it realistic to prep a batch ahead of a road trip and smother them fresh one at a time as needed.

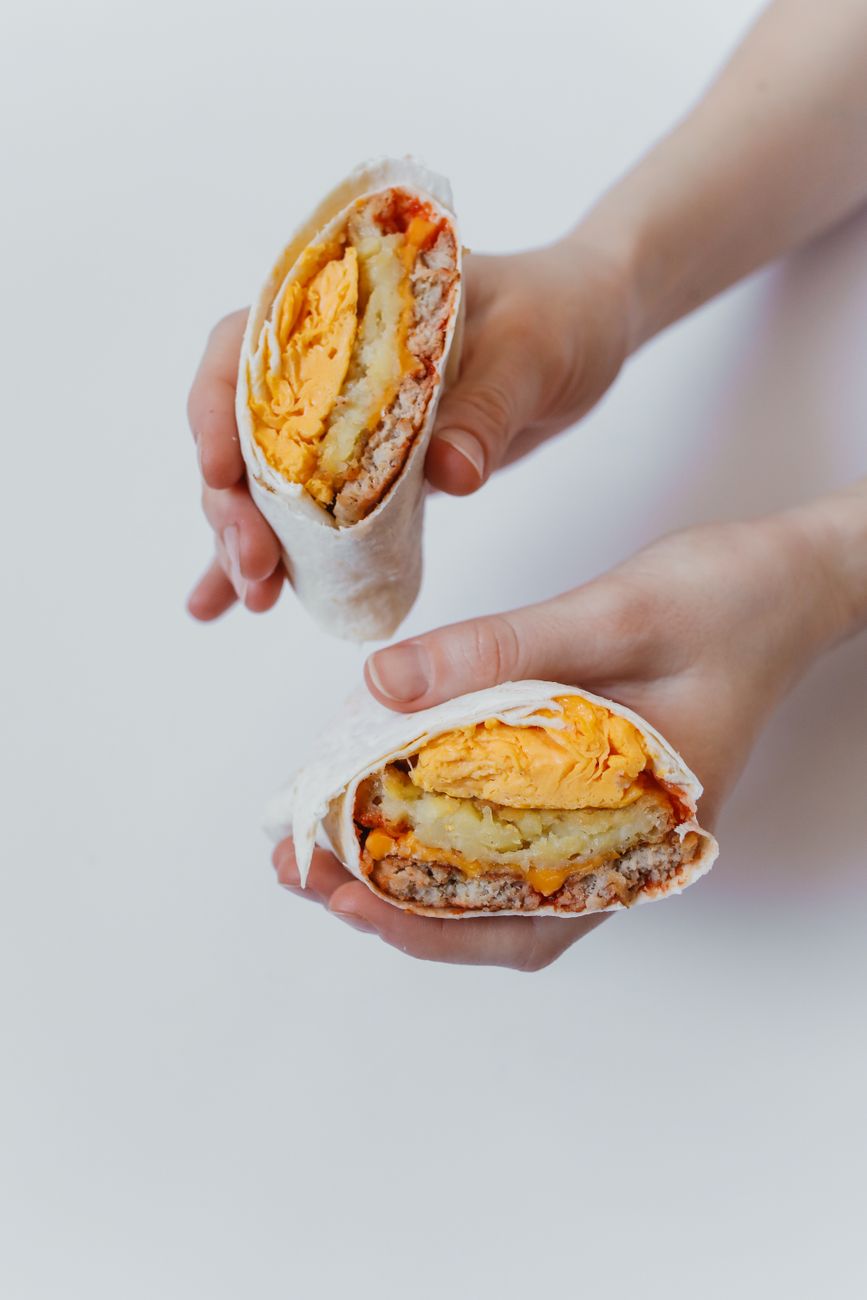
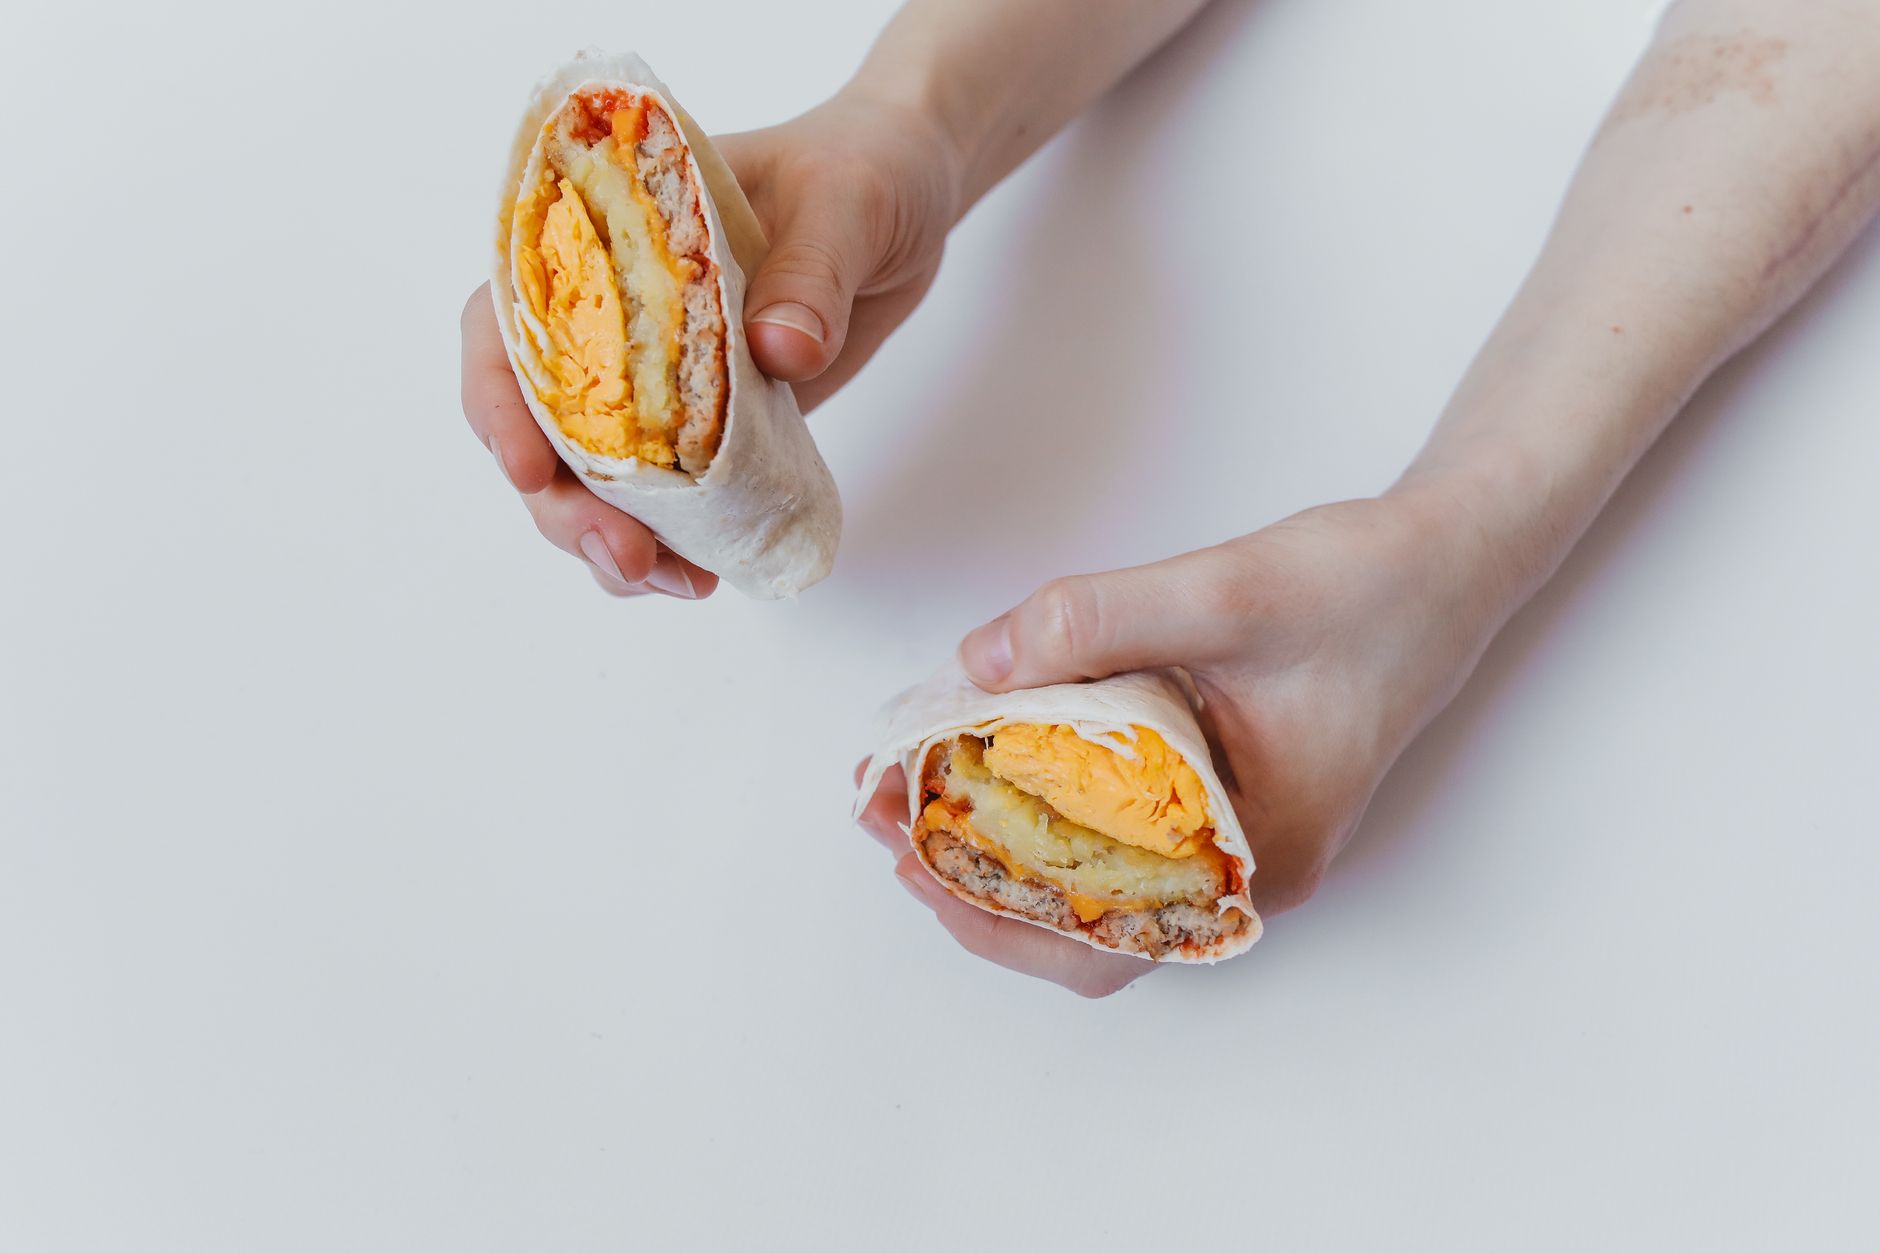
    A breakfast burrito with eggs and cheese held by hands

    Choosing Green or Red Chile

    Colorado green chile tends to run spicier and thicker than New Mexico’s version, while red chile brings a different, often smokier flavor profile built around dried, ground chile rather than fresh. Either works for smothering — it comes down to preference. See our full comparison of Colorado green chili vs. New Mexico red chile for the details.

    Hands holding a cut breakfast burrito with eggs, cheese, and sauce

    Frequently Asked Questions

    What makes a burrito “smothered”?

    It’s topped with warm chile sauce and melted cheese after assembly, rather than simply wrapped and eaten as-is.

    Can I freeze breakfast burritos?

    Yes — freeze them unsmothered, wrapped individually in foil, for up to two months, then add sauce and cheese fresh when reheating.

    Should I use green or red chile?

    Either works; green tends to be spicier and thicker, red often has a smokier flavor. See our chile comparison guide.

    What potatoes work best in a breakfast burrito?

    Diced potatoes cooked until crispy, similar to home fries, hold up well inside a rolled burrito without becoming mushy.

    Where can I get a smothered burrito near Poncha Springs?

    Mabel’s Deli inside Poncha Market serves one for $9.59, available with green or red chili.

    Is a smothered burrito easy to eat on the road?

    Not really — the sauce and open presentation make it better suited to sitting down with a fork than eating while driving; an unsmothered, wrapped burrito travels much better.

    What meat works best in a breakfast burrito?

    Bacon, sausage, or chorizo are all common additions alongside eggs and potatoes, though a vegetarian version with just eggs, potatoes, and chile is equally traditional.

    Can I get the sauce on the side instead of smothered?

    Many places will accommodate this on request — it gives you the same flavor with more portability than a fully smothered, plated version.

    Why are my scrambled eggs rubbery in a homemade burrito?

    Overcooking is the most common cause; cook eggs just until set and still slightly soft, since they’ll continue cooking briefly from residual heat after removal.

    Want the real thing before your trip? See our Mabel’s Deli menu guide for the smothered burrito and other breakfast options.

    For more breakfast burrito technique and variations, see Serious Eats.

  • Colorado Green Chili vs. New Mexico Red Chili: What’s the Difference

    Colorado Green Chili vs. New Mexico Red Chili: What’s the Difference

    Order a “smothered burrito” in Colorado and you’ll likely get it drowning in a thick, spicy green chili — the same style served at Mabel’s Deli inside Poncha Market. Cross into New Mexico and order the same thing, and you’ll get something that looks similar but tastes and behaves noticeably differently.

    This genuinely is a real regional food rivalry, not a manufactured one, and it comes down to real differences in the pepper, the heat, and the texture.

    Understanding the distinction matters beyond just trivia — it explains why a recipe that works perfectly in Pueblo, Colorado can turn out completely different if you use the wrong pepper variety at home.

    This isn’t a minor regional preference either — it’s genuinely one of the more passionate food rivalries in the American Southwest, with both states fiercely defending their own chile’s superiority in a way that goes well beyond typical regional food pride.

    New Mexico has even gone so far as to adopt an official state question — “red or green?” — asked at restaurants across the state to determine which chile a diner wants on their meal, a level of institutional recognition Colorado’s chile hasn’t quite matched, even as Colorado chile fans remain just as devoted to their own version.

    Different Peppers, Different States

    Colorado’s green chili is built on the Pueblo chile, grown around Pueblo, Colorado, with roots tracing back to Mexico’s Oaxaca region. New Mexico’s chile, grown roughly 500 miles south, is the Hatch pepper — named for the town of Hatch, New Mexico, where much of it is grown.

    These aren’t interchangeable varieties with a regional label slapped on — they’re genuinely different cultivars with different characteristics, which is a big part of why the two regional styles taste as distinct as they do.

    Both regions take their chile growing seriously enough to have built real institutional infrastructure around it — research programs, seed breeding efforts, and even dedicated festivals celebrating the harvest each year, treating the pepper as a genuine agricultural specialty rather than just a cooking ingredient.

    New Mexico’s chile industry alone produces tens of thousands of tons of chile annually, worth tens of millions of dollars — a real economic sector, not a niche hobby crop, which explains why the state has been willing to formalize its devotion with an official state question in the first place.

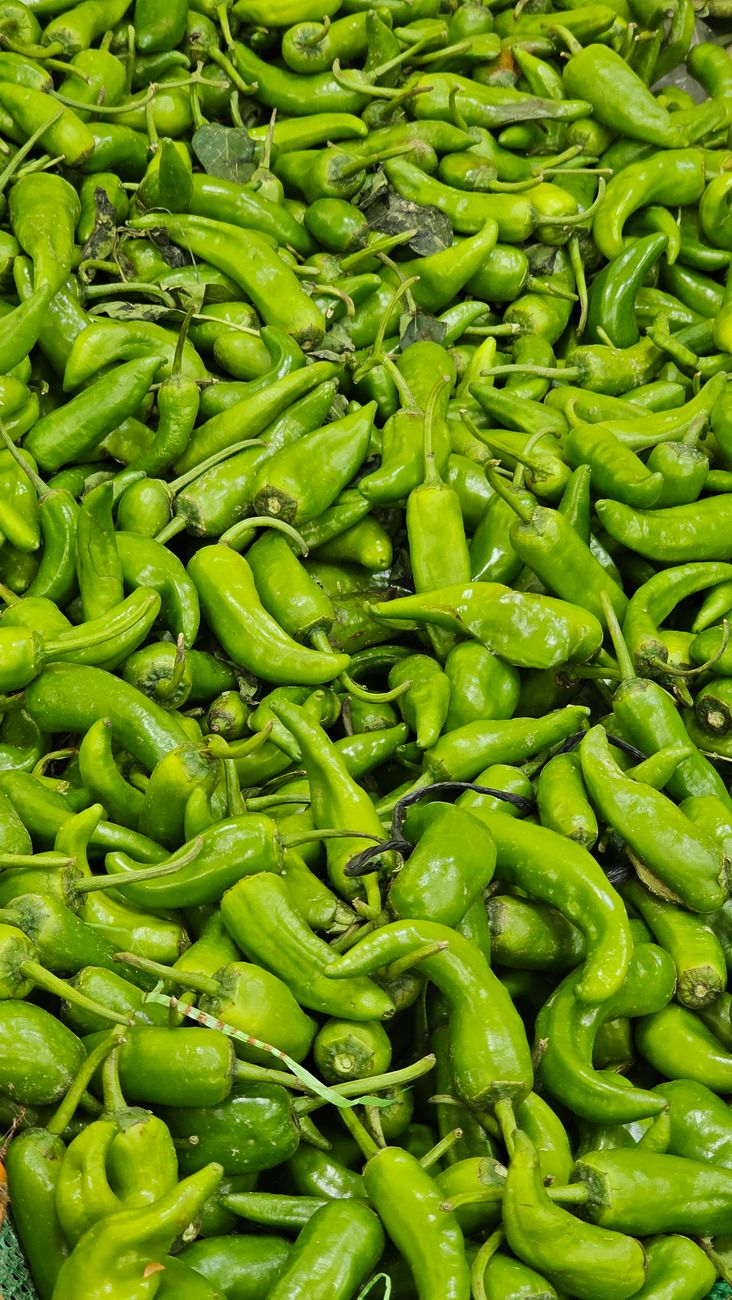
    A large pile of fresh green chili peppers for spicy cooking

    Heat Level: A Real, Measurable Difference

    Colorado’s Pueblo chiles measure between 5,000 and 20,000 Scoville Heat Units — considerably spicier than New Mexico’s Hatch chiles, which generally sit between 500 and 3,000 Scoville units. That’s not a subtle difference; it’s roughly an order of magnitude in some cases, and it’s the single biggest reason Colorado green chili has a reputation for real heat while New Mexico’s version leans more toward flavor than fire.

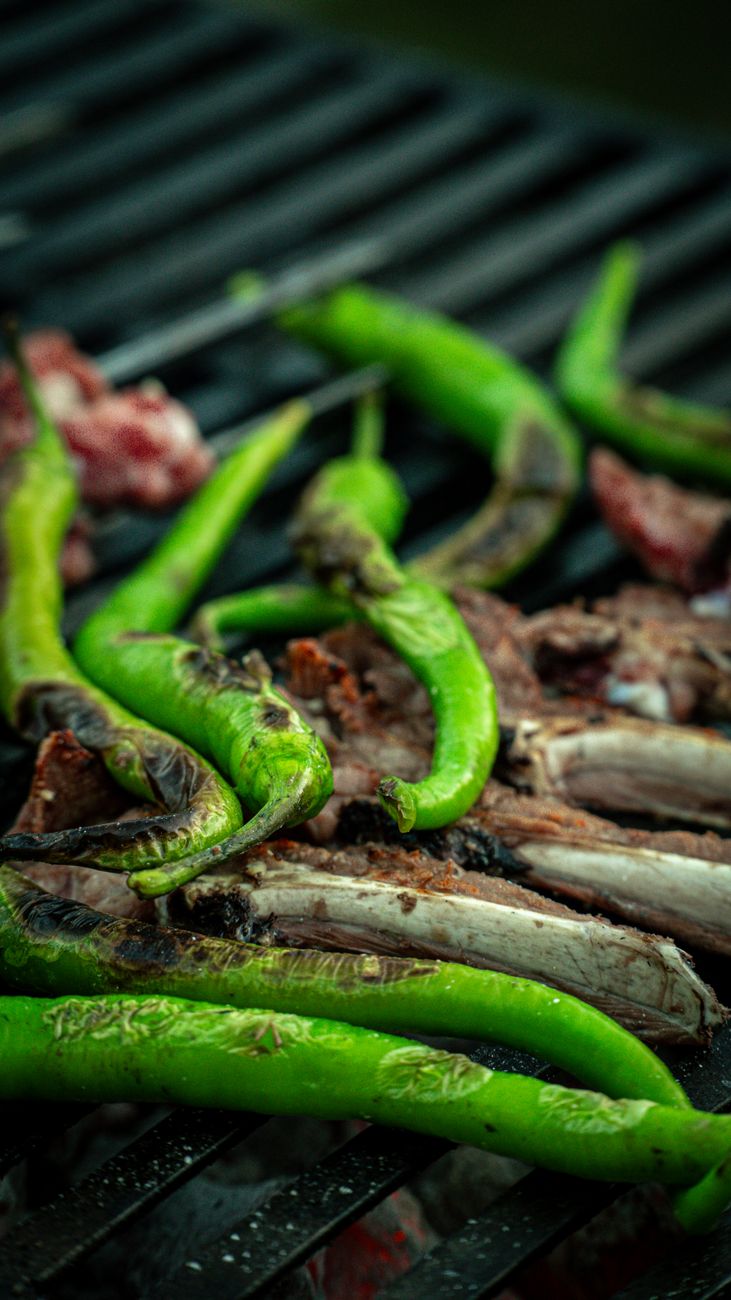
    Close-up of green peppers and meat cooking on a grill

    Flavor and Texture Differences

    Colorado Green ChiliNew Mexico Green Chile
    PepperPueblo chileHatch chile
    Heat (Scoville units)5,000–20,000500–3,000
    Flavor profileSpicier, meatier pepperSmoky, earthy, rich
    TextureThick, spoonable stewThinner sauce consistency
    Typically made withChunks of pork shoulderVaries, often a sauce base

    Colorado green chili is genuinely a stew, thick enough to eat with a spoon, usually built around chunks of pork shoulder. New Mexico’s version leans more toward a sauce — still substantial, but with a different consistency entirely, meant more for smothering than for eating as a standalone dish.

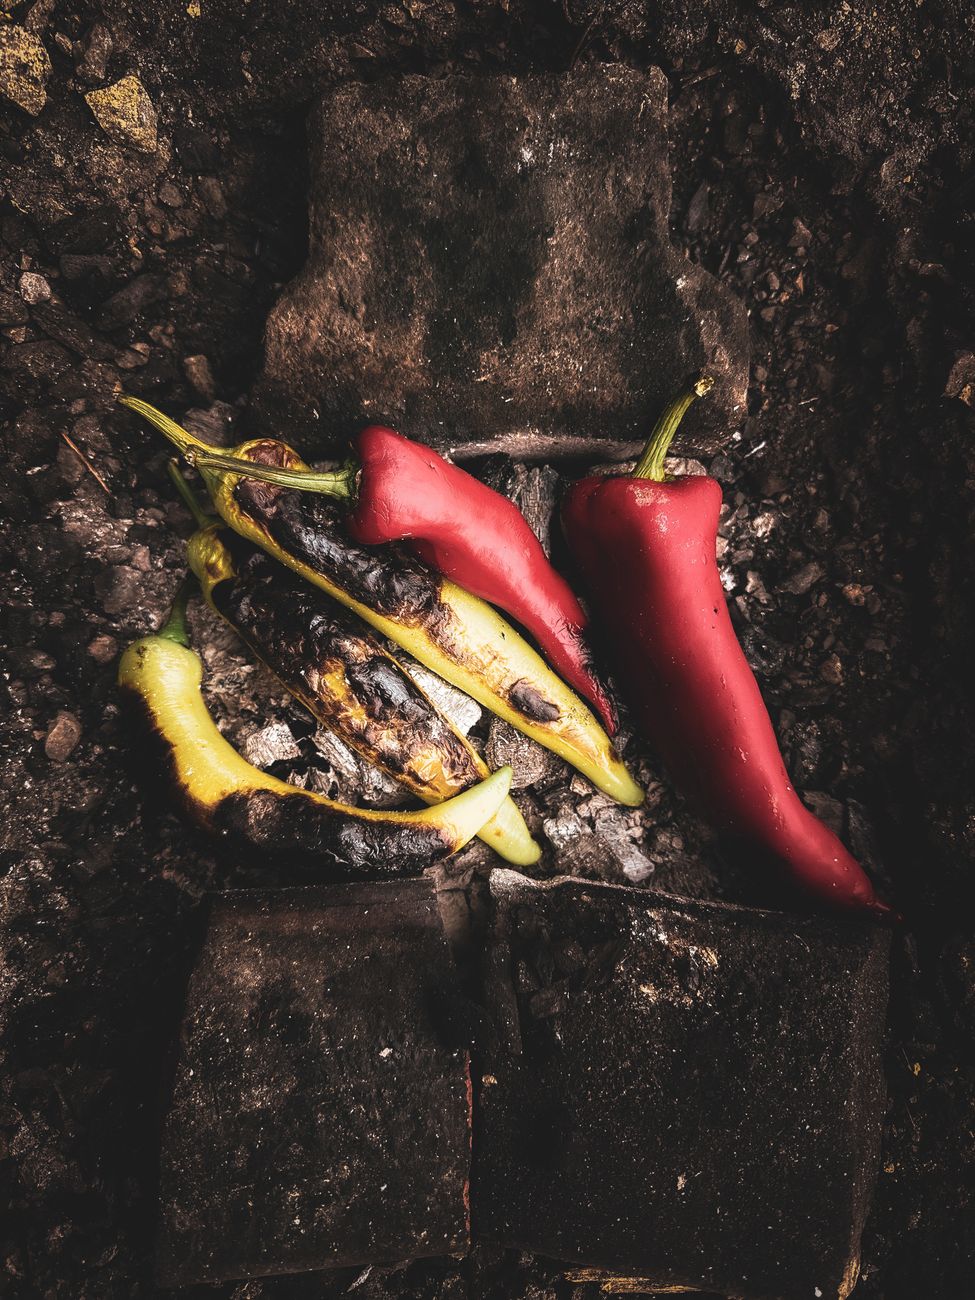
    Close-up of grilled red and green peppers on a rustic charcoal surface

    Wait, What About Red Chile?

    Here’s a detail that surprises a lot of people: red chile peppers are simply green chiles left on the plant longer to fully ripen. The color change comes from ripening, not a different variety entirely — so “red vs. green” in New Mexico is often more of a seasonal and processing choice (dried and ground for red, used fresh or roasted for green) than a difference in the underlying pepper.

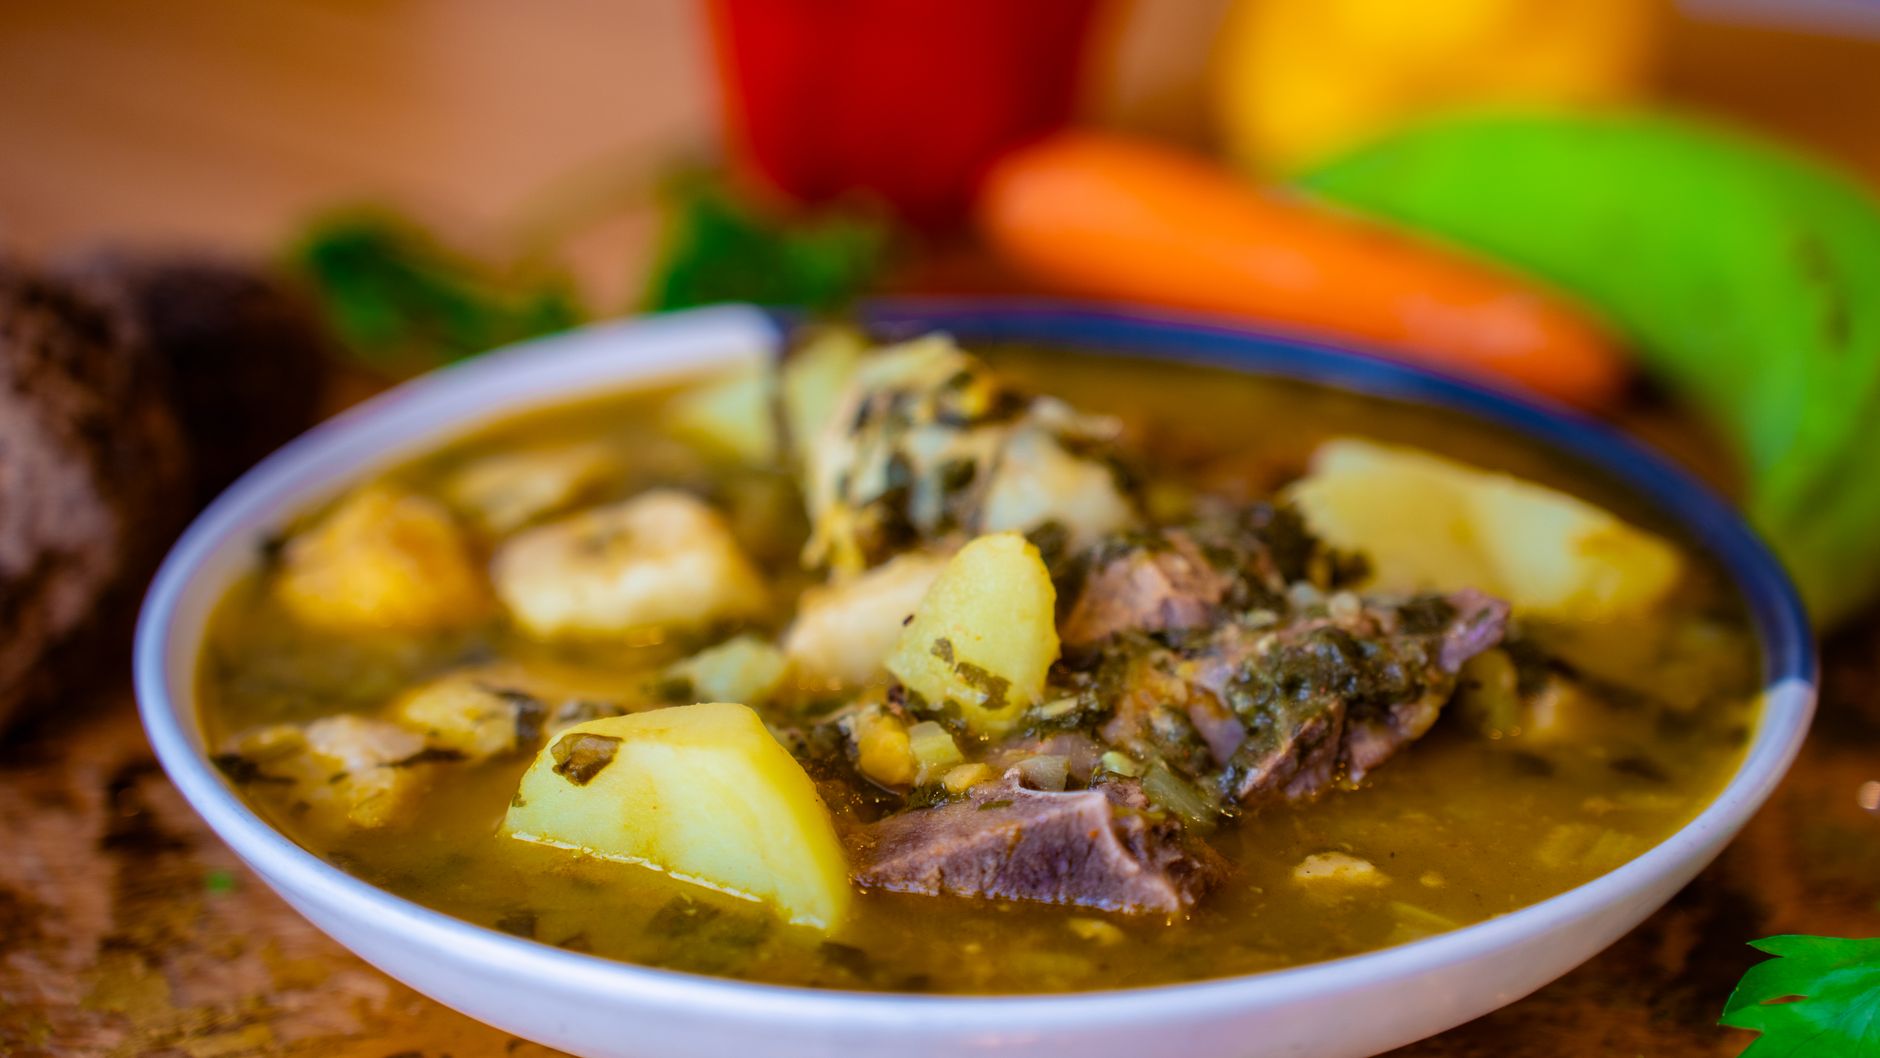
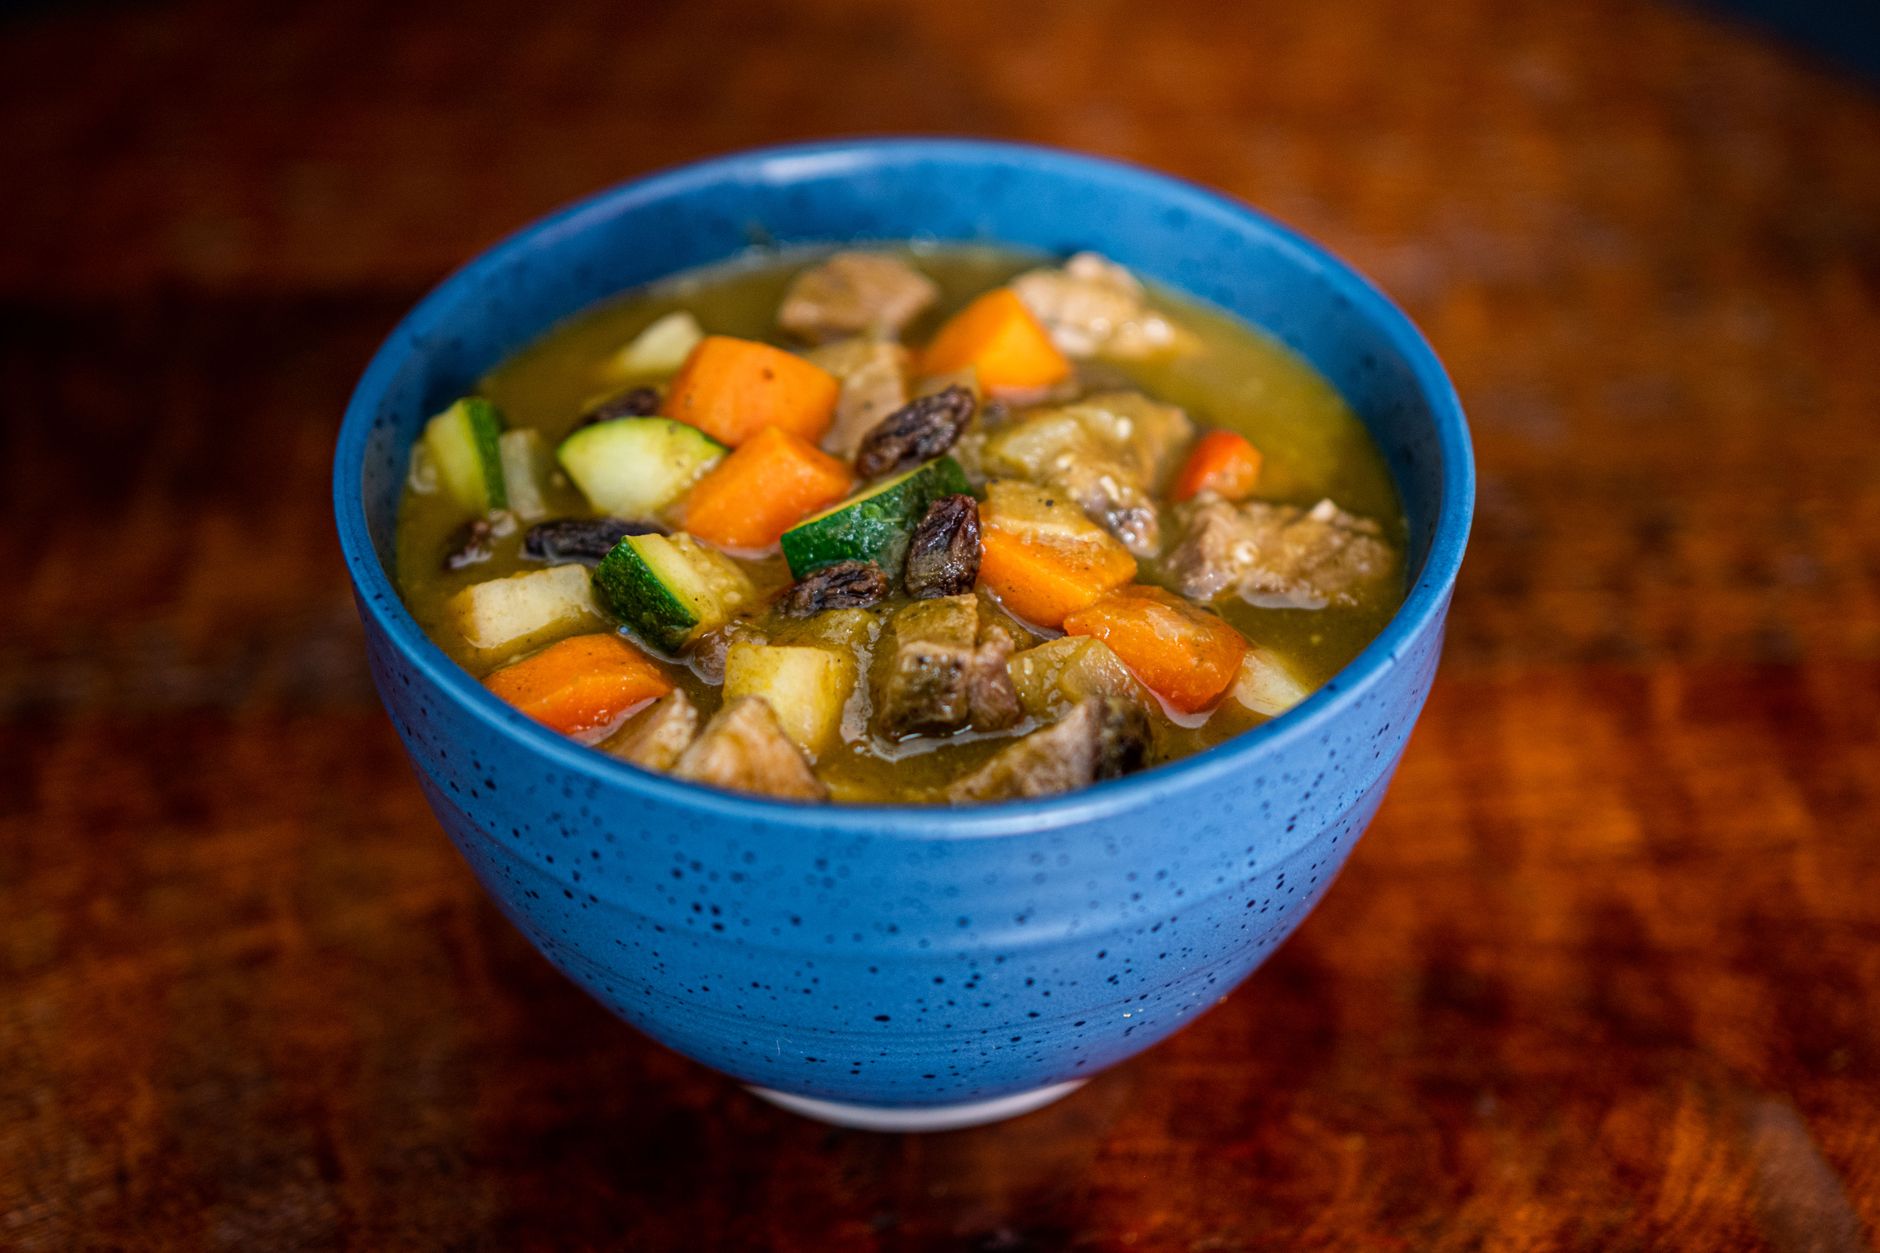
    A colorful homemade vegetable stew served in a blue bowl

    How This Shows Up on Colorado Menus

    This is exactly why a “smothered burrito” at Mabel’s Deli comes with a choice of green or red chili — both are real, regionally meaningful options, not just a generic spice-level label. Ordering green at a Colorado deli generally means a thicker, spicier, pork-based stew; red typically means a different flavor profile built around dried, ground chile.

    What About Fresh vs. Roasted Chile?

    Both Colorado and New Mexico chile are commonly roasted before use, which develops a smoky depth that raw chile doesn’t have. Fall roasting season, when fresh chiles are harvested and roasted in large batches, is a genuine cultural event in both states, with the smell of roasting chile becoming a recognizable seasonal marker in grocery store parking lots across the region.

    Frequently Asked Questions

    Is Colorado green chili spicier than New Mexico chile?

    Yes — Colorado’s Pueblo chiles run considerably hotter on the Scoville scale than New Mexico’s Hatch chiles.

    Is red chile the same pepper as green chile?

    Yes — red chiles are green chiles left to ripen longer on the plant, not a separate variety.

    What makes Colorado green chili different in texture?

    It’s typically a thick, spoonable stew built around chunks of pork shoulder, versus New Mexico’s thinner, more sauce-like consistency.

    Where does Hatch chile come from?

    Hatch, New Mexico, roughly 500 miles south of the Pueblo, Colorado growing region for Colorado’s chile.

    Can I order a smothered burrito with either chile at Mabel’s Deli?

    Yes — Mabel’s Deli‘s smothered burrito is available with green or red chili.

    Why do people roast green chile?

    Roasting develops a smoky depth of flavor that raw chile doesn’t have, and it’s a genuine seasonal tradition in both Colorado and New Mexico each fall.

    Which state grows more chile peppers?

    Both states have significant, well-established chile industries with dedicated research and breeding programs; neither is simply a smaller copy of the other.

    What does “Christmas” mean when ordering chile in New Mexico?

    It means a combination of both red and green chile on the same dish, a common third option alongside choosing just one or the other.

    Ready to try it? See our Mabel’s Deli menu guide for the smothered burrito and other green-chili menu items.

    For more on the horticultural differences between these chile varieties, see the Chile Pepper Institute at New Mexico State University.